
The article provides a comprehensive walkthrough outlining the aspects of how to install MySQL Server on Windows using MySQL Installer. Learn the subtleties of the MySQL installation process step-by-step to ensure you have MySQL Server together with its tools running smoothly.

Download MySQL Installer
The most convenient way to install and set up MySQL Server on the Windows Operating System is to apply MySQL Installer. This setup wizard provides the means to simplify the installation and configuration processes of MySQL products that run on Microsoft Windows. The list of MySQL products includes the following items:
- MySQL Server
- MySQL Workbench
- MySQL Shell
- MySQL Router
- MySQL for Visual Studio
- MySQL Connectors (MySQL Connector/NET, MySQL Connector/Python, etc.)
- MySQL Reference Manuals in PDF
- MySQL database samples.
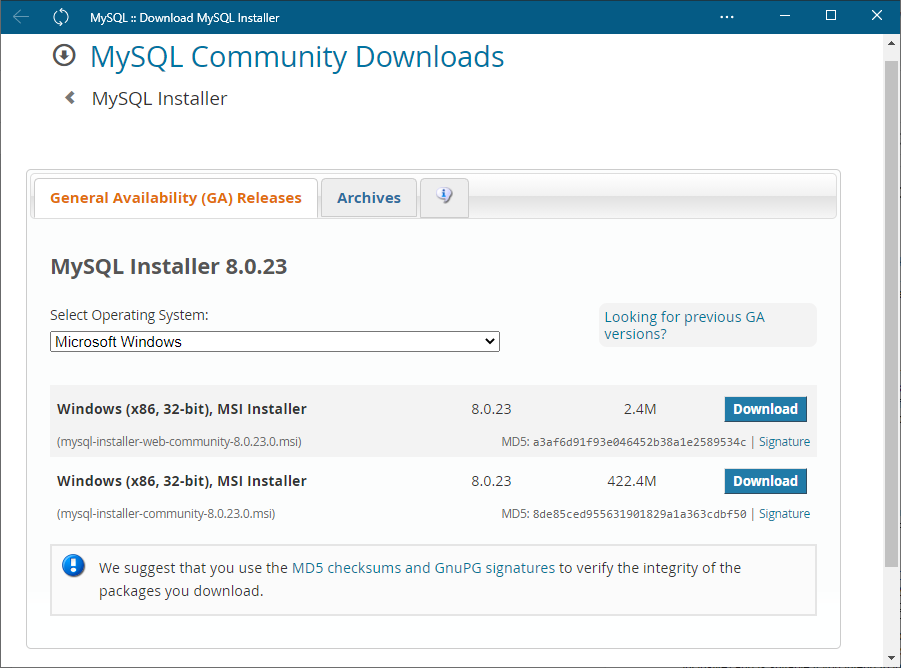
For starters, go to the download MySQL Installer page. As you see, there are two options suggested for download: a web community version and a full version. The main difference between these two is that the web package only includes MySQL Installer and configuration files, and it requires an Internet connection to proceed with the installation. Within the web version, you can select the applications you want to download apart from MySQL Server. As for the full package, it includes all MySQL products for Windows (MySQL Server inclusive) and is suitable if you intend to install MySQL offline.
Set Up MySQL Installer for Windows
After you have selected the Installer version that suits your needs, download and run it.
Note that you can use MSI Installer to not only perform the initial setup but also to upgrade the current version of MySQL. The software identifies existing MySQL products installed on the host and lets you decide on your further actions with the products.
First, you will need to accept the license terms. The next step is to select a setup type. Note that despite selecting a certain installation type, you still have an opportunity to install or update any of the MySQL applications later.
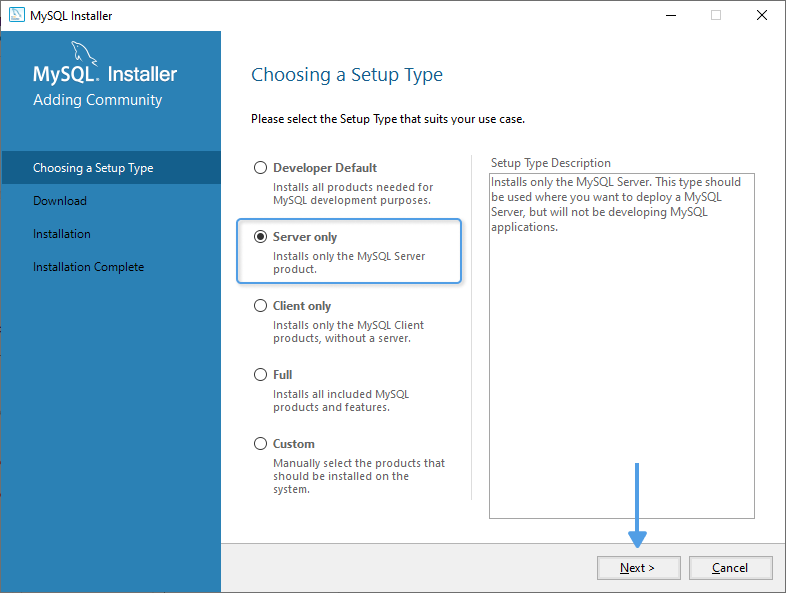
Now, choose from the setup types the one that corresponds to your use case best:
- Developer Default involves the installation of MySQL Server and all other tools that can be used for development. If you plan to build a MySQL database from scratch, this type will be most appropriate.
- Server only suggests installing only an instance of MySQL Server. This type is suitable if you are not going to manage the database directly.
- Client only installs all MySQL applications and connectors, excluding the MySQL Server product.
- A full setup will install all available MySQL products.
- The Custom type provides broad options that allow customizing the installation and selecting the tools from the MySQL catalog.
-
Having selected the suitable Setup Type, click Next:

-
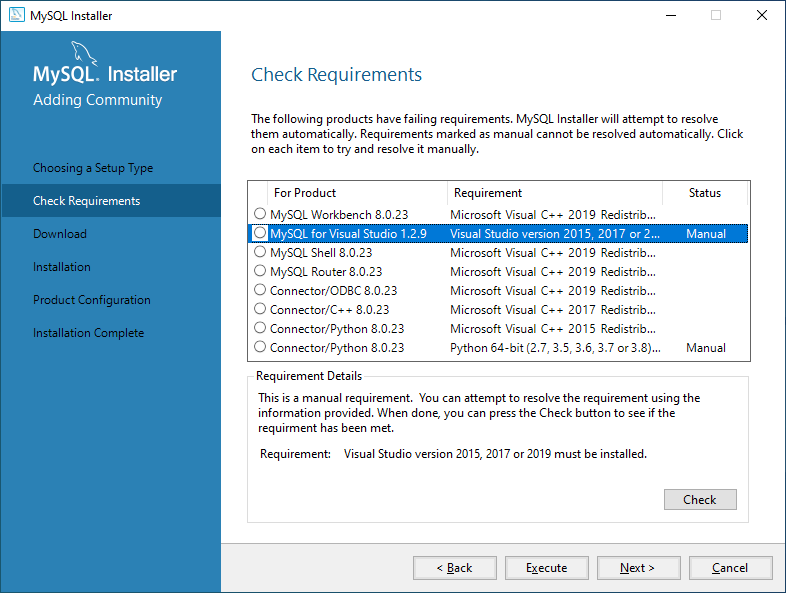
Following that, MySQL Installer ensures that you meet the requirements necessary for the installation. If there are any failing requirements, the installer will try to resolve the inconsistencies automatically. If it fails to do so, you will be asked to manually settle the issues. For instance, you may need to install some additional applications or packages (e.g., Microsoft Visual C++ 2019 Redistributable Package). Besides, you may encounter the problem of Path installation inconsistencies in case you have previously installed MySQL on your Windows Server.
-
Check the status of the product requirements (if you have any). If you have no manual requirements, Click Execute, and the Wizard will install the required software. Provided that you have manual requirements, resolve them on your own, click Check to verify, and then click Execute to begin the installation process:
- Install MySQL using the MySQL installer
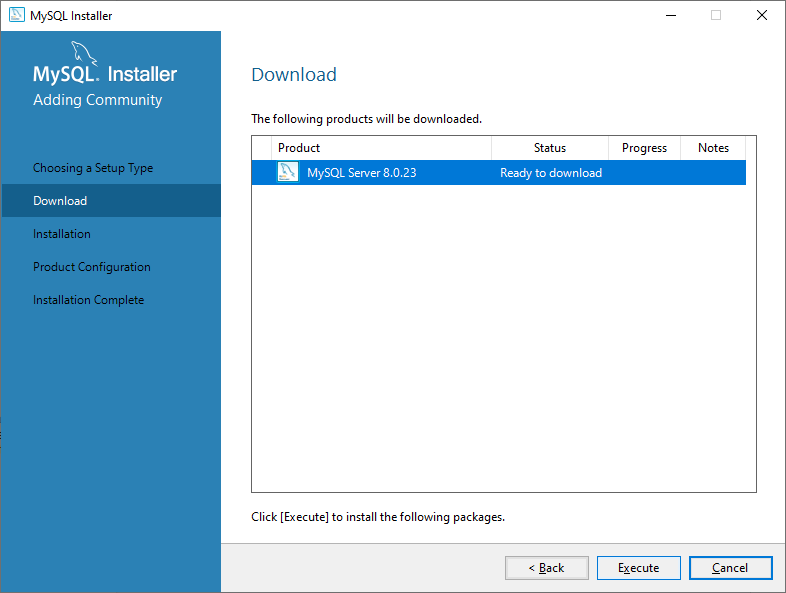
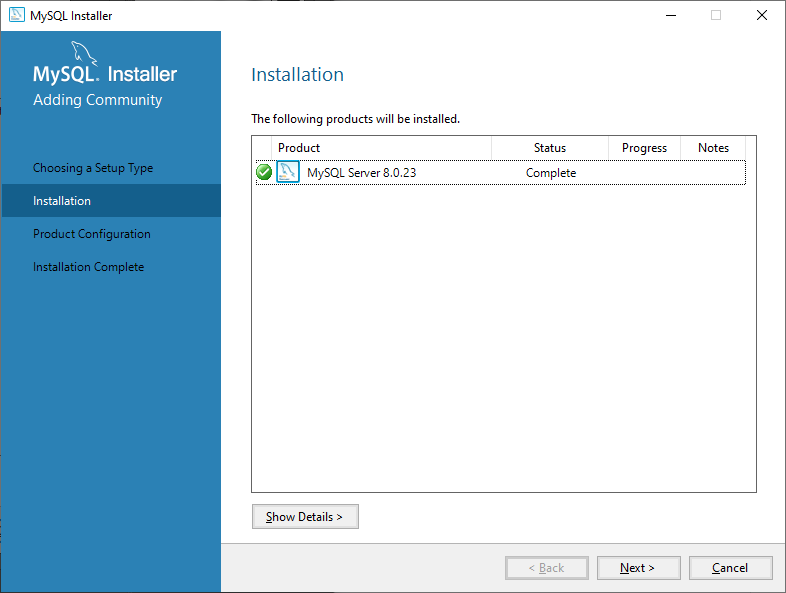
In this step, the wizard downloads all of the selected MySQL products. As soon as the installation status is indicated as Complete, click Next and proceed to the configuration of the MySQL database:
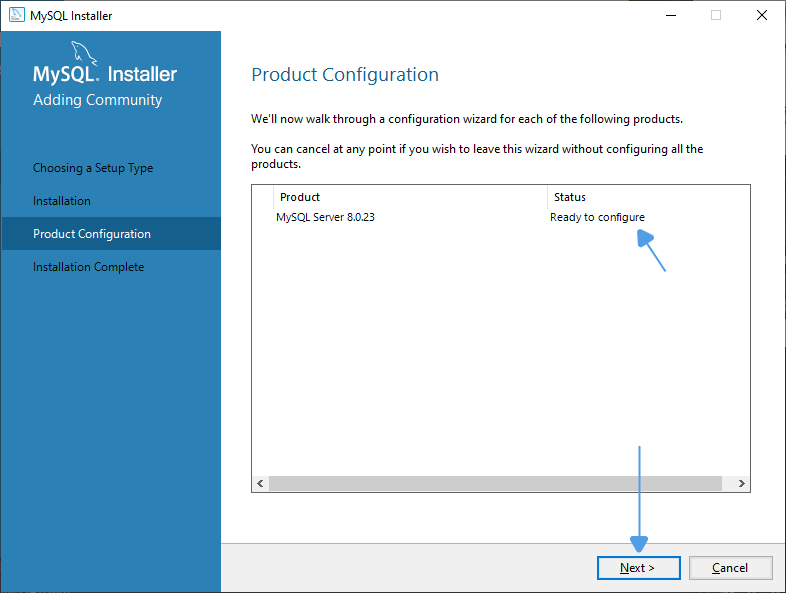
- Configure MySQL Server on Windows
We have now reached the part where we are going to configure MySQL Server. Initiate the process by clicking Next.
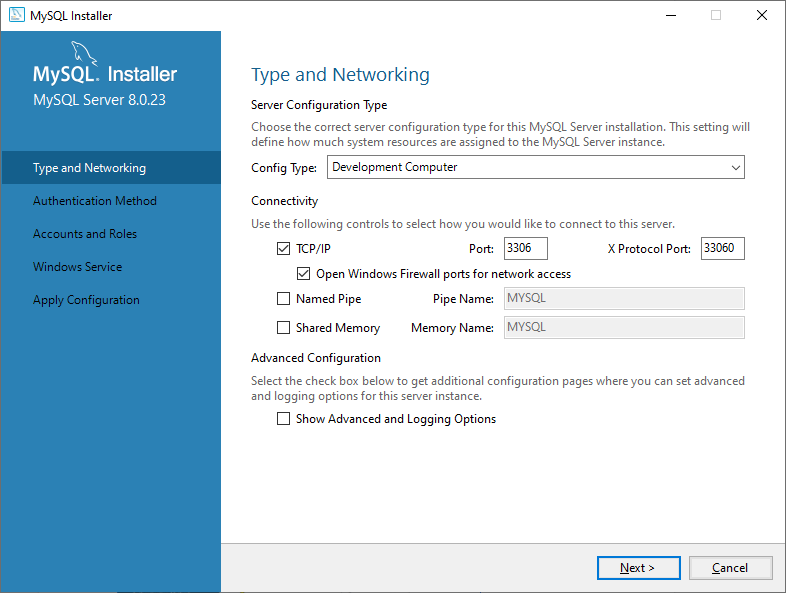
- Type and Networking
In the Type and Networking section, you can choose between three server configuration types: Development Computer, Server Computer, and Dedicated Computer to define the part of system memory that will be allocated to your MySQL server instance. If your computer hosts a lot of other applications, select Development Computer, and if there are no other major applications, opt for the Dedicated type.
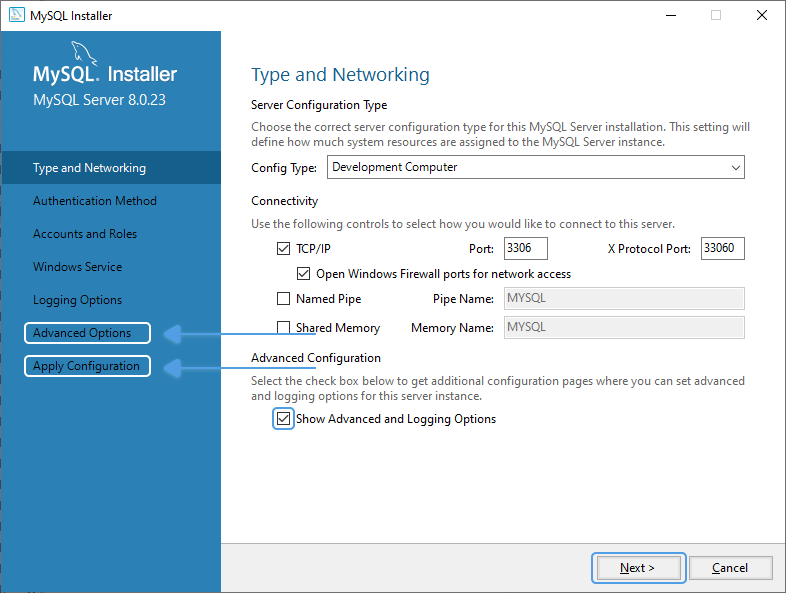
Select the Connectivity options that meet your needs. You can also configure custom logging and advanced options in the following steps if you check the corresponding box. After you have finished configuring, click Next: -
Select the Connectivity options that meet your needs. You can also configure custom logging and advanced options in the following steps if you select the corresponding box. After you have finished configuring, Click Next:
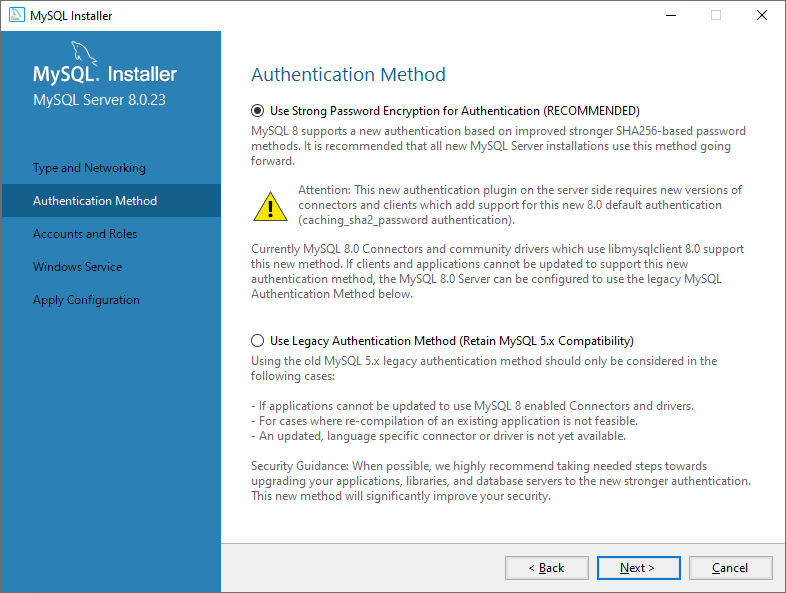
- Authentication Method
In this step, you will be given a choice between the two server-side authentication methods: Strong Password Encryption and Legacy Authentication. Select the recommended Use Strong Password Authentication option and click Next:
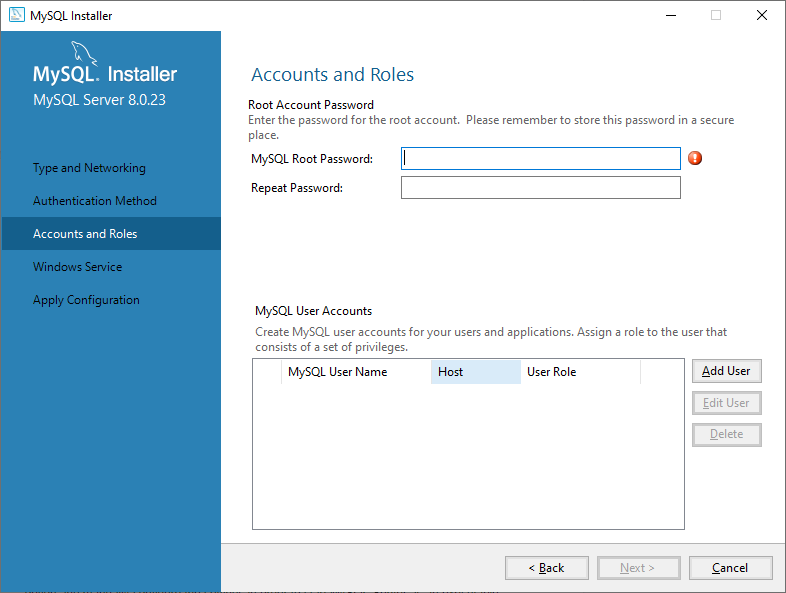
- Accounts and Roles
Here, you will need to provide a strong password for your MySQL root user. Also, make sure you save the password in a secure place for later use. Optionally, you can create additional MySQL user accounts with predefined roles. Click Next as soon as you are finished:
- Windows Service
In this step, you can define MySQL Server as a Windows Service and set it up to start automatically when Windows starts. As an alternative, you can select the Custom User option and manually configure the settings in order to start MySQL Server as an executable program.
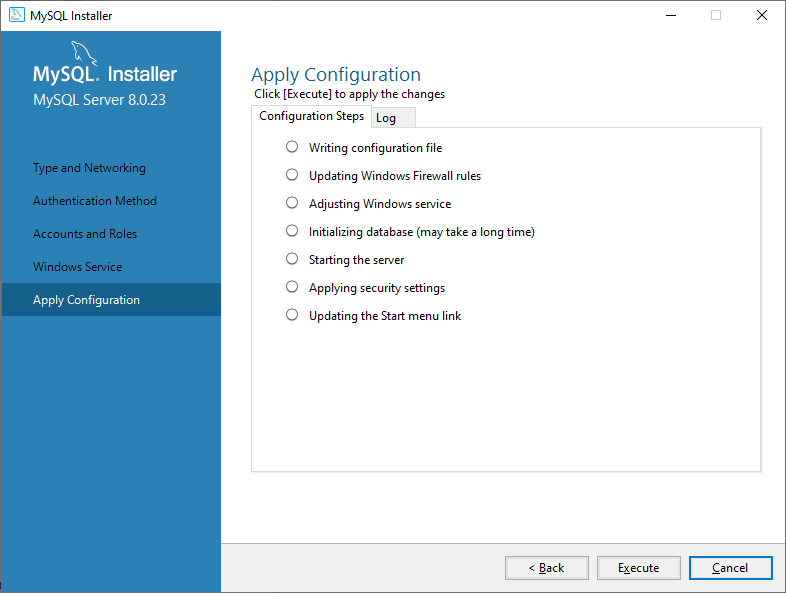
- Apply Configuration
This final step gives an overview of the configuration steps:
-
By clicking Execute, you will see the configuration settings applied one by one:
-
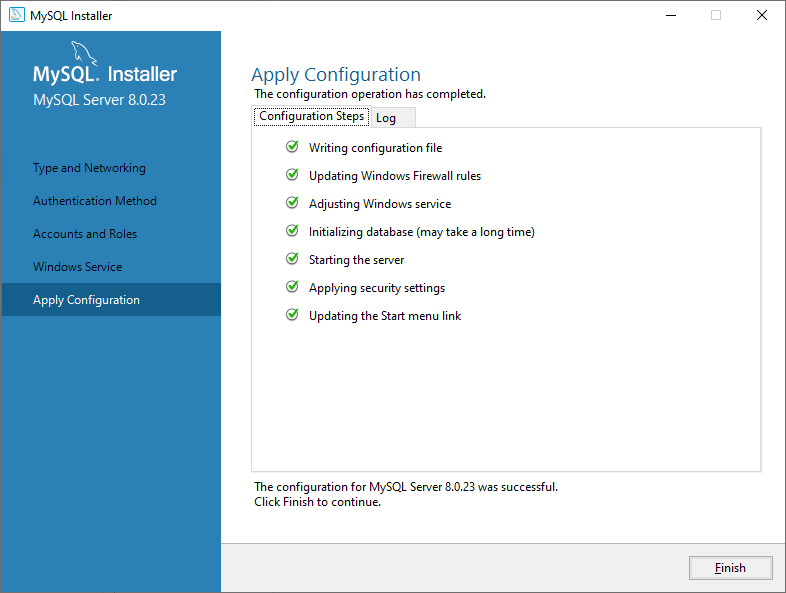
The green checkmarks inform of the successful completion of the configuration process. Click Finish:
-
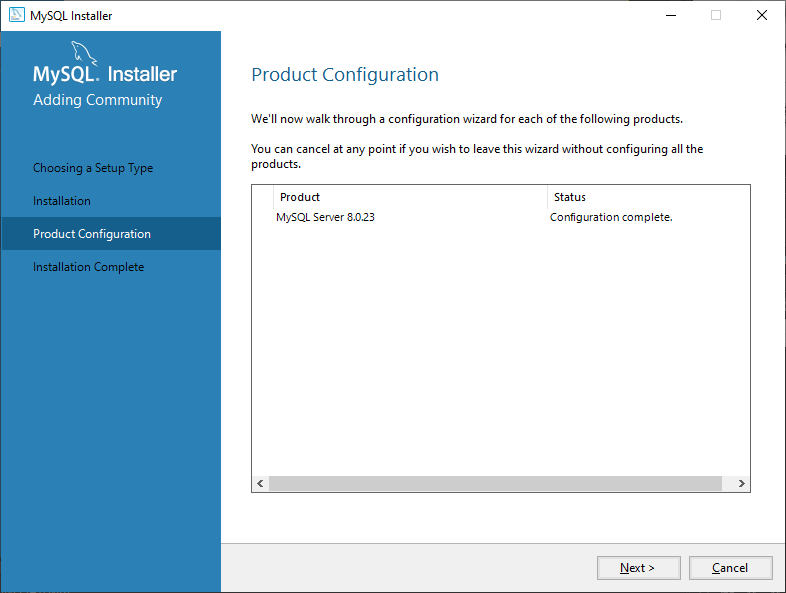
The configuration is complete, click Next:
-
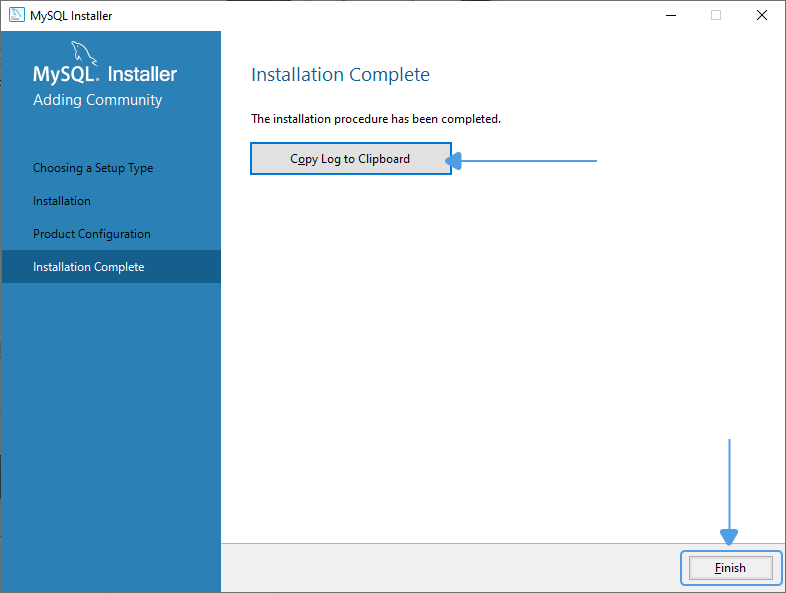
Congratulations! You have finished installing MySQL Server. You can now copy the installation process log to the Windows Clipboard and click Finish:


Conclusion
In this article, we have demonstrated the easiest way to install MySQL on Windows using MySQL Installer. To get started working with your MySQL database, you can apply a universal solution presented by dbForge Studio for MySQL, which allows you to efficiently handle data and automate your database object management. Find out more about the advantages offered by dbForge database tools for MySQL.
Additionally, you can install MySQL on macOS, Linux, Ubuntu, and Debian.