")
Choosing the Devart ODBC Driver for Shopify enhances your ability to conduct in-depth data analysis and improves the integration process, offering a dependable and efficient connection to your Shopify data. In this article, we’ll demonstrate how to use the Devart ODBC Driver to connect to your Shopify database, followed by utilizing Power BI for data analysis.
While there are multiple connectivity options available, such as REST APIs, direct database connections, and other ODBC drivers, choosing the right method is essential for efficient data management and analysis. The Devart ODBC Driver for Shopify stands out due to its superior performance, ease of deployment, and extensive compatibility. Unlike some alternatives that may require complex configurations or additional software, Devart’s ODBC driver streamlines installation process and provides robust features tailored for integration with various tools and platforms.
Before diving into the technical steps, let’s take a moment to ensure you have a clear understanding of the products in use and the rationale behind choosing this setup.
Table of Contents
- Technical Background
- Architecture of Connecting Shopify to Power BI
- Setting Up the ODBC Connection Between Shopify and Power BI
- Create ODBC Connection in PowerBI Desktop
Technical Background
Before proceeding, let’s make sure you have a clear understanding of the products in use.
Devart ODBC Driver for Shopify
The Devart ODBC Driver for Shopify is a connectivity solution designed to deliver high-performance access to Shopify data through ODBC-compliant reporting, analytics, BI, and ETL tools on both 32-bit and 64-bit Windows systems. This driver supports the full range of standard ODBC API functions and data types, making it easy to access real-time Shopify data from any location.
Shopify
Shopify is a leading e-commerce solution that helps you start and grow your business with customizable online stores, marketing tools, sales channels, and more.
Before starting to connect Shopify database by using Devart ODBC for Shopify and building Analytics, make sure to download necessary tools and drivers:
- Power BI Desktop
- Devart ODBC for Shopify
- Shopify account and Shopify database sample
Ready to elevate your data analysis capabilities? Download the Devart ODBC Driver for Shopify today and experience seamless integration with your favorite BI tools.
With the background established, let’s move on to exploring the overall architecture that connects Shopify with Power BI through the Devart ODBC Driver. This will give you a clear picture of how the data flows and is managed in this integration setup.
Architecture of Connecting Shopify to Power BI
This setup involves connecting your Shopify data to Power BI through the ODBC driver, ensuring a stable and efficient data flow for your analytics.
The architecture primarily comprises of these three components: the Shopify platform, the Devart ODBC Driver, and Power BI. Here’s how these components interact:
- Shopify serves as the source of your data, hosting all the essential information about your products, customers, orders, and more. All this data is stored in Shopify’s cloud-based database and is accessible via APIs.
- The Devart ODBC Driver acts as the intermediary between Shopify and Power BI. It uses the ODBC (Open Database Connectivity) standard to facilitate a connection between Shopify’s API and any ODBC-compliant application. This driver efficiently translates API calls into queries that Power BI can process, enabling real-time data access and updates.
- Power BI is the tool used for data analysis and visualization. Once connected to Shopify via the Devart ODBC Driver, Power BI can query, process, and display Shopify data in various visual formats. This allows for dynamic reporting and analytics, helping you make data-driven decisions.
With this architecture in mind, you are now ready to move on to the practical steps of setting up the connection between Shopify and Power BI.
Setting Up the ODBC Connection Between Shopify and Power BI
Whether you are a data analyst, business owner, or IT professional, you can follow the steps described below for a smooth setup of a connection between Shopify and Power BI using the Devart ODBC Driver.
Generate Access Token
This step is required to generate a Shopify Access Token, which is then used when configuring ODBC for the Shopify driver. To do it, follow these instructions.
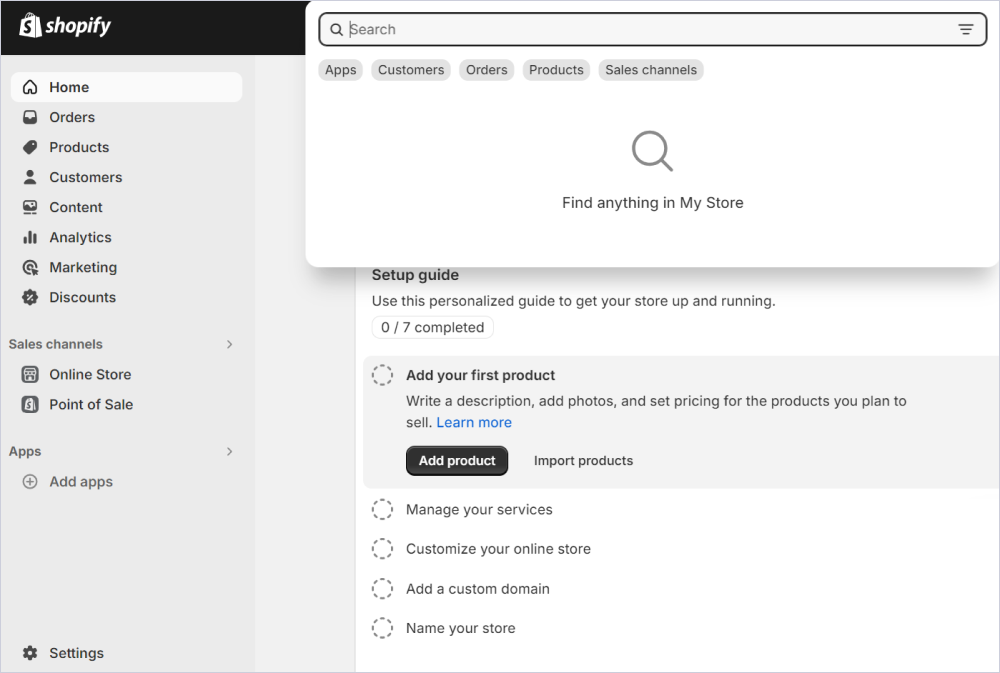
- Access the Shopify Admin Page.
- Click on the Search textbox, then select the App option.
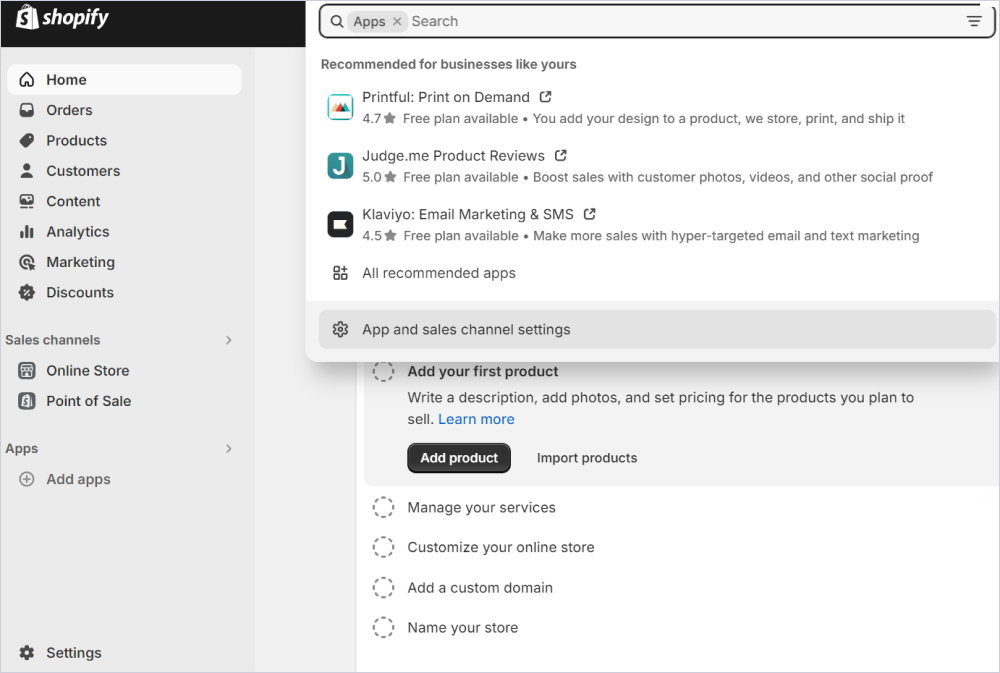
3. Select Apps and sales channel settings.
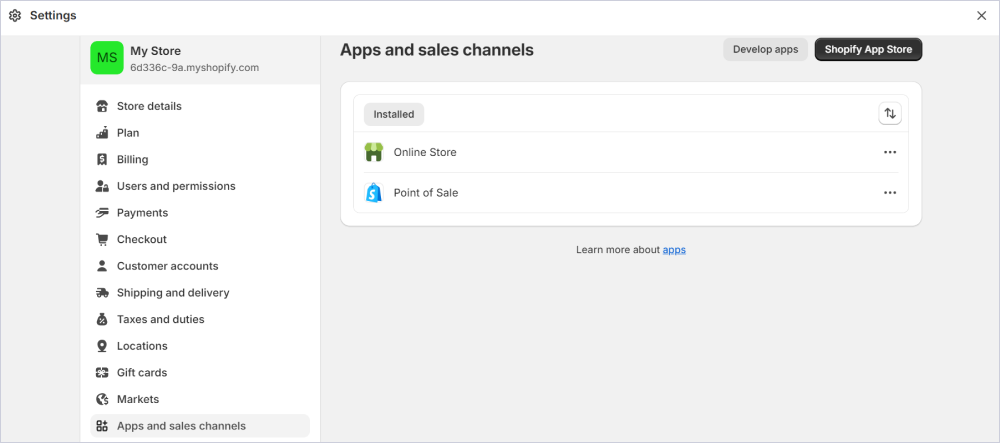
4. Navigate to the Settings page, and select the Apps & Sales Channels tab. Then, click the Develop apps button to proceed.
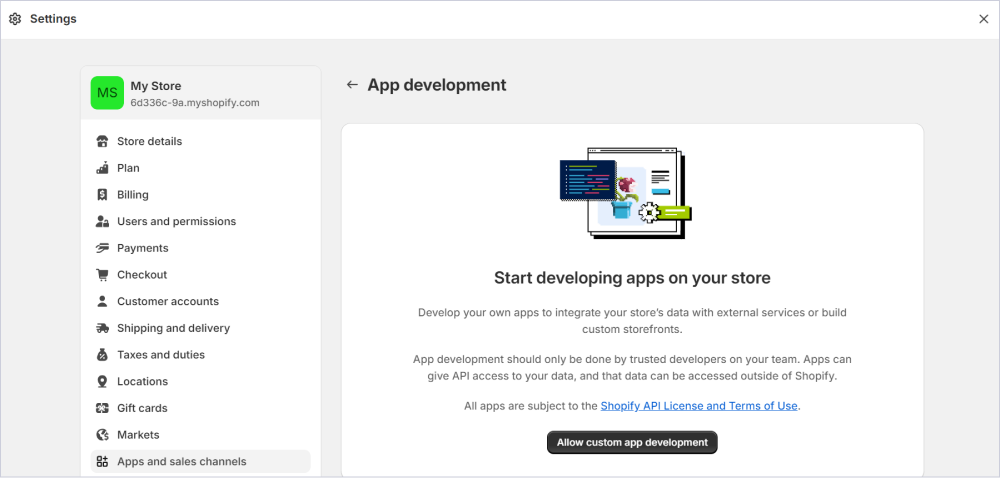
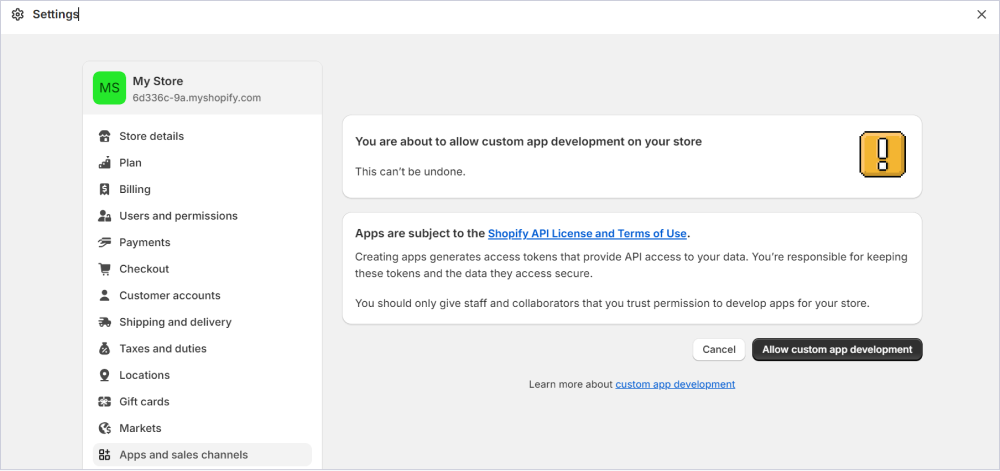
5. In the next screen click Allow custom app development to create a custom app by yourself. Then generate the API access token.
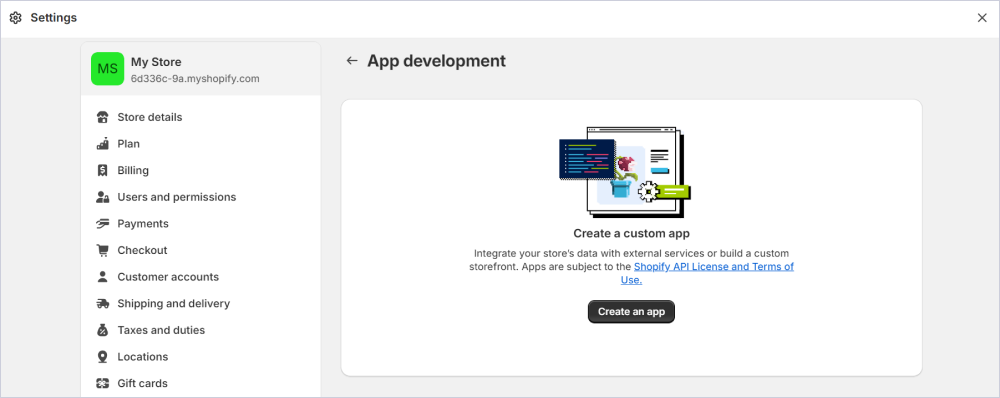
6. Next, click on the Create an app button.
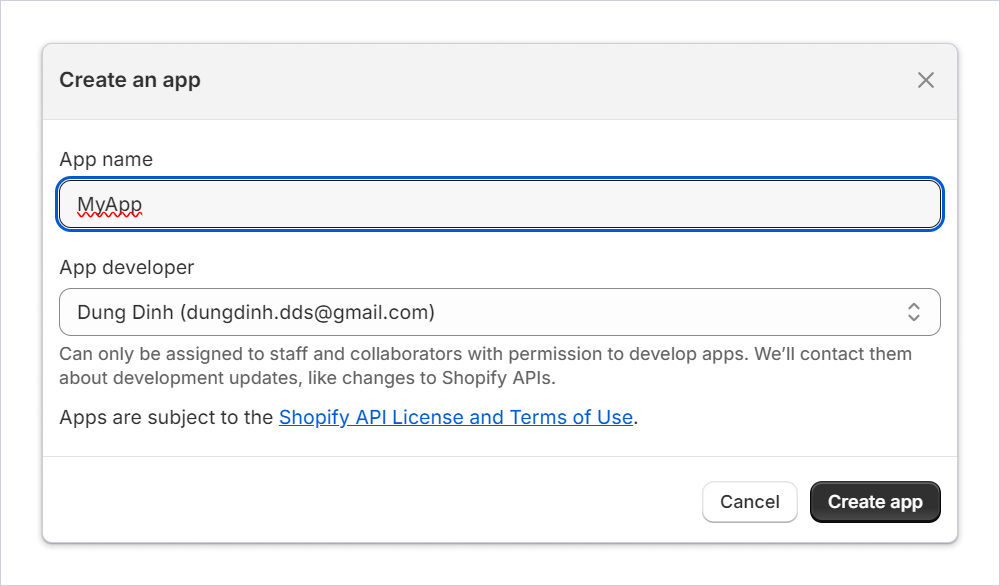
7. Before you press Create app, you have to come up with a unique name for it.
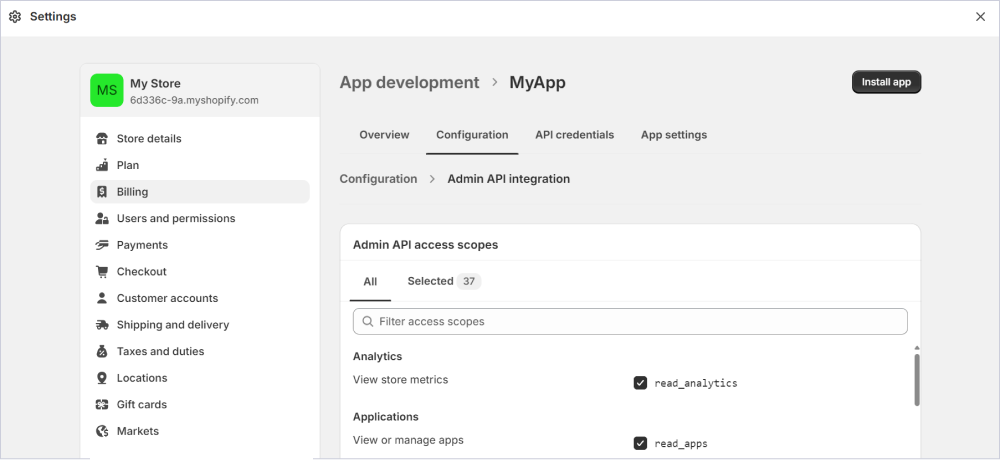
8. After creating your app, go to Configure Admin API Scopes panel.
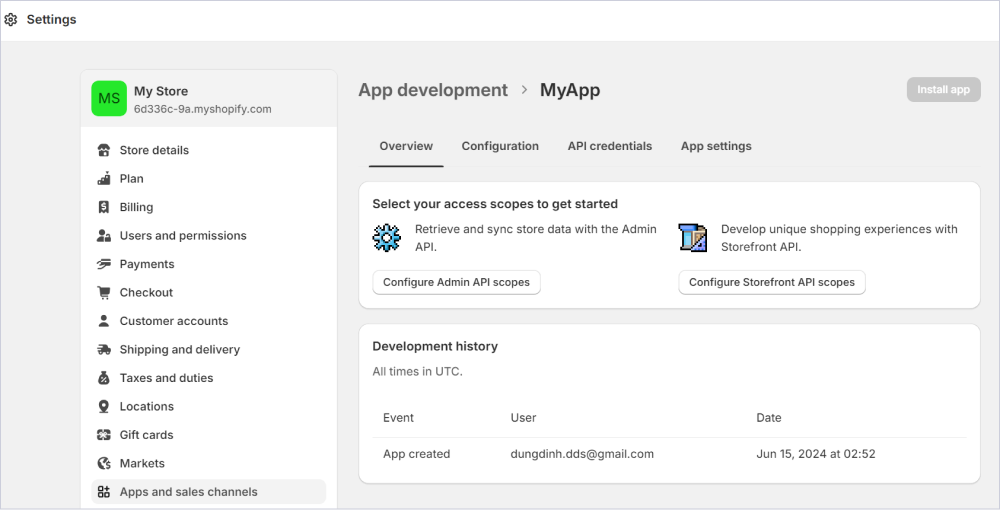
9. Select All or a specified API which you want to use and click Save.
10. Go to the top of the Settings page. Here you’ll see the Install App to be visible button. Click it to install your app.

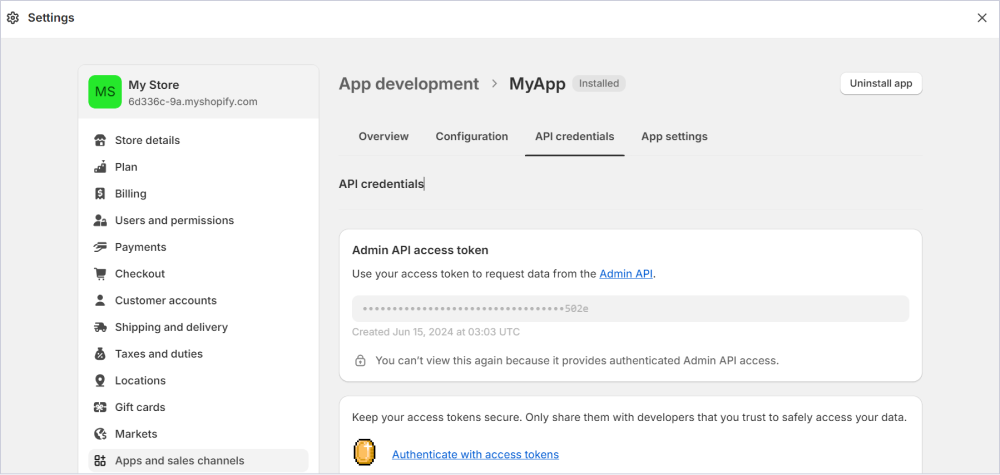
11. Go to the API Credentials tab. Here, check that the Admin API Access Token has been generated.

12. Click the Reveal token once option. After that, you’ll get a string for Admin API Token Access. You need to copy this token to use it in the next step.
13. Configure the URL address of your store. On the Settings page, get the URL under My Store.
With your access token and store URL ready, you’re all set to configure the Devart ODBC Driver and establish a reliable connection.
Install the Devart ODBC Driver for Shopify
Before proceeding with the connection setup, you need to install the Devart ODBC Driver for Shopify. This section will walk you through the installation process, ensuring that your system is properly configured to use the driver for accessing Shopify data from Power BI.
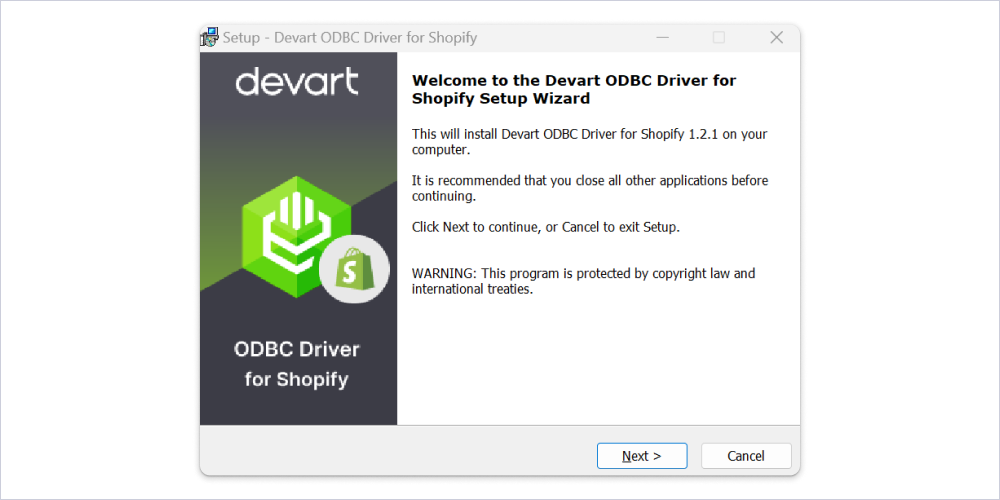
- Download and run the installer file to start working with the driver. Follow the instructions provided in a modal window to proceed.
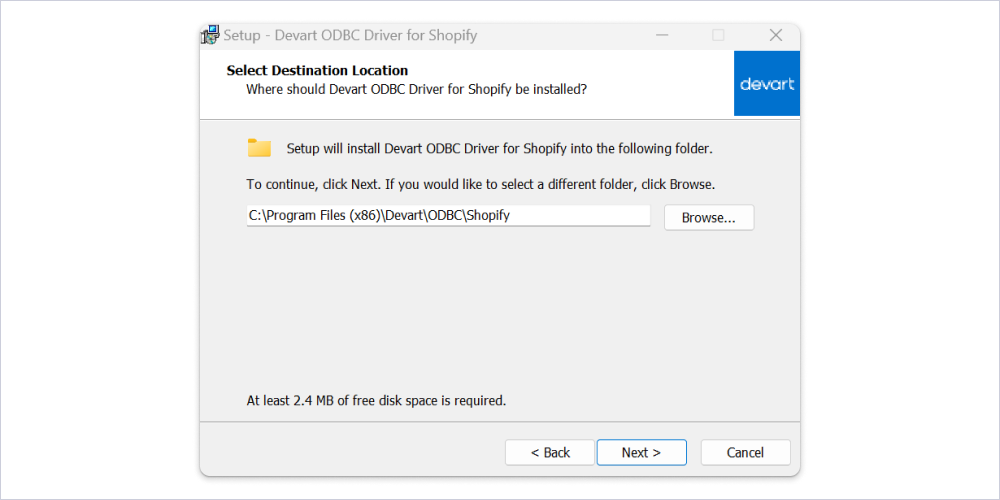
- Choose the folder where you are going to keep the driver for easy access.
- Go to Select Components and then choose Full Installation.
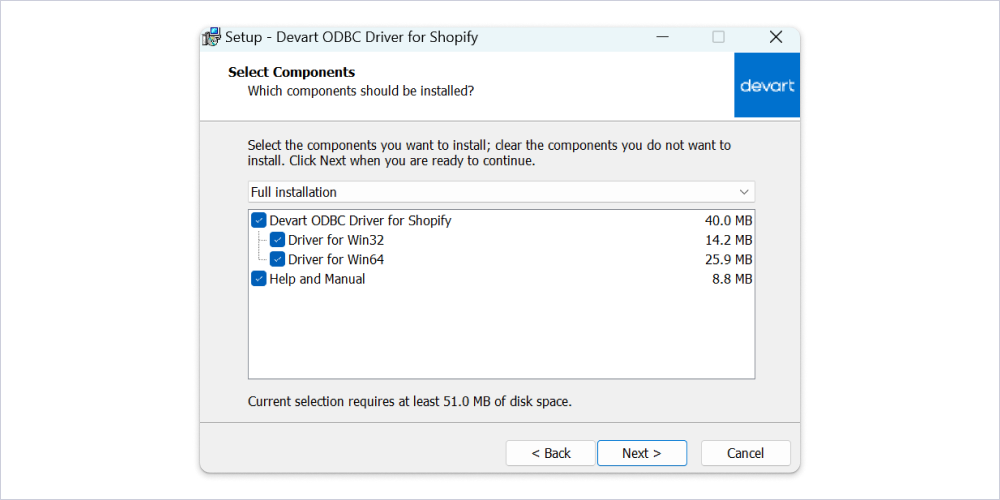
- Take the last step and click Next to start the installation.
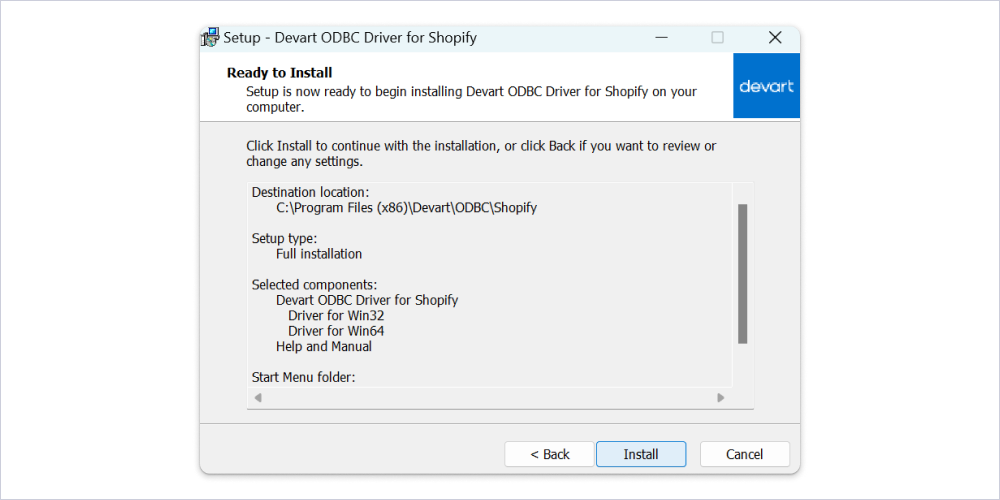
After the installation is completed, let’s configure the driver.
Configure ODBC Driver
Now that we have installed an ODBC driver, we are ready to configure the ODBC connection in your environment. Note, that we are using Windows OS to demonstrate these steps. To start configuring an ODBC driver, follow these instructions.
- Click Start to run the driver.
- In the modal window type C:\Windows\System32\odbcad32.exe if the system is 64-bit to open the ODBC Data Source Administrator.
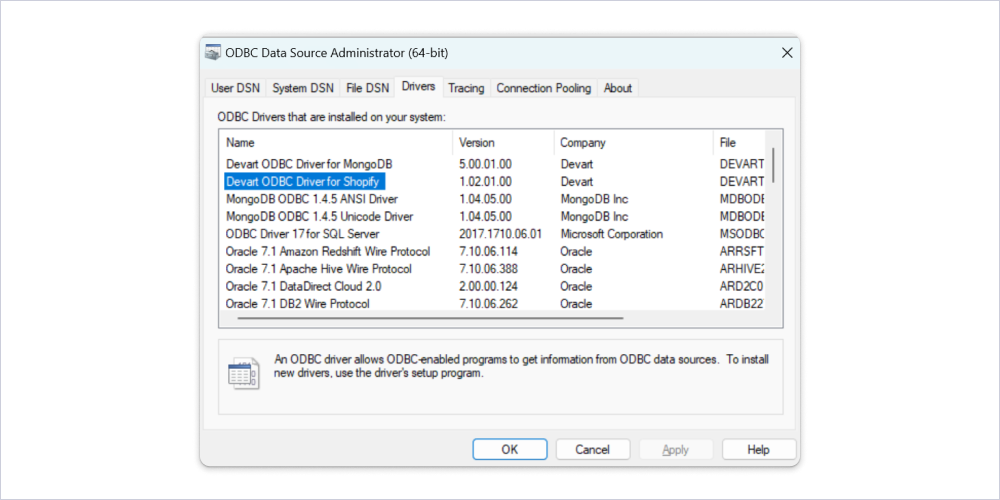
- Click the Driver tab and make sure Devart ODBC Driver for Shopify is in the list of drivers.
- Select the User DSN or System DSN tab.
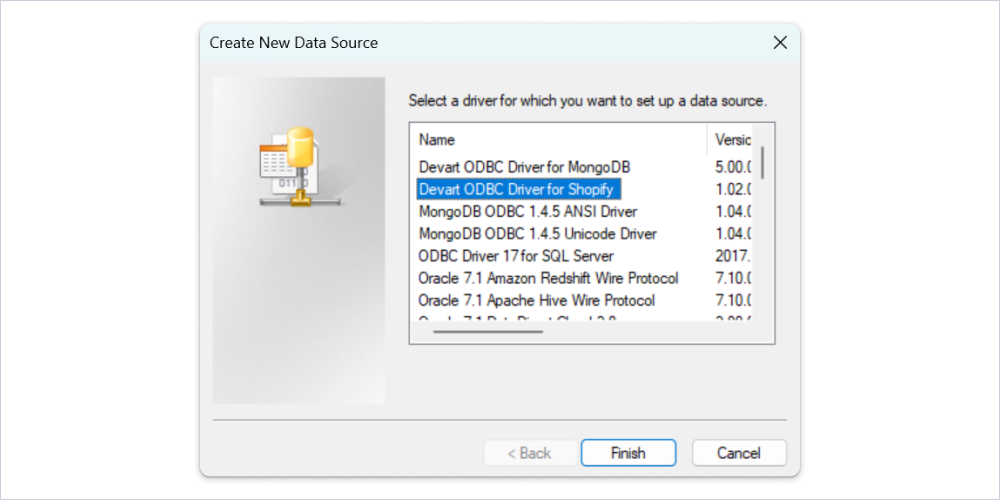
- Click Add. Then, you will see the Create New Data Source dialog.
- Select the Devart ODBC Driver for Shopify driver and click Finish. The driver setup dialog will open.
- Enter the connection information in the matching fields:
- Data Source Name: ODBC_MyShopify
- Store: the URL of your Shopify store. Check how you can get the URL in previous steps if you haven’t done this yet.
- Access Token: the Admin API Access Token you’ve generated in previous steps.
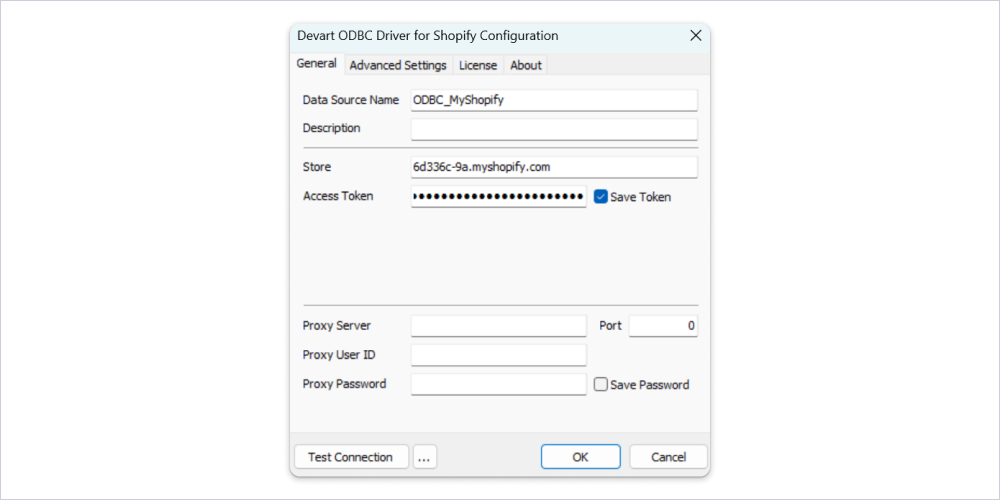
- Click Test Connection button and make sure the connection is corrected.
Create ODBC Connection in PowerBI Desktop
In this step, you will have to use the Devart ODBC Driver for Shopify to establish the connection bridge between Power BI Desktop and Shopify database. Make sure that Power BI Desktop was installed correctly to avoid any issues. Follow the guide below to proceed.
- Open Power BI Desktop and click Get Data. Choose Others in the modal window. On the left panel, you’ll see other drivers Power BI supports.
- Choose ODBC driver and click Connect.
- Choose the DNS: ODBC_MyShopify from the Data Source dropdown list which was created in ODBC Driver Configuration step.
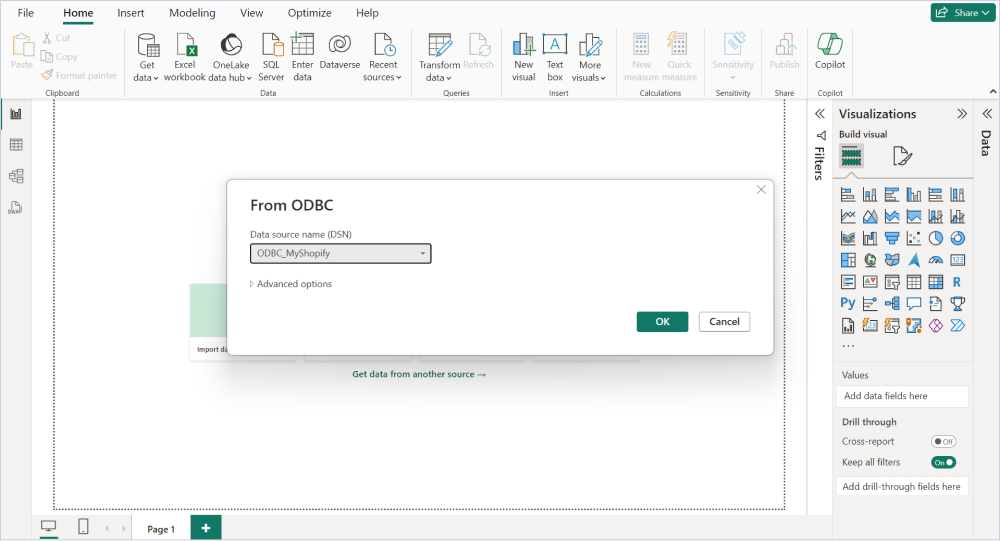
- Click OK. Then, enter the username and password if required. In this case, the username is your Shopify Account credentials.

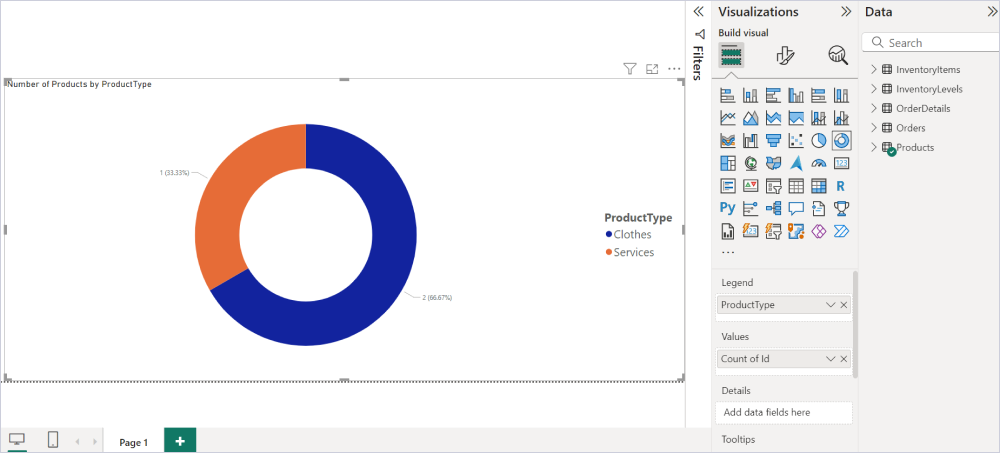
- Click Connect. The Navigator window will appear, and you’ll see the list of tables in Shopify database. Select Comments and Users collection to add them into Power BI Desktop.
Now we are ready to build the report with data from Shopify databases.
Conclusion
Using Devart ODBC Driver for Shopify enables your applications to connect to your Shopify database, opening up a variety of possibilities. You can extract and analyze data from your stores, products, sales, and customers, utilizing powerful analytics tools like Power BI, TIBCO Spotfire, QlikView, and Tableau. Additionally, this connection supports the development of applications that interact directly with the Shopify API, enhancing the capabilities of your e-commerce platform.
Managing your Shopify data becomes more straightforward with tools such as Microsoft SQL Server Management, EMS SQL Management Studio, DBeaver, and RazorSQL. Once the connection is in place, accessing and utilizing any data from Shopify for advanced analytics is going to be simple and effective.
Feel free to explore the Devart ODBC Driver further along with other integration options. Stay tuned to learn more about additional integration features that can potentially enhance your data management and analytics experience.
