
dbForge Edge is an expansive solution that covers a huge number of database-related tasks across multiple database systems and cloud services, including MySQL, MariaDB, Microsoft SQL Server, Oracle Database, and PostgreSQL. And though dbForge Edge is Windows-native, you can make it work on macOS.
One of the possible ways to do that is to use Parallels Desktop, a macOS-compatible application that will help you create and manage a Windows environment in order to run dbForge Edge on your Mac. That’s exactly what we’ll show you in this article. We’ll install and Parallels Desktop, deploy Windows on it, install dbForge Edge, connect to a locally installed MySQL server, and run a query to make sure everything is ready for work.
Contents
- Unlocking Windows on macOS: The indispensable benefits of Parallels
- Parallels vs CrossOver: What’s the best choice for your Mac?
- Step-by-step guide: Install Windows 11 on your Mac using Parallels Desktop
Unlocking Windows on macOS: The indispensable benefits of Parallels
In short, Parallels Desktop creates a virtual machine that seamlessly runs Windows on a Mac. With its help, you can operate a Windows desktop just as if it was yet another casual application floating on the desktop of your Mac. It has a few editions—namely, Standard (from $99.99), Pro ($119.99/year), and Business ($149.99/year), which mostly differ in virtual RAM and CPUs for each virtual machine. The better the edition, the more powerful you get, with undoubtedly high performance and usability. You can learn more about them here.
The try-before-you-buy principle works here as well, so you get a 14-day free trial to see its capabilities in action.
Parallels vs CrossOver: What’s the best choice for your Mac?
When it comes to running dbForge tools on macOS, there is one alternative that we just can’t leave unmentioned. It’s called CrossOver, a compatibility solution that allows Windows applications to run on Linux and macOS. In CrossOver, you can create and configure separate Windows environments in special containers called bottles—and you can effectively run dbForge tools in those bottles.
CrossOver is a viable alternative to Parallels, and you may want to learn more about it to see which one’s a better fit for you. You can also check our guide How to install dbForge Edge on Linux & macOS to see how it works in detail. Or, you may check our video guide to installing the entire dbForge Edge via CrossOver.
Step-by-step guide: Install Windows 11 on your Mac using Parallels Desktop
Now, let’s proceed to our guide. We’ll show you how to download and install Parallels Desktop on your Mac and run Windows 11 in it. Then we’ll install dbForge Edge, open it, connect to a MySQL server installed locally on our Mac, and run a query to make sure everything works correctly. Let’s get started.
Prerequisites
To deploy dbForge Edge on your machine via Parallels, you will need a MySQL server, up and running. If your server is installed locally on your Mac, you will also need to make sure you have opened remote access to it (we’ll show you how it’s done).
See also:
- How to install MySQL on macOS
- How to install Microsoft SQL Server on macOS
- How to install PostgreSQL on macOS
Install Parallels Desktop on macOS
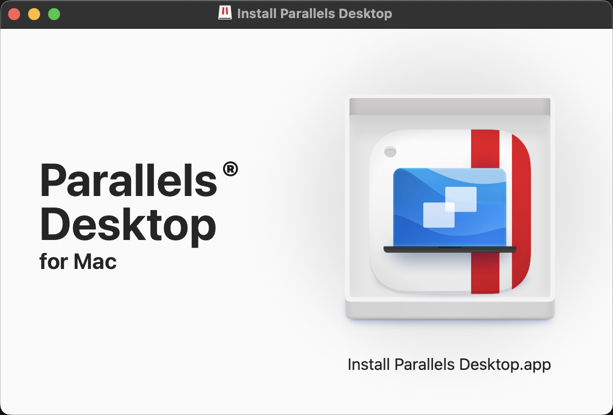
1. First, you need to download Parallels Desktop. Go to the download page on the Parallels website and click Download Parallels Desktop. Next, open the downloaded DMG file and double-click the Install Parallels Desktop icon.
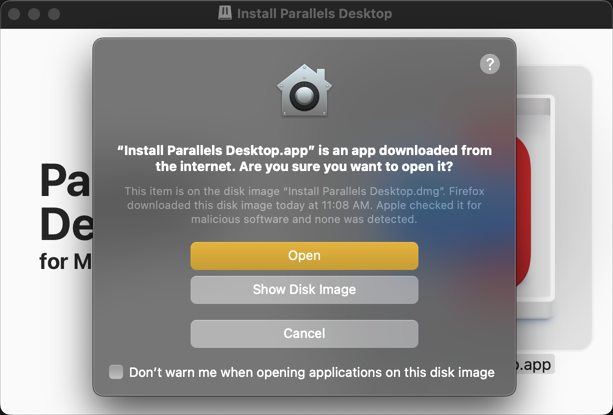
2. Click Open.
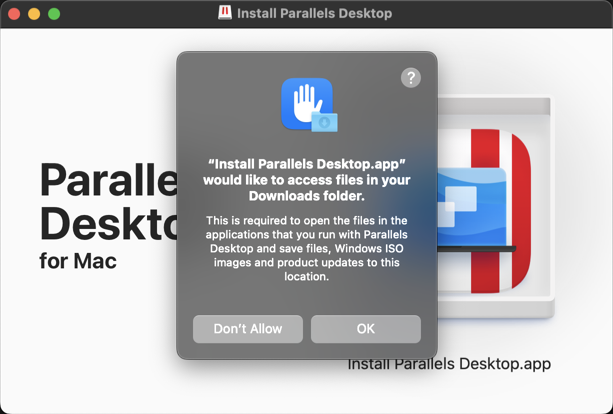
3. Allow access to the Downloads folder by clicking OK.
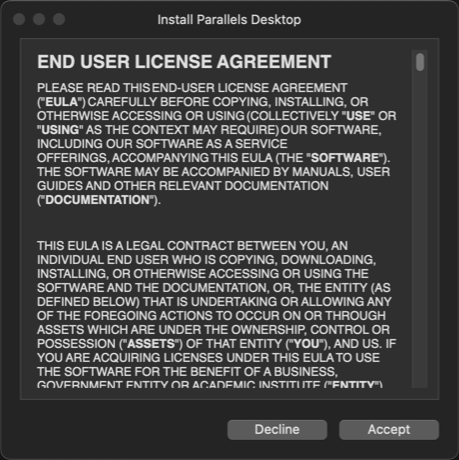
4. Review and accept the End User License Agreement by clicking Accept.
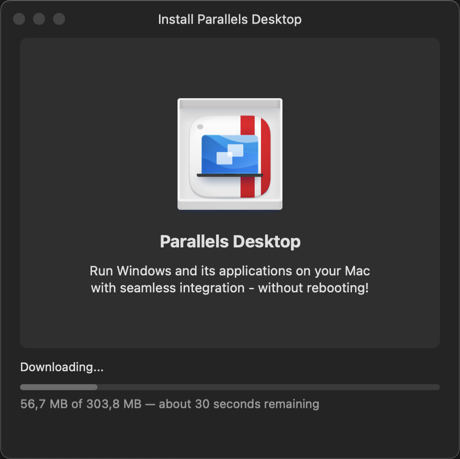
5. The installation commences. Wait a bit.
6. Now you need to allow Parallels Desktop to access a few directories on your Mac where it will store related files.
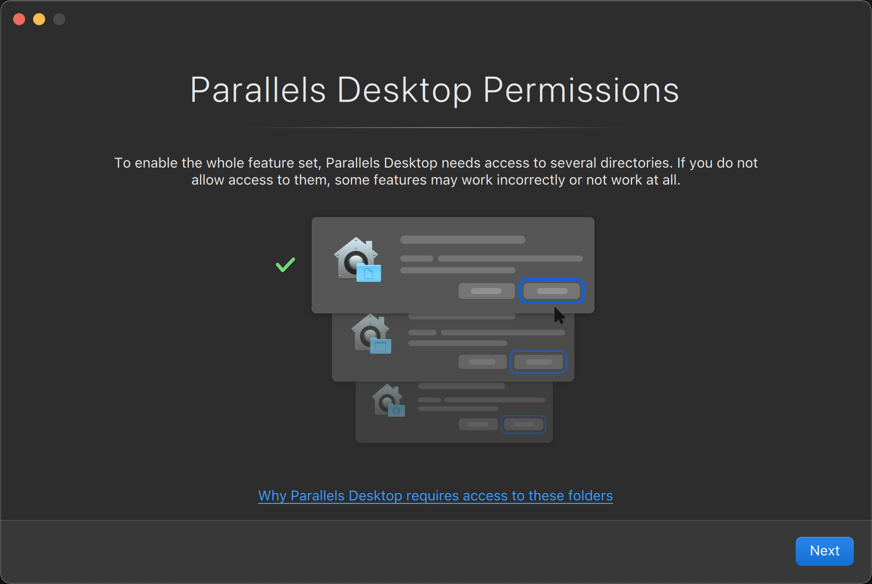
7. Click OK for each required directory.

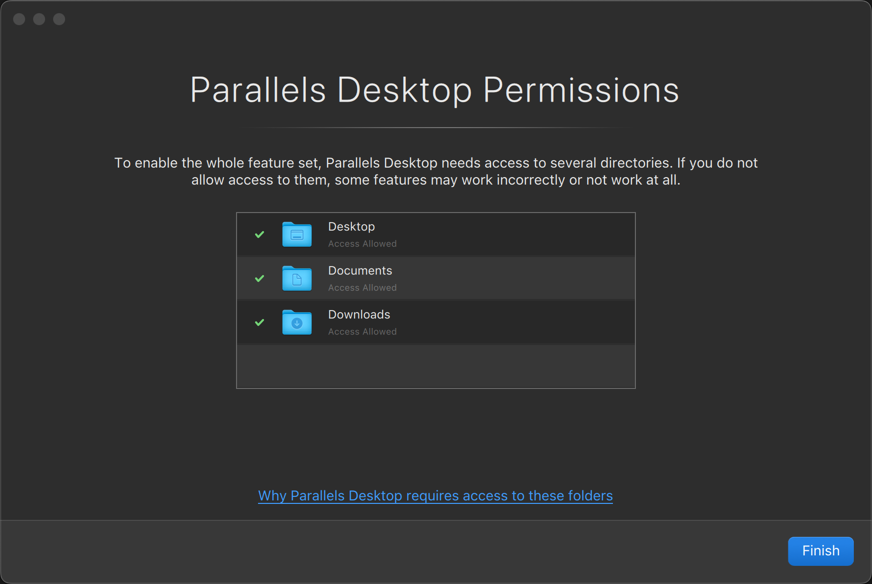
8. Now, with all access allowed, you can click Finish.
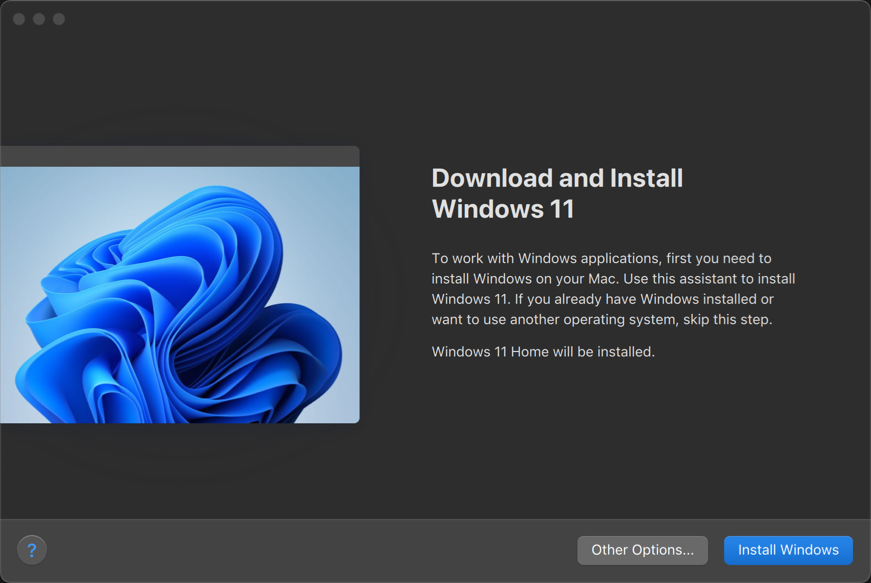
Afterwards, you will be immediately prompted to download and install Windows 11.
Run Windows 11 on macOS using Parallels Desktop
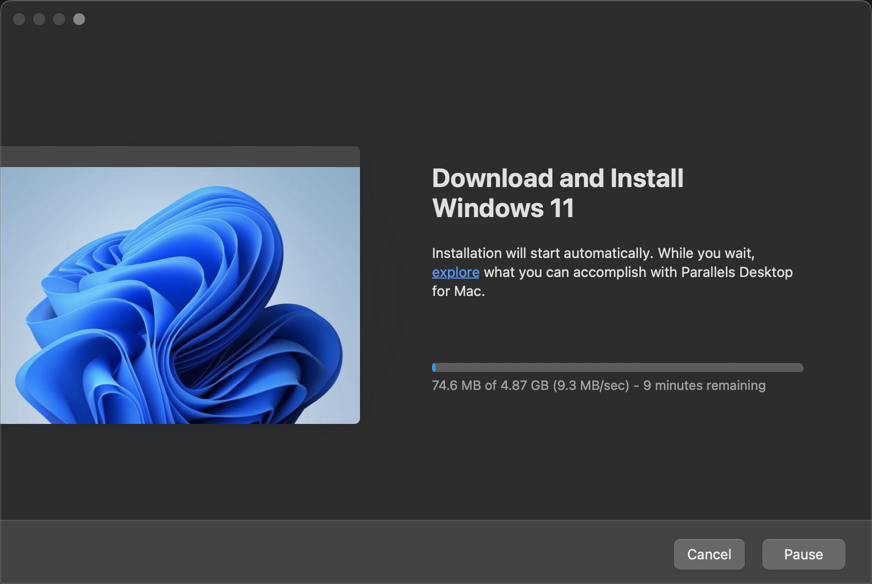
1. Click Install Windows to begin.
2. The installation commences.
3. You will be prompted to allow access to the camera and microphone. Click OK to do it.
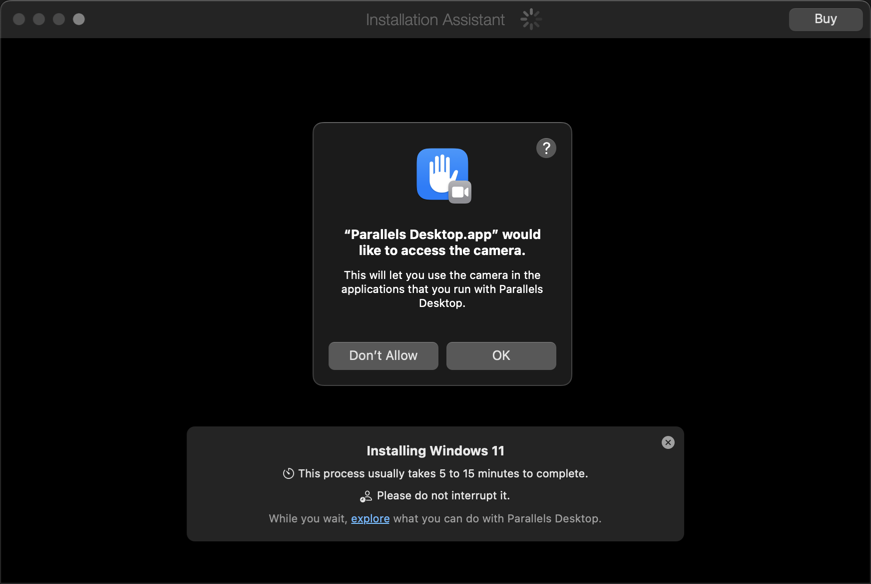
4. Wait a little more…
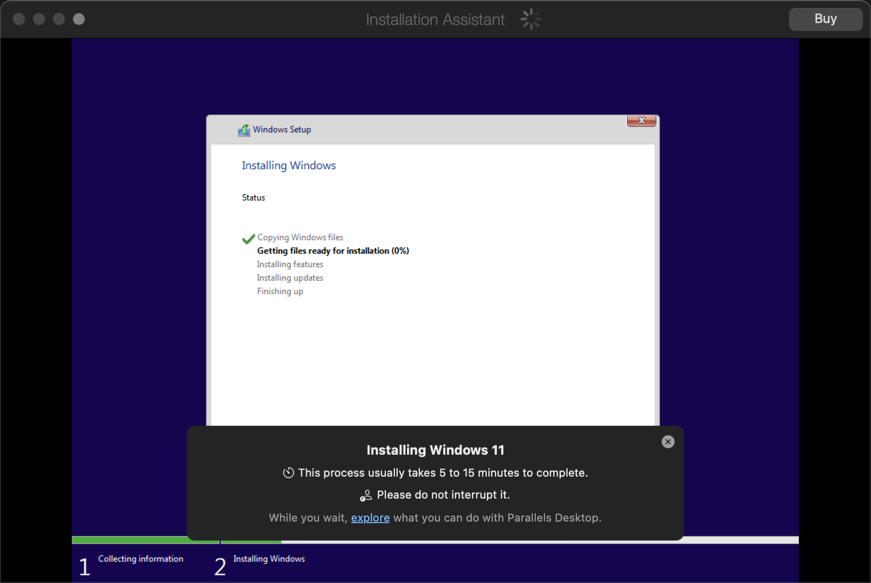
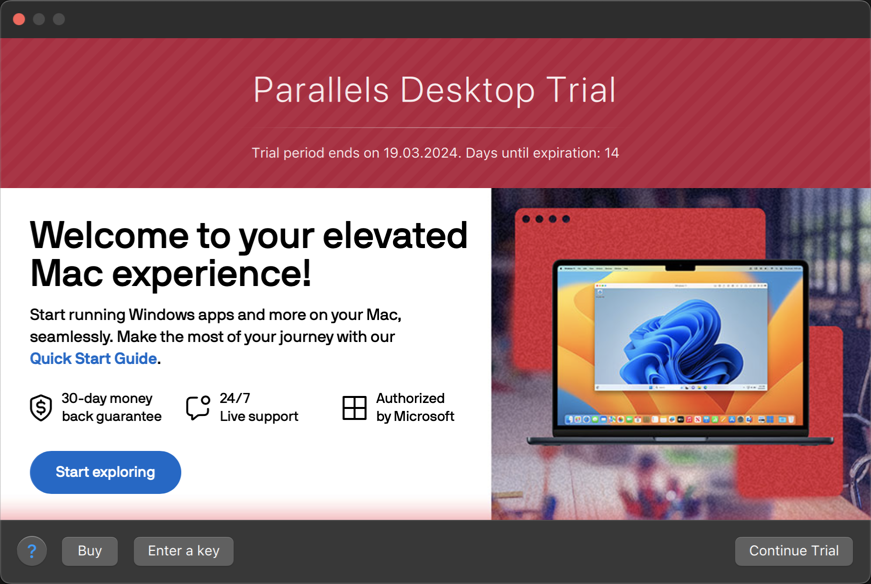
5. At one point, you will be prompted to buy or activate a Parallels Desktop license. If you don’t have one, click Continue Trial.
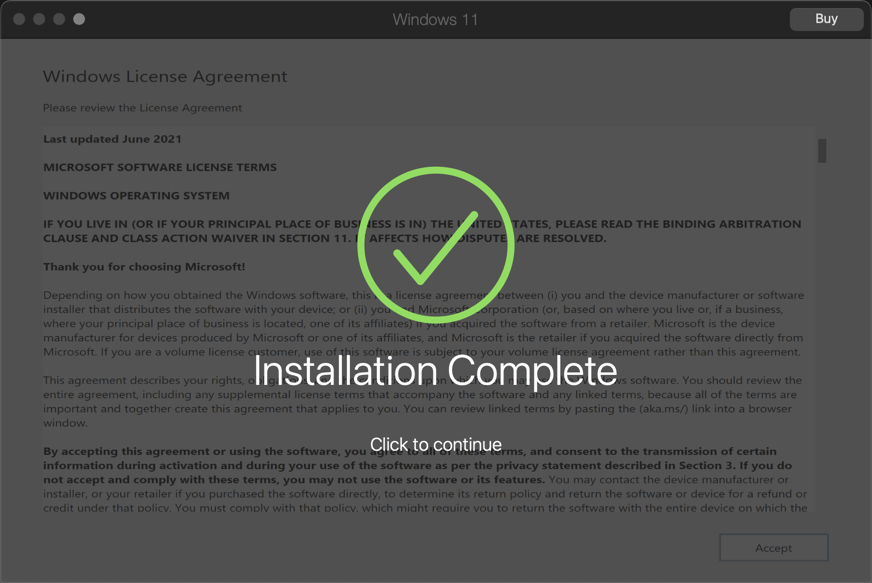
6. Finally, after a while, you will be notified that the installation of Windows 11 has been successfully completed. Click to continue.
7. After a click, you will be asked to sign in to your Parallels account. If you don’t have one, click Create Account and complete the operation.

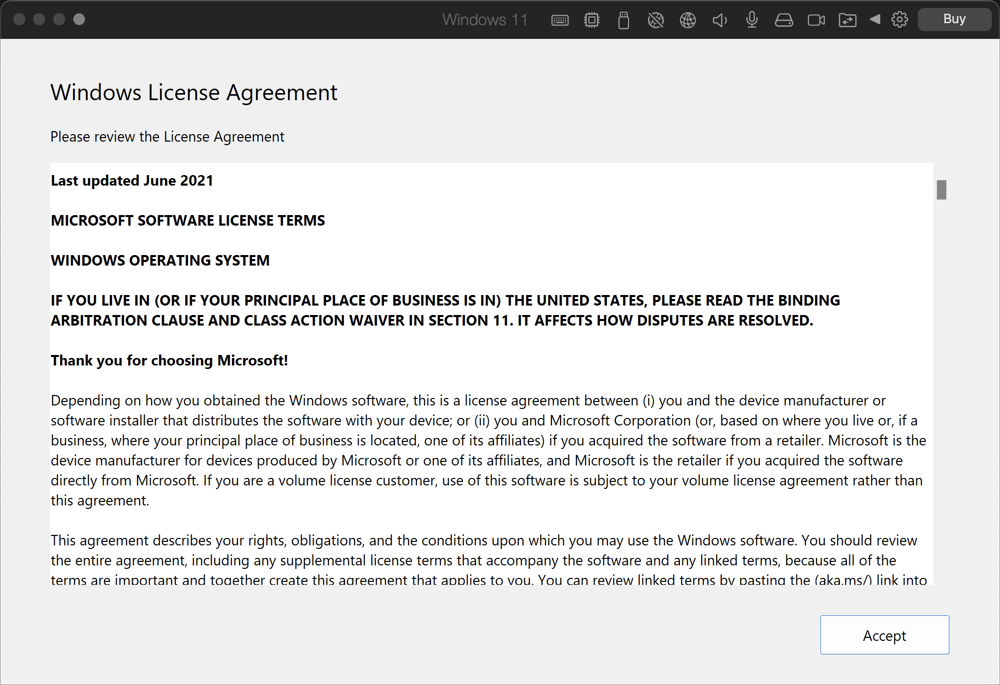
8. Afterwards, you will be greeted with the Windows License Agreement. Review it and click Accept.
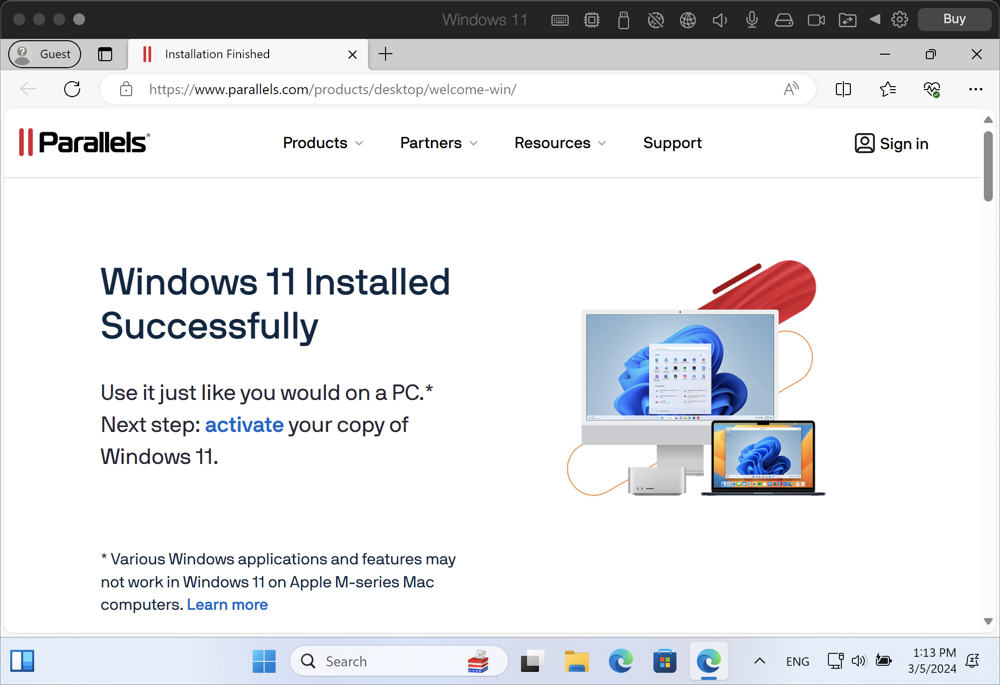
9. Congrats! You have just installed Windows 11. Now it’s time to install dbForge Edge.
Install and configure dbForge Edge in Parallels Desktop
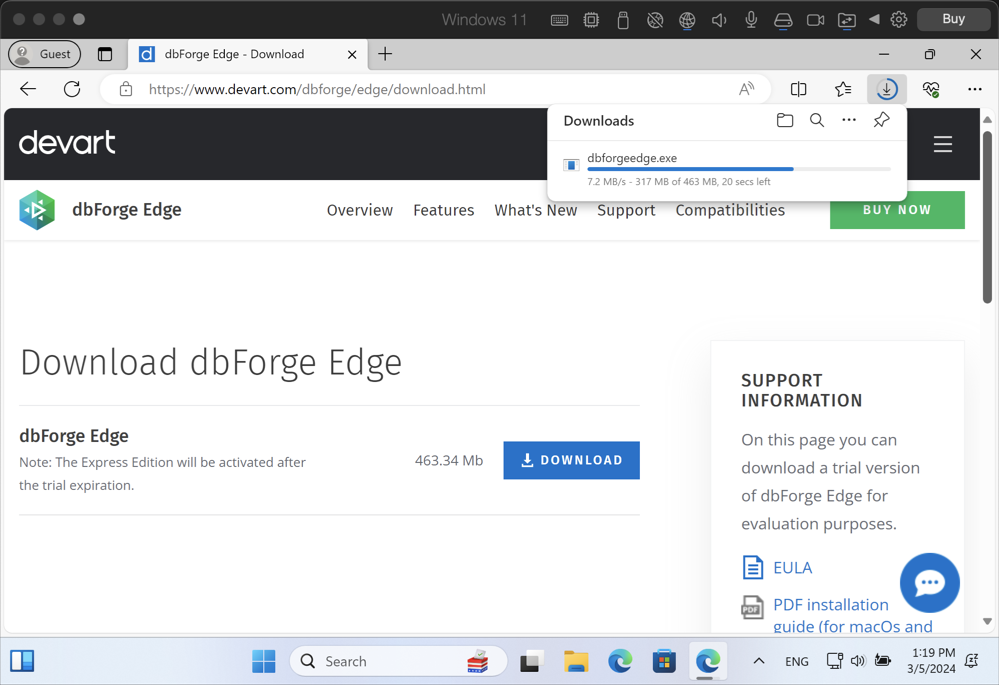
1. Inside Parallels Desktop, go to the download page of dbForge Edge and download it for a free 30-day trial.
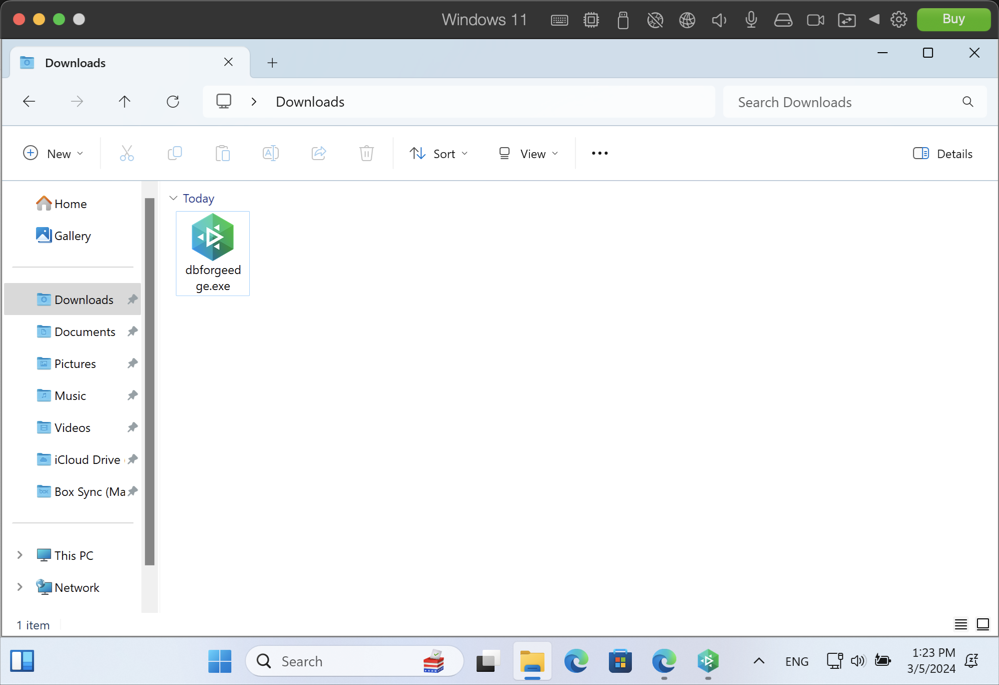
2. Find the downloaded installer file and open it.
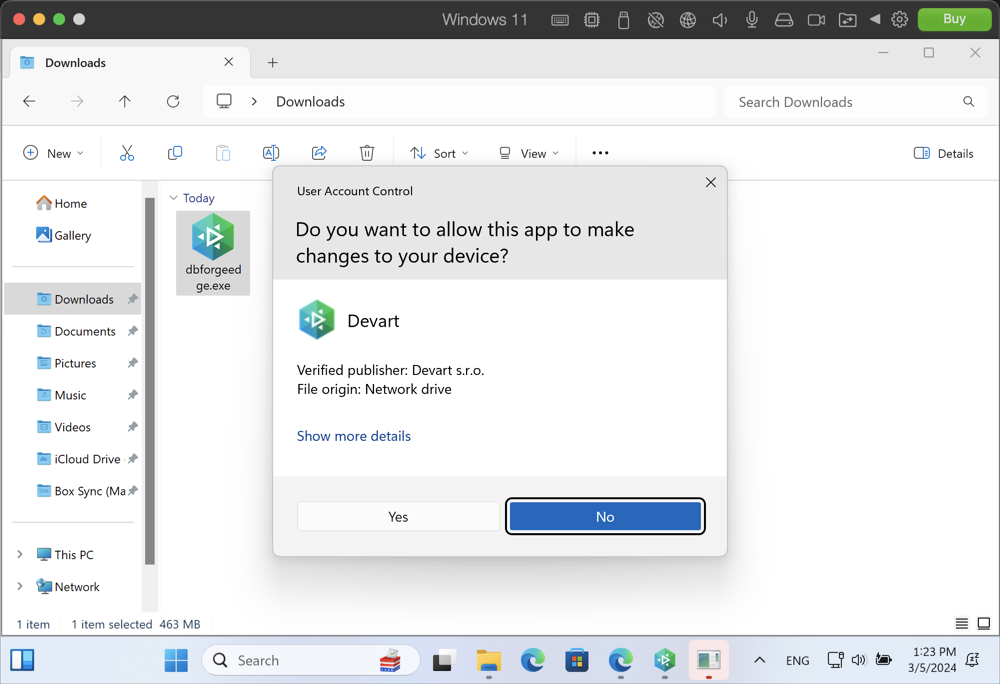
3. Start the installation by clicking Yes.
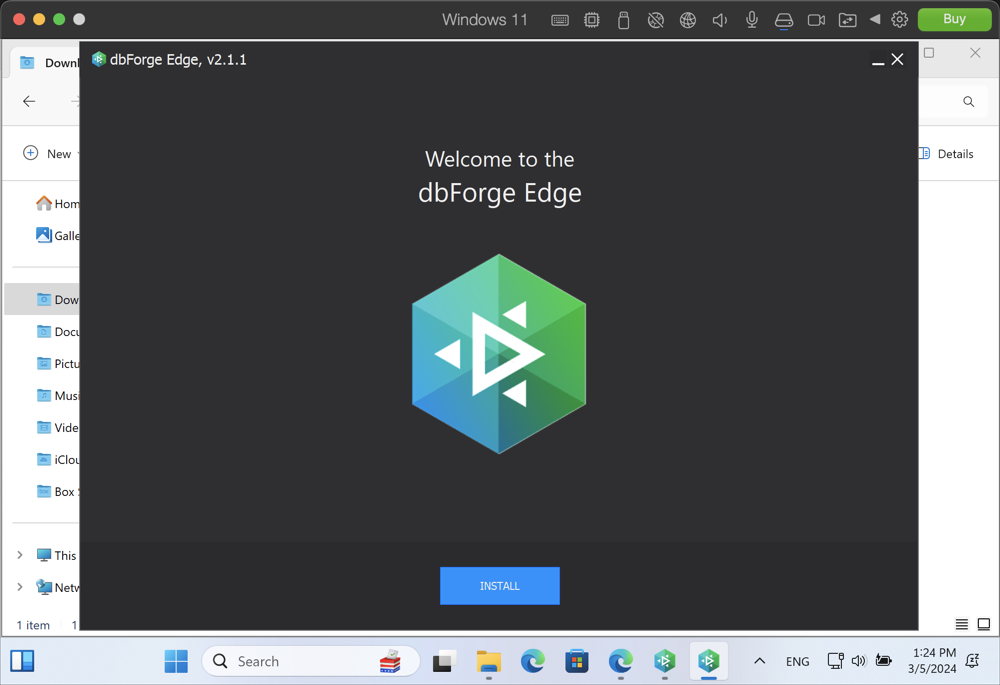
4. You will be greeted by the installation wizard. Click Install.
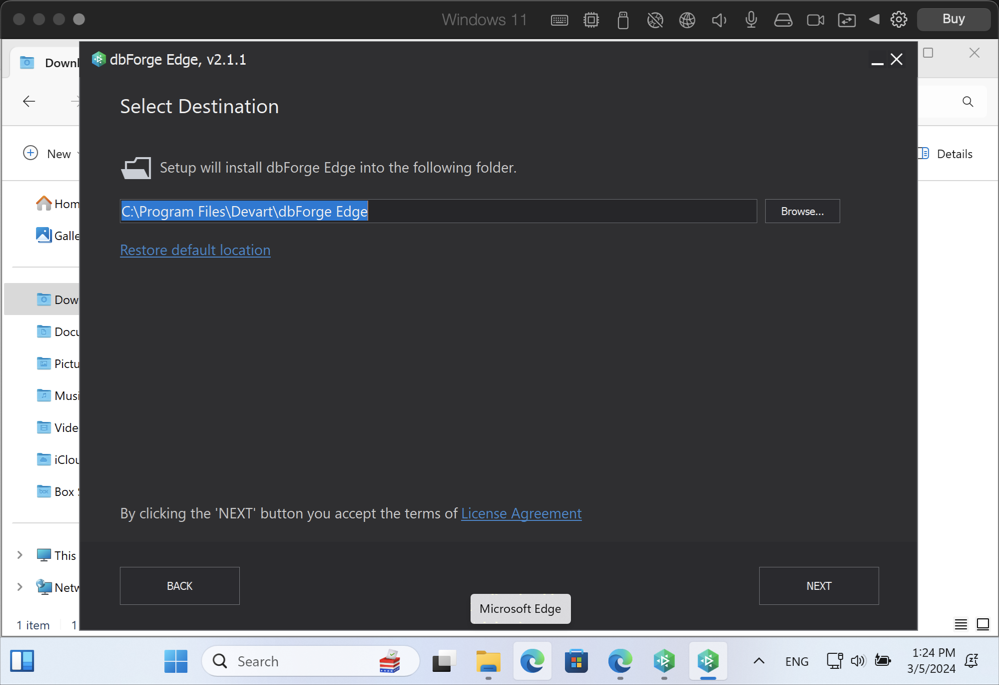
5. On the Select Destination page, pick a folder that dbForge Edge will be installed into and click Next.
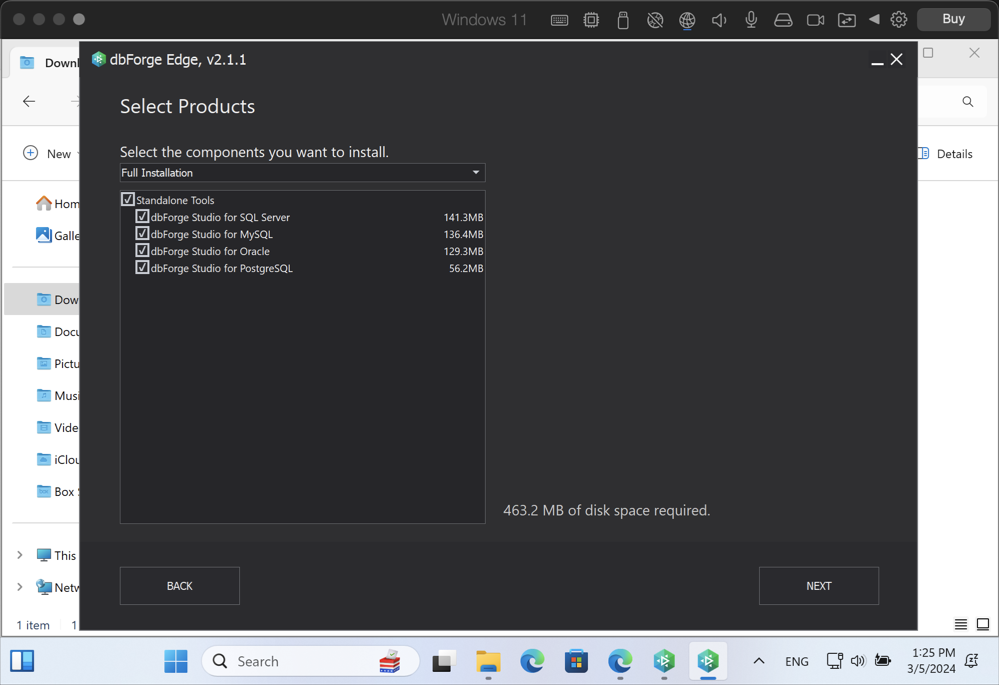
6. On the Select Products page, pick the required Studios to be installed and click Next.
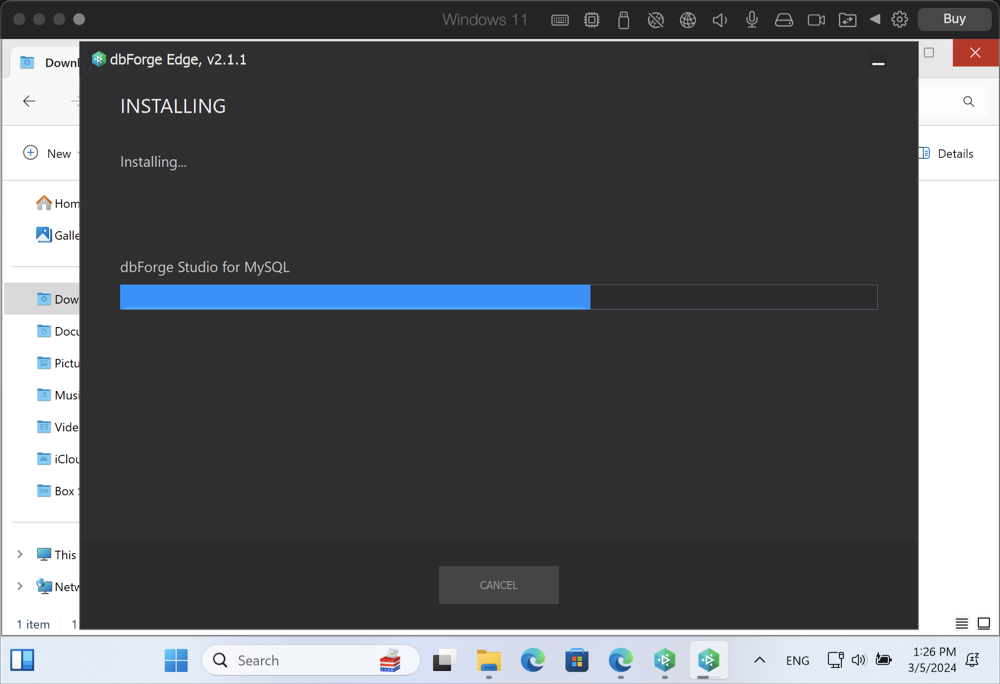
7. Wait a bit while the installation is underway…
8. Finally, once it’s done, click Finish.
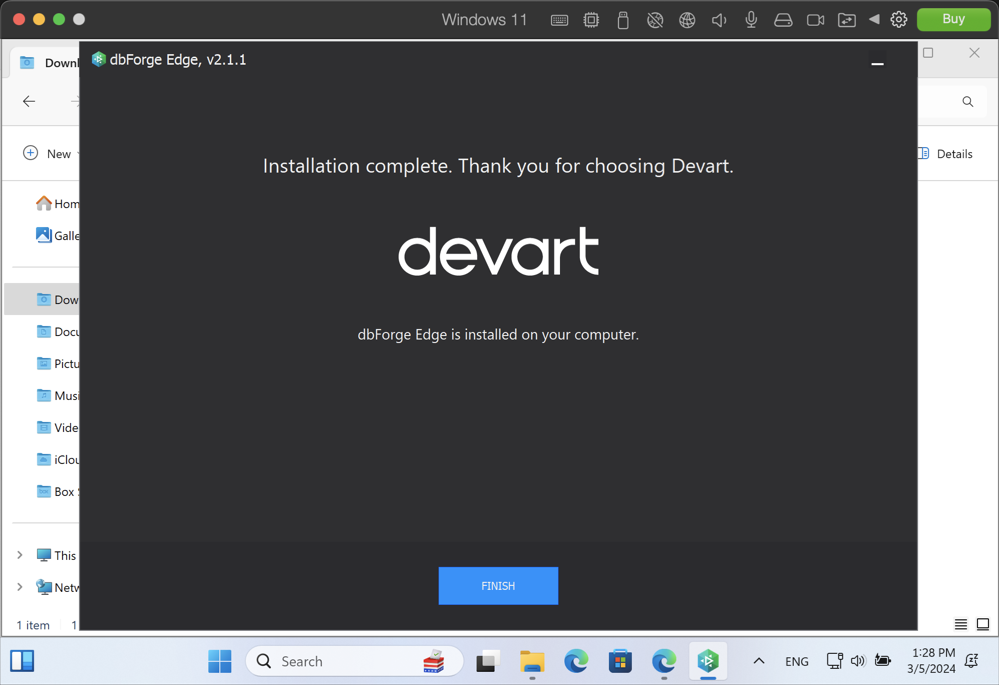
That’s it! Now you can run the newly installed Studios in Parallels Desktop.
Run dbForge Edge and connect to MySQL
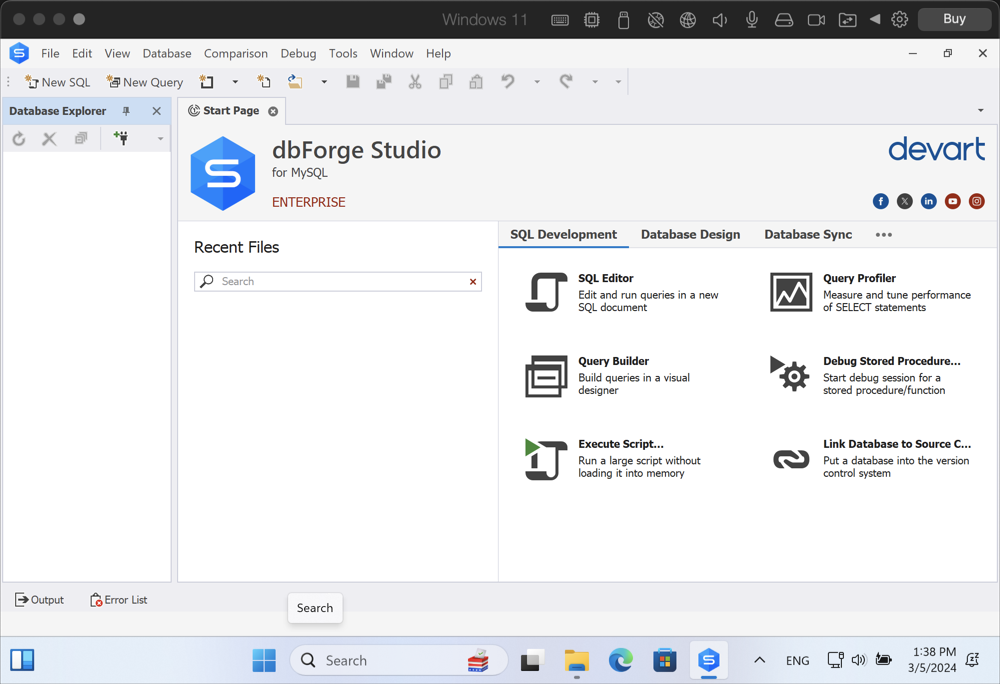
Now it’s time to open dbForge Studio for MySQL and connect to our local MySQL server. You will begin with a convenient Start Page, where the key functionality is divided into several tabs.
If you want to connect to a remote MySQL Server instance, go to Database > New Connection, enter your credentials, and that’s about it. But we’ll explore a more complicated case of connecting to a local MySQL server installed on the same Mac. Most likely, it won’t let you in that easily, and the remote access will be turned off. To overcome that, you can log in to your locally installed MySQL server, create a new user, and grant the required privileges to access your server.
Note that the following method is just one of the possible ways to make it work; should you encounter any problems in your particular case, please consult your system administrator.
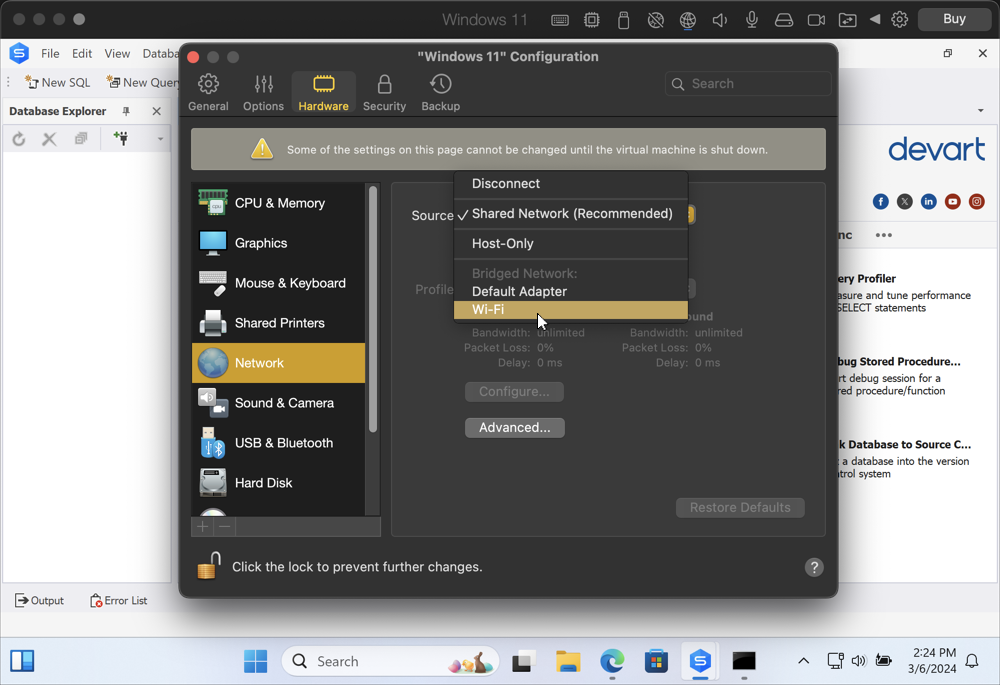
1. With that out of the way, let’s start with clicking the Network icon on the toolbar. You need to go to Bridge Network and select Wi-Fi (which is the quick way). Alternatively, you can click the same Network icon and select Configure.

On the Network tab of the “Windows 11” Configuration settings, go to Source and select Wi-Fi.
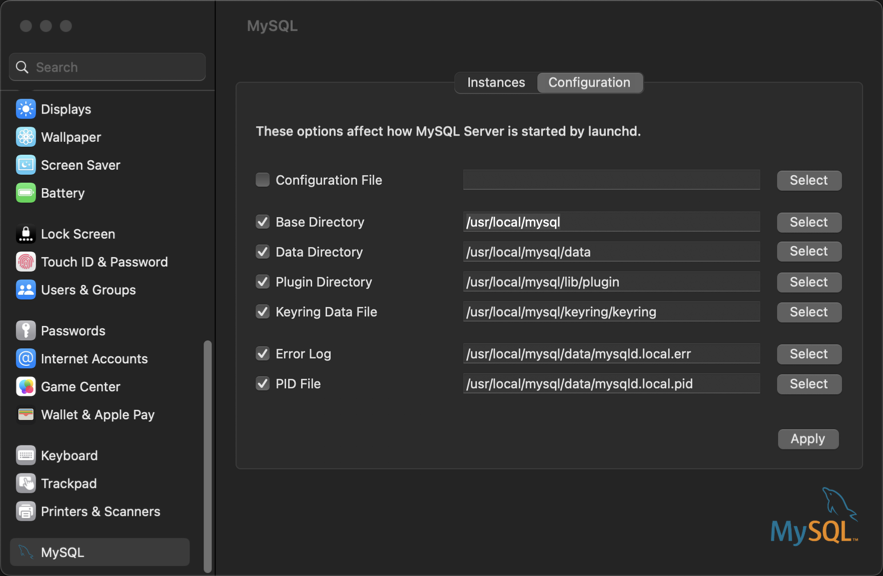
3. Next, you need to go to System Settings on your Mac. Proceed to MySQL > Configuration > Base Directory. Copy the path to the clipboard.
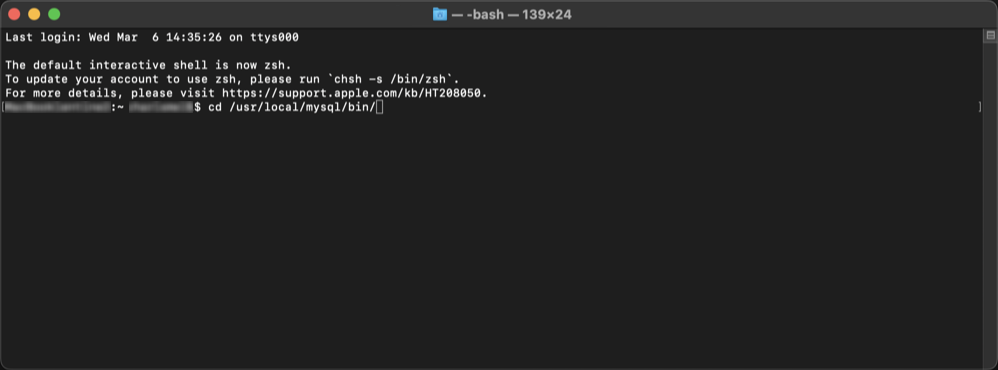
4. Now you can log in to your locally installed MySQL server and create a user that will be able to access it. Open Terminal, type cd, paste the copied path to your MySQL Base Directory, and proceed to the bin subdirectory under it.
In our case, the path to the Base Directory is /usr/local/mysql/, so the full command will look as follows:
cd /usr/local/mysql/bin/
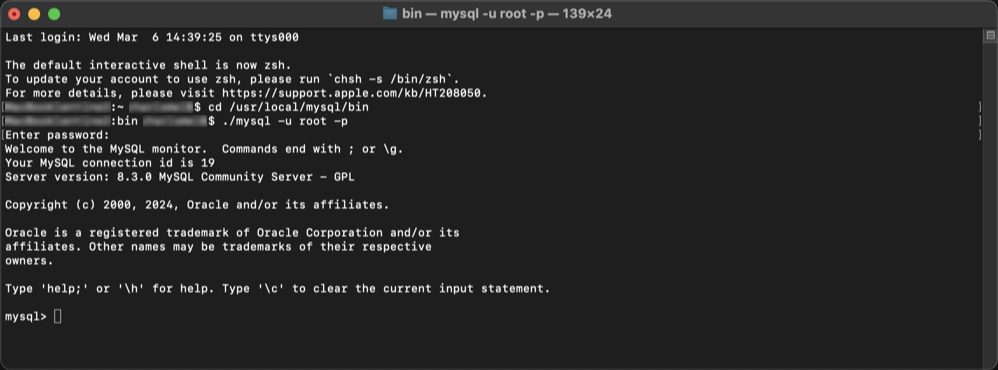
5. Next, log in with the root user. Type the following command:
./mysql -u root -p
Then, enter the password for your root user, press Return, and there you go – you have successfully logged in.
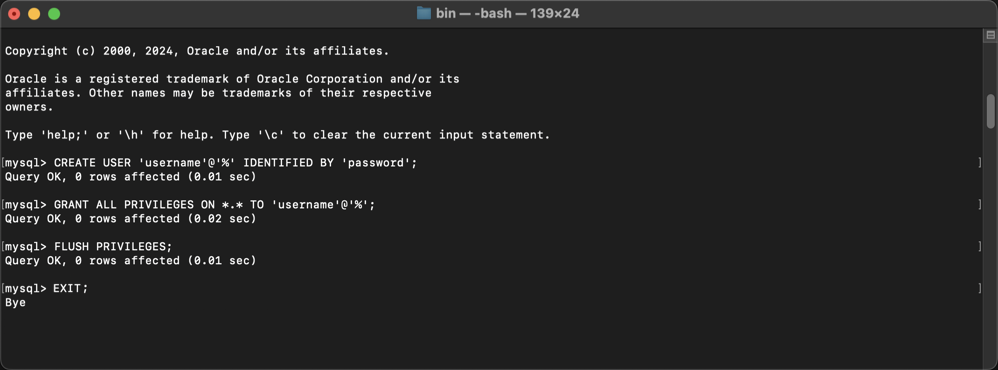
6. Your next step is to create a network user that will have privileges for remote access. You can do it with the following command:
CREATE USER 'username'@'%' IDENTIFIED BY 'password';
Next, let’s grant all privileges to this user.
GRANT ALL PRIVILEGES ON . TO 'username'@'%';
Finally, you need to apply these changes. To do that, restart your MySQL server or run the FLUSH PRIVILEGES; and EXIT; commands. This is what it looks like:
7. Back in Terminal, run the ifconfig en0 command. This will give you the IP address that you’ll use to connect to MySQL from dbForge Studio.
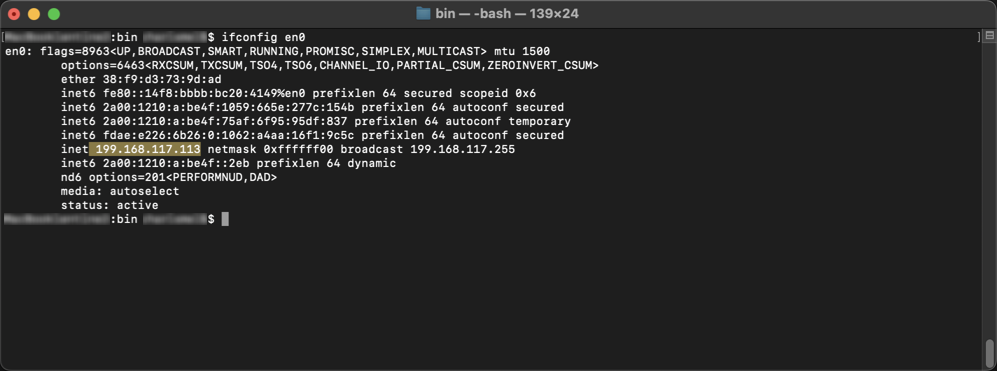
Note that your IP address may change whenever you switch to another Wi-Fi network or use a different device to access MySQL. Therefore, you may want to check your current IP each time before connecting to MySQL.
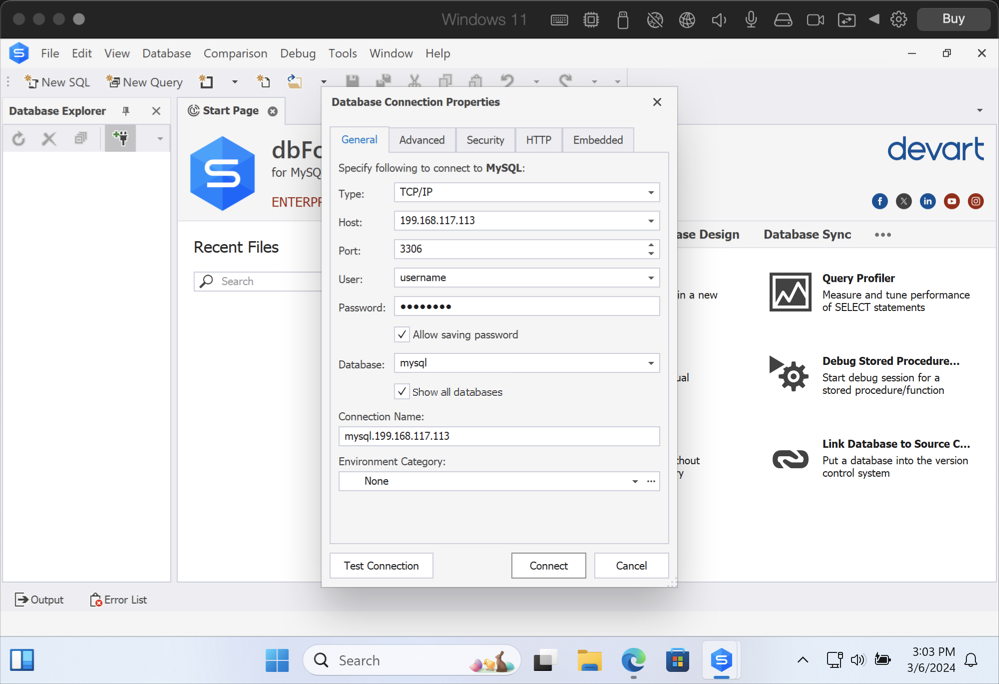
8. Finally, we have everything that will help us connect to our locally installed MySQL server. Open the Studio, click the New Connection button under Database Explorer (or, alternatively, go to Database > New Connection), and enter the credentials for your newly created network user. The IP address from the previous step will be your Host name.
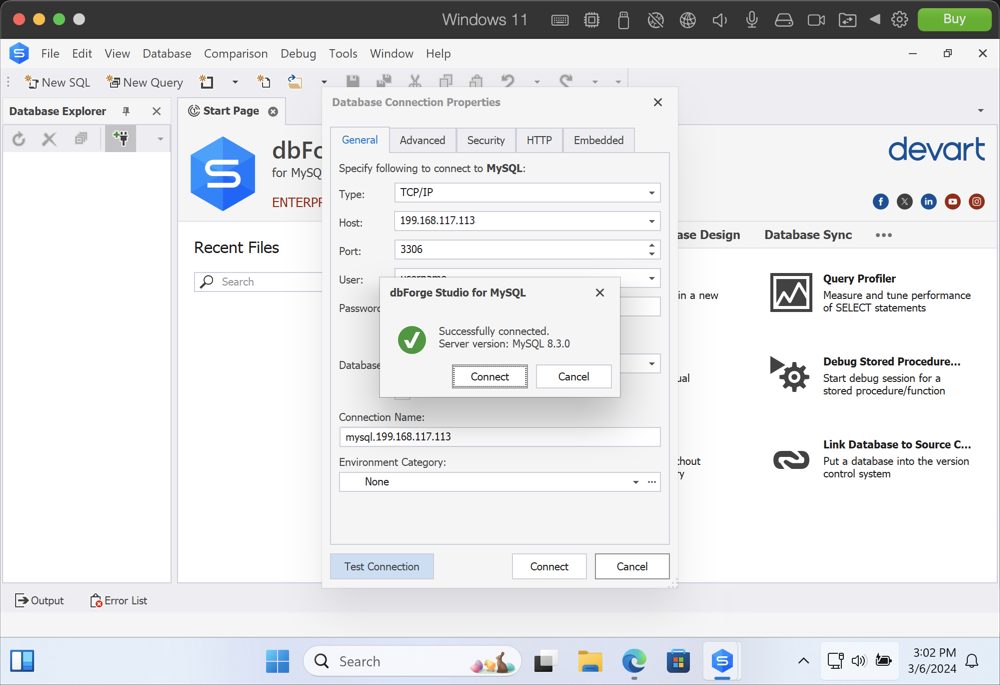
9. Let’s make sure we have entered everything correctly by clicking Test Connection. Indeed, we got it right, and now we can click Connect.
10. Optionally, you can go to Database > Security Manager to check the user you have just created…
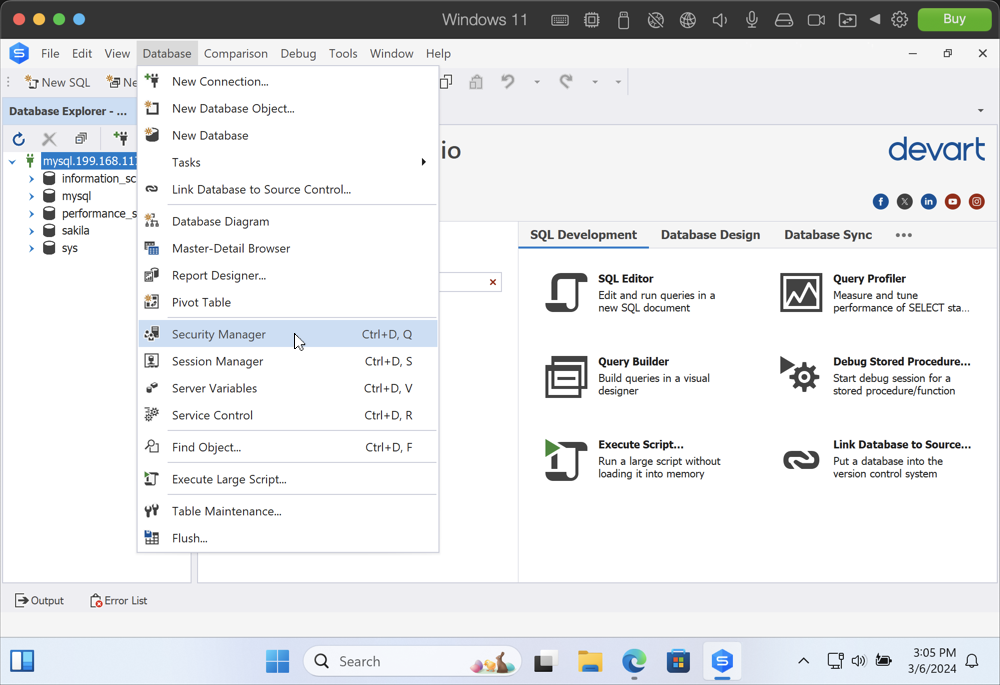
…and you’ll find the user right there.
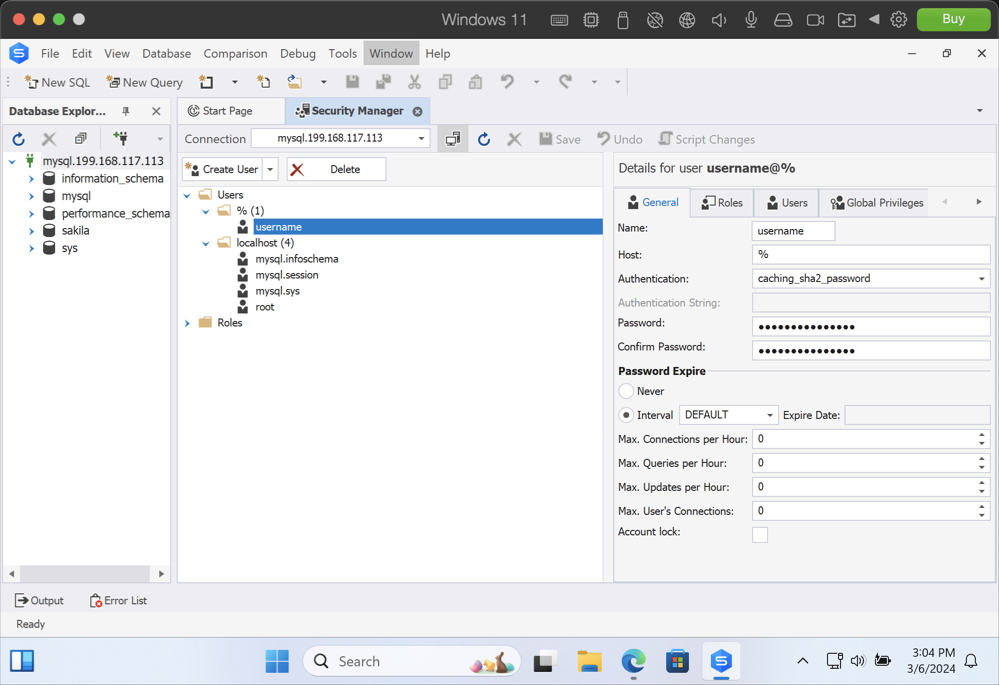
You can go to Security Manager at any moment to add, modify, and delete users, assign privileges, and suchlike.
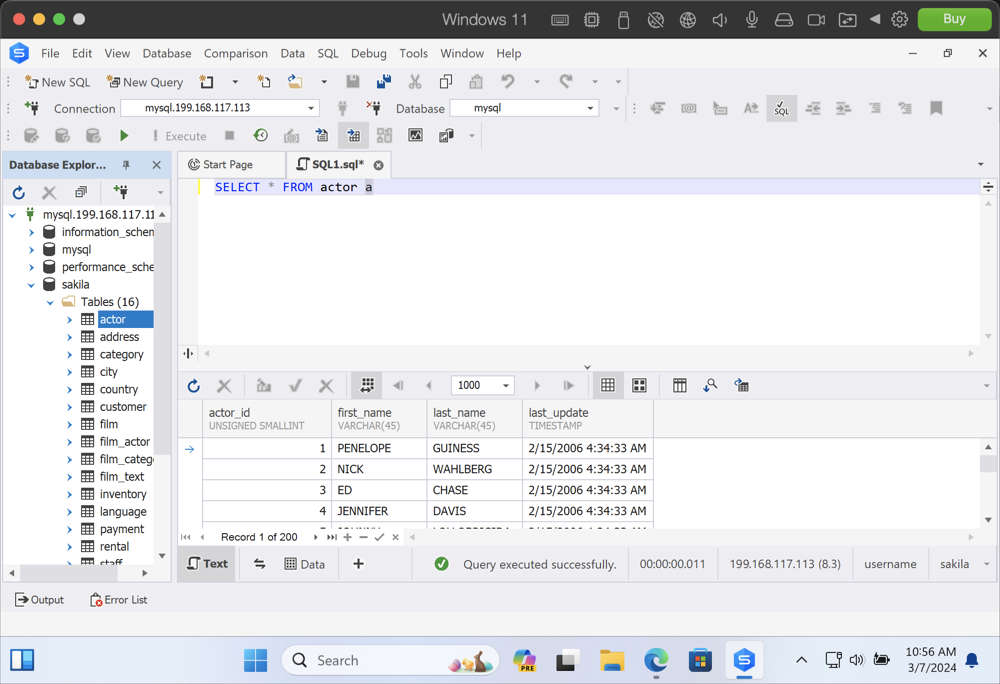
11. And now that we’re here, let’s traditionally run a query against the sakila sample database to double-check that everything works as intended.
Export a table using the command line
Finally, we’d like to show you how you can work with the Windows Command Prompt in Parallels Desktop. For instance, let’s set up automated data export from the command line. We’ll use the same actor table for that purpose.
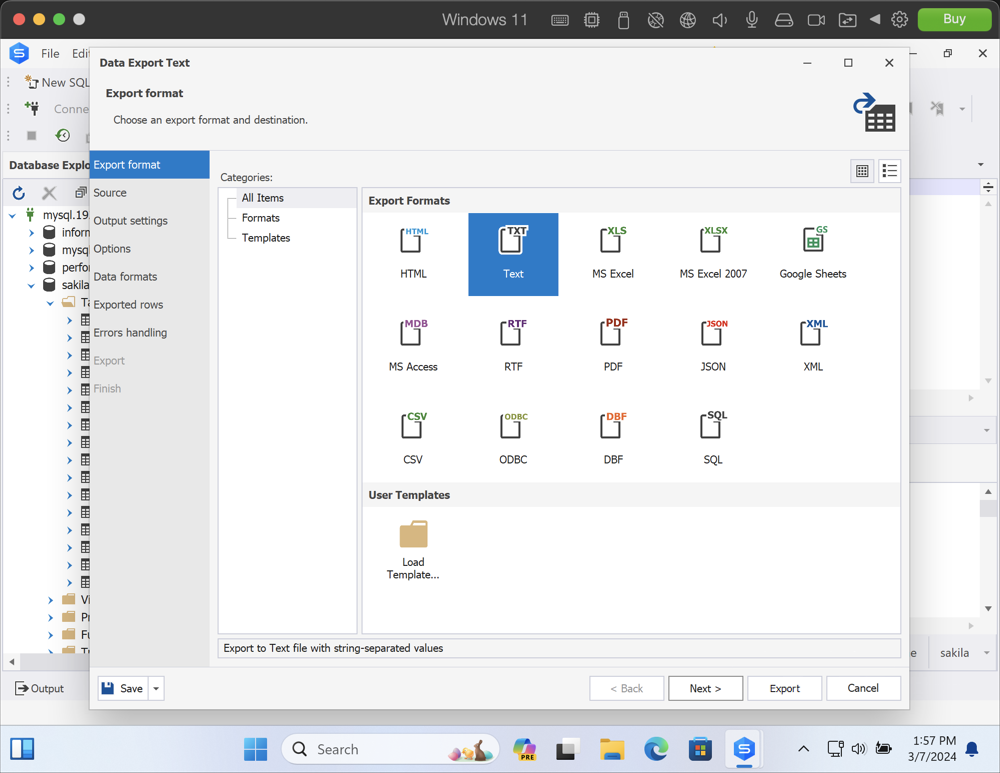
1. Right-click the required table in Database Explorer and select Export Data. You will be greeted by the Data Export Wizard where you’ll be able to pick a format (in our case, it will be Text) and configure export settings page by page.
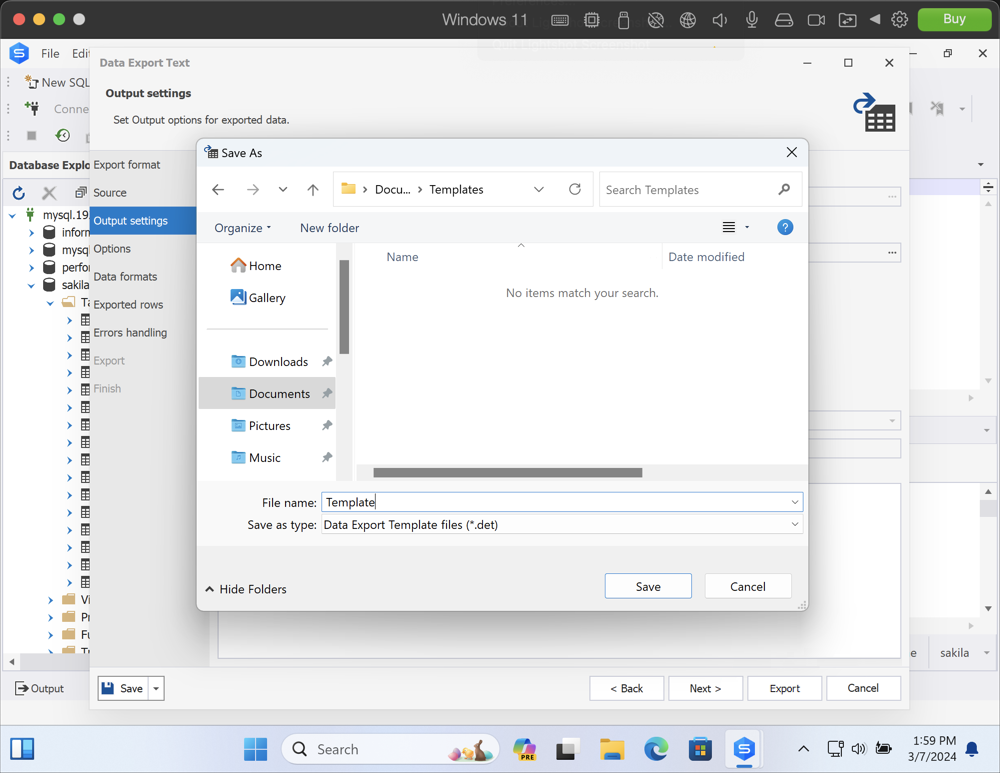
2. Once you configure the settings the way you want, you can go to Save > Save Template in the lower left corner of the wizard.

3. Save your template as a file.
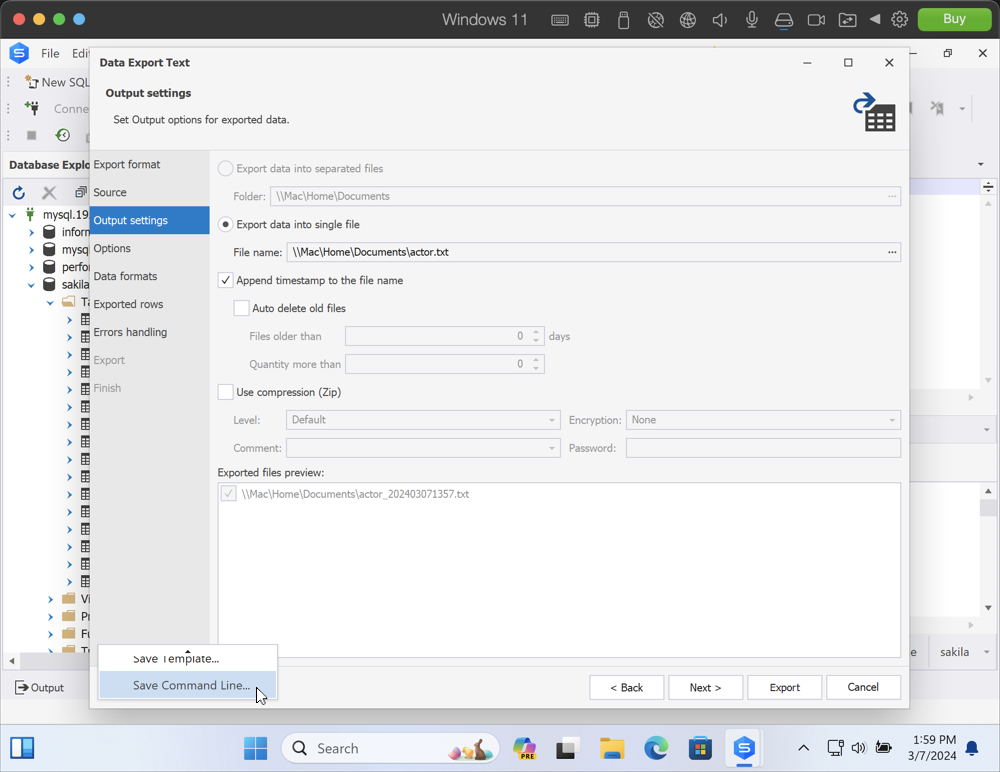
4. Now you can use that file to generate an export command. Simply proceed back to the wizard and go to Save > Save Command Line in the same lower left corner.
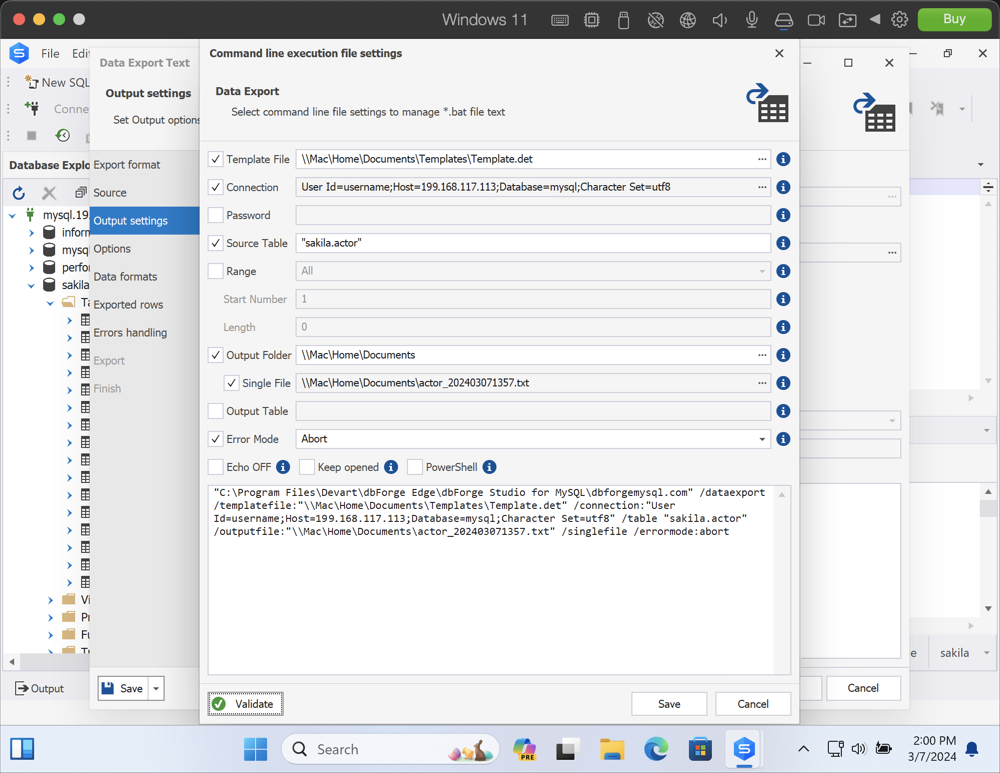
5. The command line execution file settings window opens. The wizard auto-generates the command, just make sure you have specified the saved file in the Template File field. Now you can copy and run this command in the Command Prompt—still within the same Windows 11 environment in Parallels Desktop.
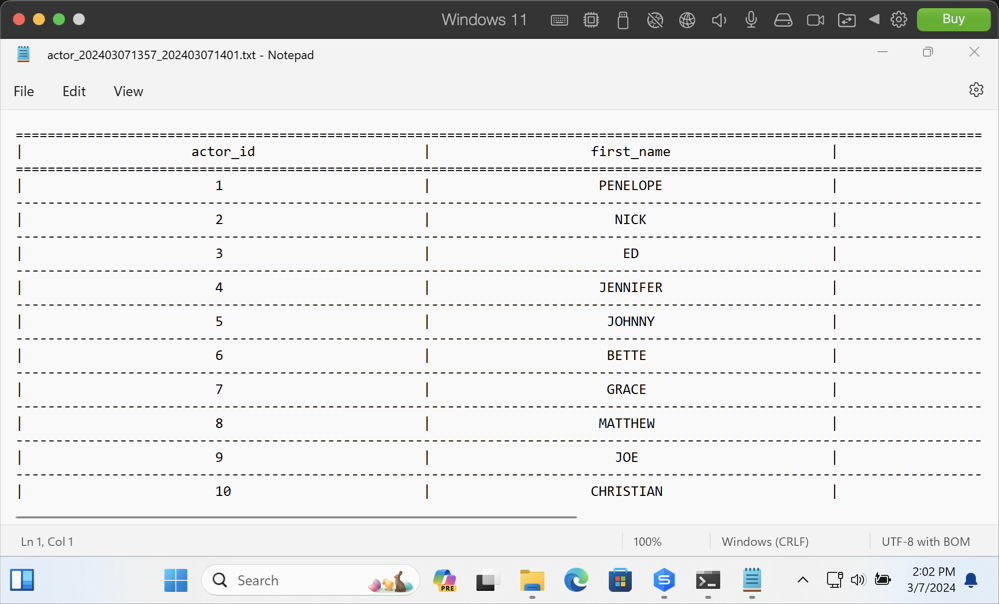
6. That said, paste and run the command…
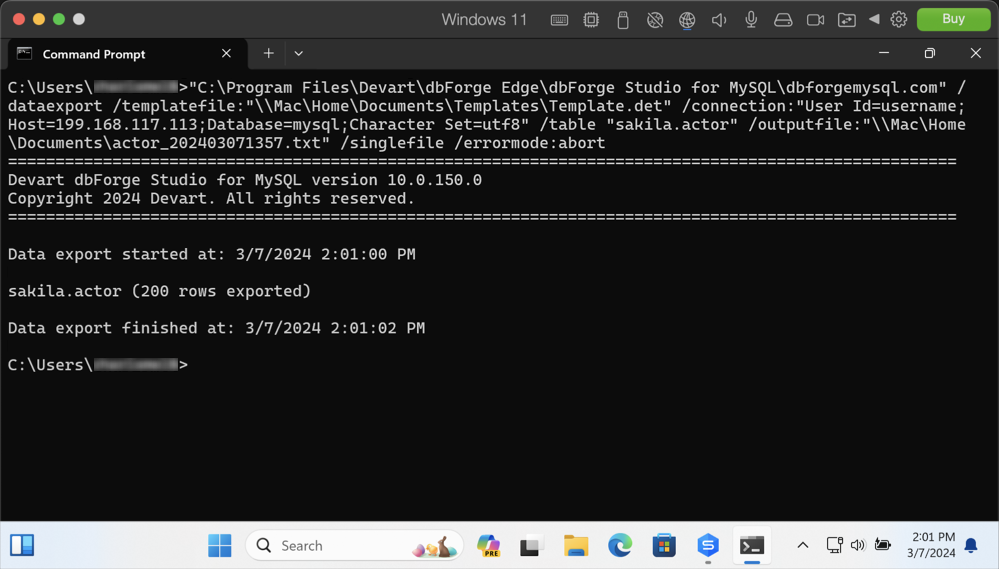
…and check the exported file to see the data in place.
That’s it!
Download dbForge Edge for a free 30-day trial today!
dbForge Edge delivers compatibility with a hefty range of database management systems—including Microsoft SQL Server, MySQL, MariaDB, Oracle Database, and PostgreSQL—and a multitude of cloud services. Its features cover the most essential database-related tasks:
- Visualization of database structures on ER diagrams
- Visual table design
- Context-aware SQL code completion, formatting, refactoring, and debugging
- Coding-free building of queries on diagrams
- Query optimization via profiling
- Flexible data management in a visual editor
- Identification of differences in database schemas and table data
- Quick synchronization of source and target databases
- Generation of realistic test data
- Generation of the full database documentation
- Data aggregation and analysis in visual pivot tables
- Observation of related data in Master-Detail Browser
- Generation of detailed data reports
- Source control integration for SQL Server, MySQL, and MariaDB databases with support for all major version control systems
- Database and server monitoring, backup/recovery, user and session management, and more
That said, we invite you to download dbForge Edge for a free 30-day trial, give it a go, and see whether it’s the best fit for your daily work. We bet you won’t be disappointed.