")
Receiving a flood of orders in your Magento store is exciting, but handling each one separately is not that great. With Magento bulk order processing, you can quickly process shipments, create invoices, update tracking information, and modify the status of several orders at once. This will save you time and help you manage high volumes of orders without worrying about manual errors.
Plus, you can easily import and export your Magento bulk order data into a spreadsheet and adjust literally any part of the ordering process directly from Excel. When combined with a robust add-in, managing your inventory and fulfilling multiple orders boils down to just a few clicks. There are also several Excel’s formulas you can use to automate tasks like calculating shipping costs, applying discounts, and generating reports.
- How to streamline data from Magento to Excel
- Practical applications
- Key Excel formulas for inventory management
- Conclusion
How to streamline data from Magento to Excel
The Magento 2 order processing workflow is kind of clunky, but you can use plenty of tools to streamline the process.
Methods to streamline data from Magento to Excel
Magento offers a built-in import feature, but you need to create the CSV files manually, map the fields, and upload them into Magento. Exporting can be rather cumbersome too. You have to go into the Sales section, export the order data in CSV format, and then open that in Excel. If you’re working with large datasets or making frequent updates, this takes too much time.
Unlike these standard methods, Excel Add-ins allow real-time data synchronization and bulk editing from within Excel. That means you can quickly update bulk orders without the hassle of switching between applications. Most of them include advanced features like customizable reporting and automated data updates. A few offer 30-day free trials to test the product before committing, such as the Devart Excel Add-in.
Setting up the Devart Excel Add-in
The Devart Excel Add-in for Magento lets you import and export data from your store to Excel and vice versa with just a few clicks. You can work with products, orders, and categories like standard Excel sheets, and instantly refresh changes to your Magento store as soon as you’re finished. Plus, it allows you to use SQL queries to pull out exactly the information you need.
Installing and setting up the Devart Excel Add-in is pretty simple. Here’s a step-by-step of what you need to do:
Before you start:
- Verify that you’re using Microsoft Excel 2007 or newer (up to 2021).
- Close all opened workbooks in Excel.
- Make sure you have admin rights on your computer to install the add-in.
- Download and install .NET Framework 4.0 or later, and also Visual Studio 2010 Tools for Office Runtime.
Step 1: Download the Excel Add-in
Go to the Devart Excel Add-in for Magento page and click the download button. You will get a file named devartexcel.exe.
Once downloaded, you should find it in the Downloads folder. If you’re using Chrome, just click the Downloads icon in the top right corner to open the file or locate the folder where it was saved.
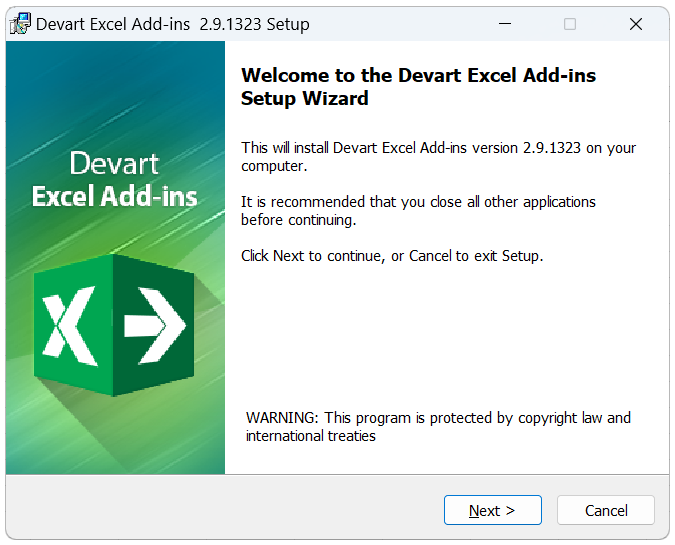
Step 2: Run the installer
Next, double-click the downloaded installer file to launch the Setup Wizard. From here, simply follow the on-screen instructions.
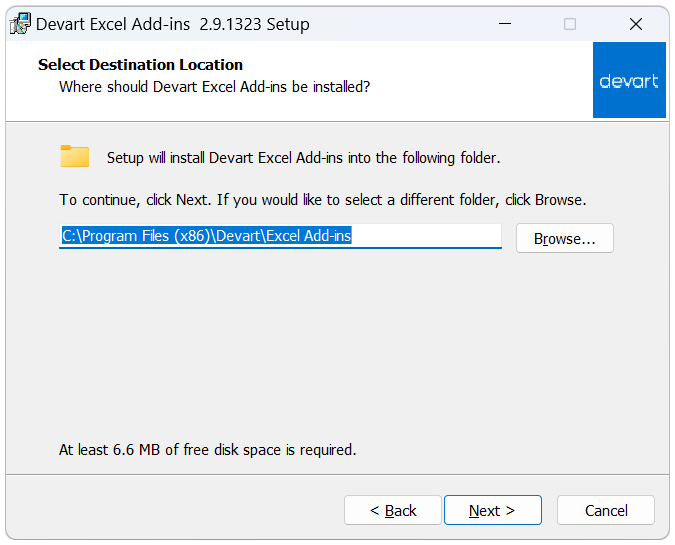
You’ll be asked to choose a destination folder. This is where the Devart Excel Add-in will be stored on your computer. Pick a spot where you have permission to save files, like your Documents folder, the Program Files directory, or your User folder.
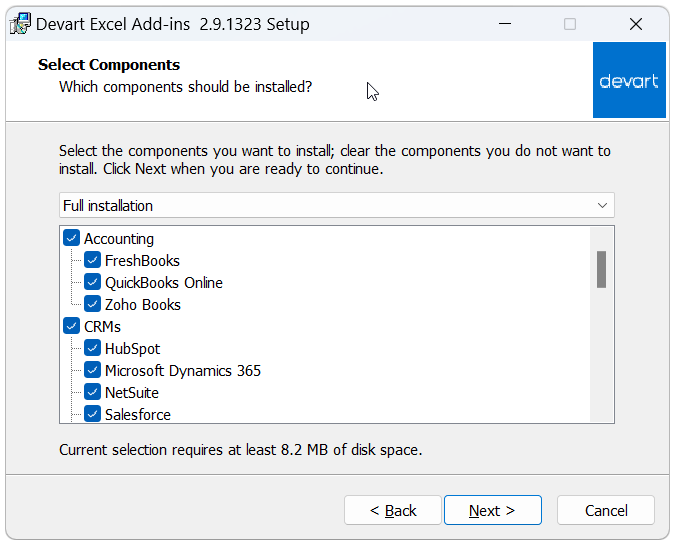
Then, you’ll have to select which components of the Add-in you want to install. There are several options, but don’t worry — just focus on the basics of Magento. Check the box next to Adobe Commerce. If you plan to work with other data sources, you might also want to add the SQL Server and MySQL components.
If you’re unsure, it’s best to go for the Full installation option in the dropdown menu. The Devart Excel Add-in Universal Pack doesn’t take up much space and gives you all the features and flexibility you might need in the future.
When you’re done, click Next. To make sure everything is set up correctly, don’t interrupt it by closing any windows or doing other things on your computer.
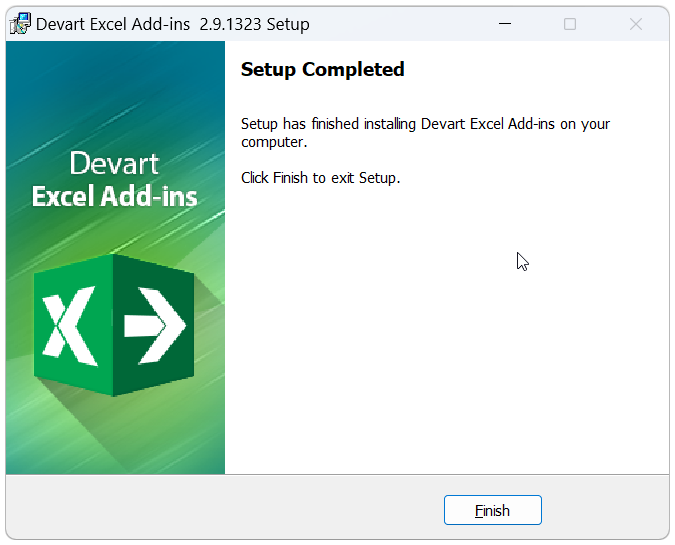
Once the installation is finished, you’ll see a confirmation screen. Click Finish to close the Setup Wizard.
Step 3: Connect to your Magento store
With Devart Add-in installed and configured, you can now connect Excel to your Magento store.
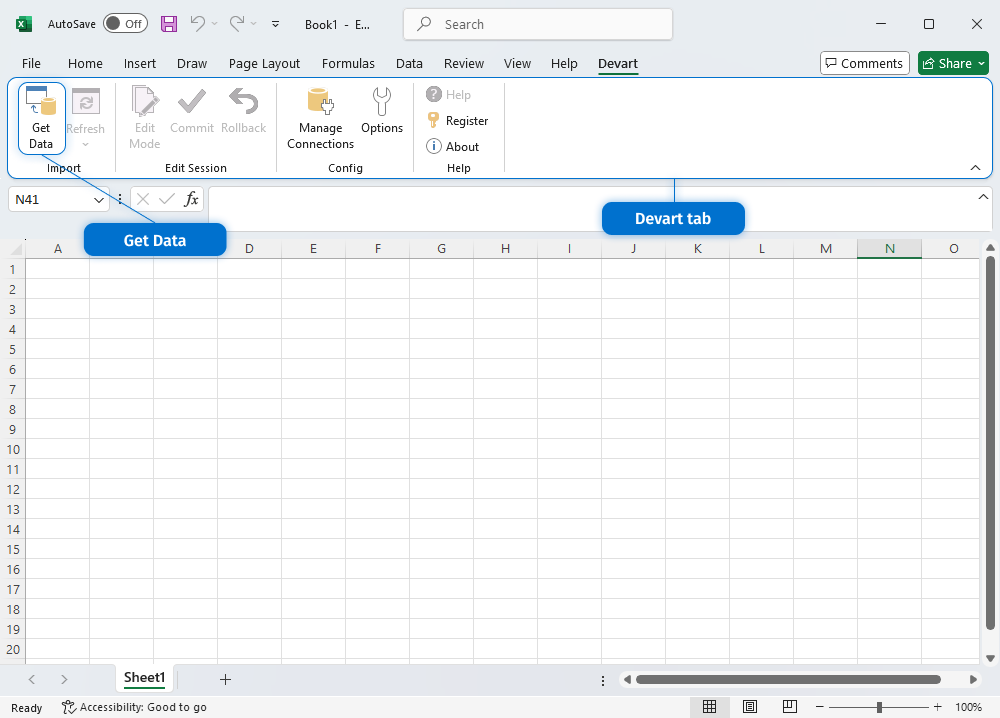
In the Devart tab, click the Get Data button. That will open the Import Data Wizard.
In the wizard, choose Adobe Commerce as your data source. Next, fill in the rest of the fields with details about your Magento 2 store:
- Domain: Your store’s URL.
- User ID: Your Magento admin username.
- Password: Your Magento admin password.

Don’t forget to check the Allow reuse connection in Excel checkbox so that you will have access to your connections later through the option Manage Connections from the Devart tab.
This will open the Connections Editor, where you can choose an existing connection to make changes in a snap. For example, refreshing your login details or tweaking your API keys.
Practical applications
So, how exactly can you use Excel and Devart’s Add-in to streamline your Magento 2 order processing?
Importing bulk orders using Excel Add-ins
If you’ve connected your store and need to quickly import orders from Excel, go to the Devart tab and click Import Data. Then:
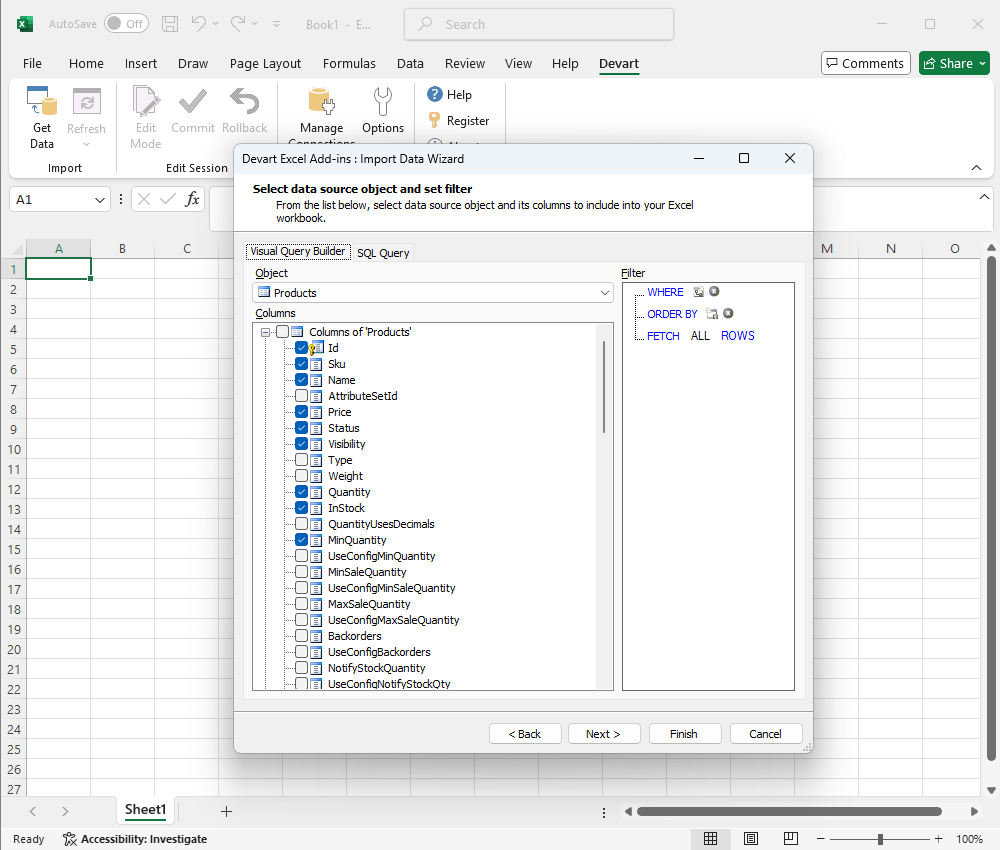
- Choose your order datasheet and select Sales Order as the entity to import
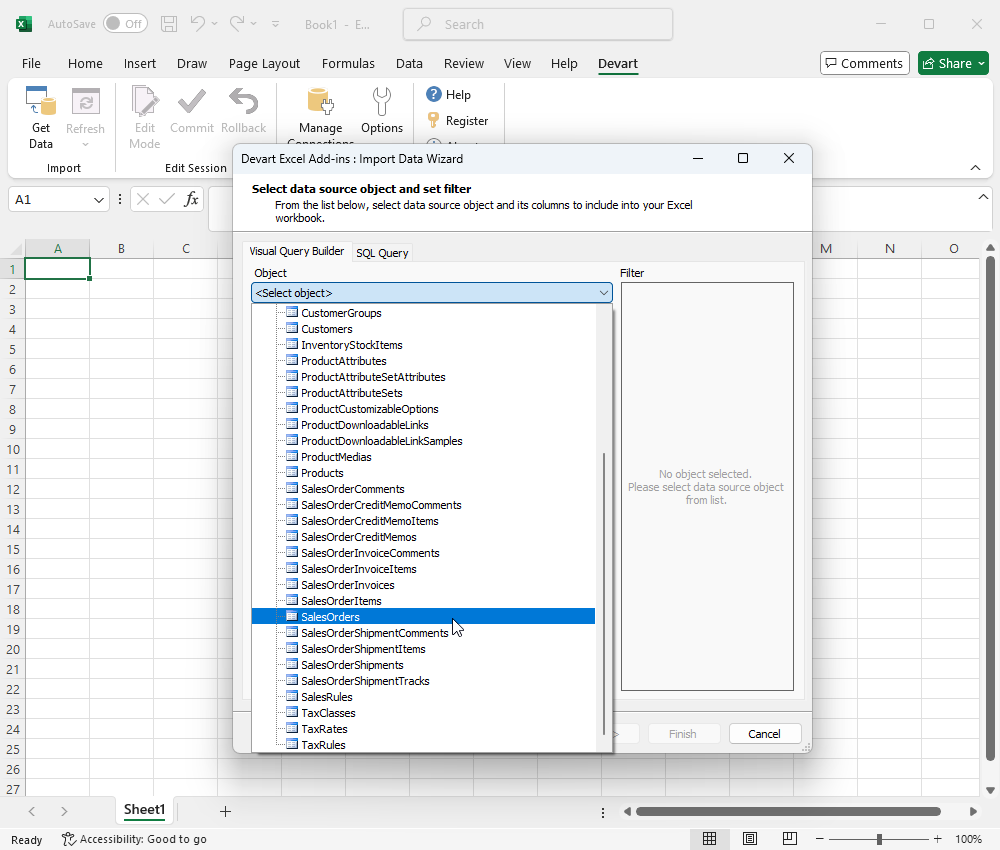
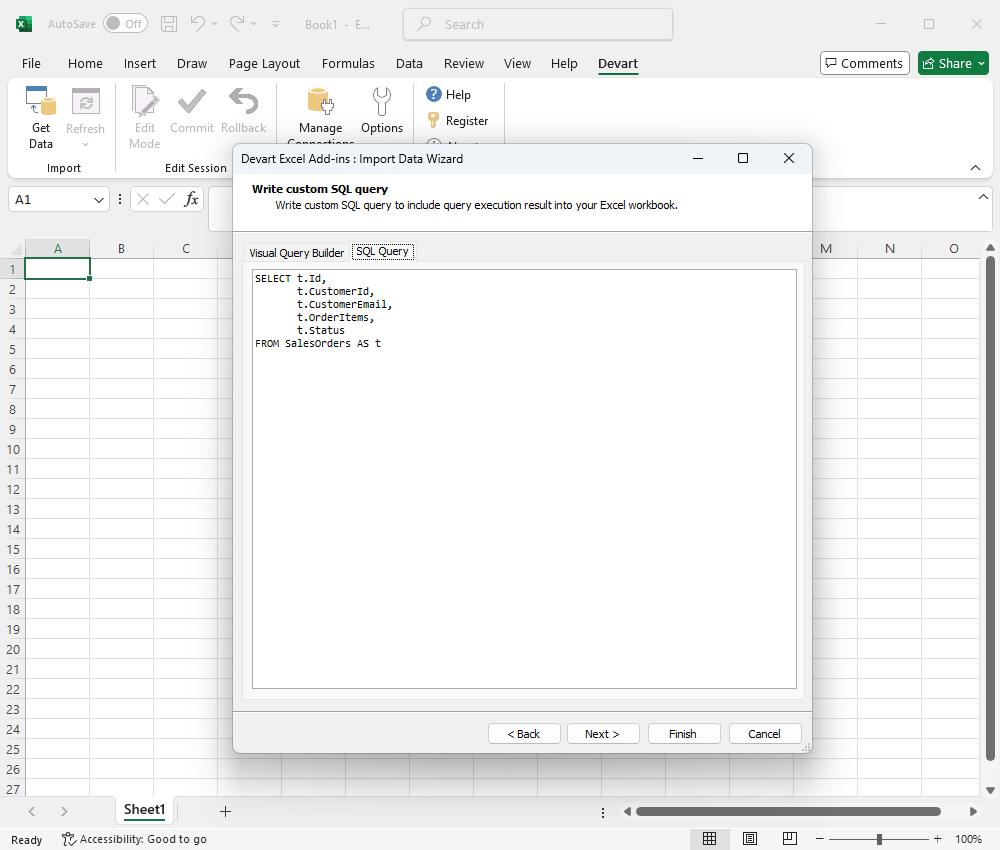
- Switch to the Visual Query Builder to create and edit SQL queries without writing code. You can pick database objects (e.g., tables), their columns, apply filters, and set sorting options.
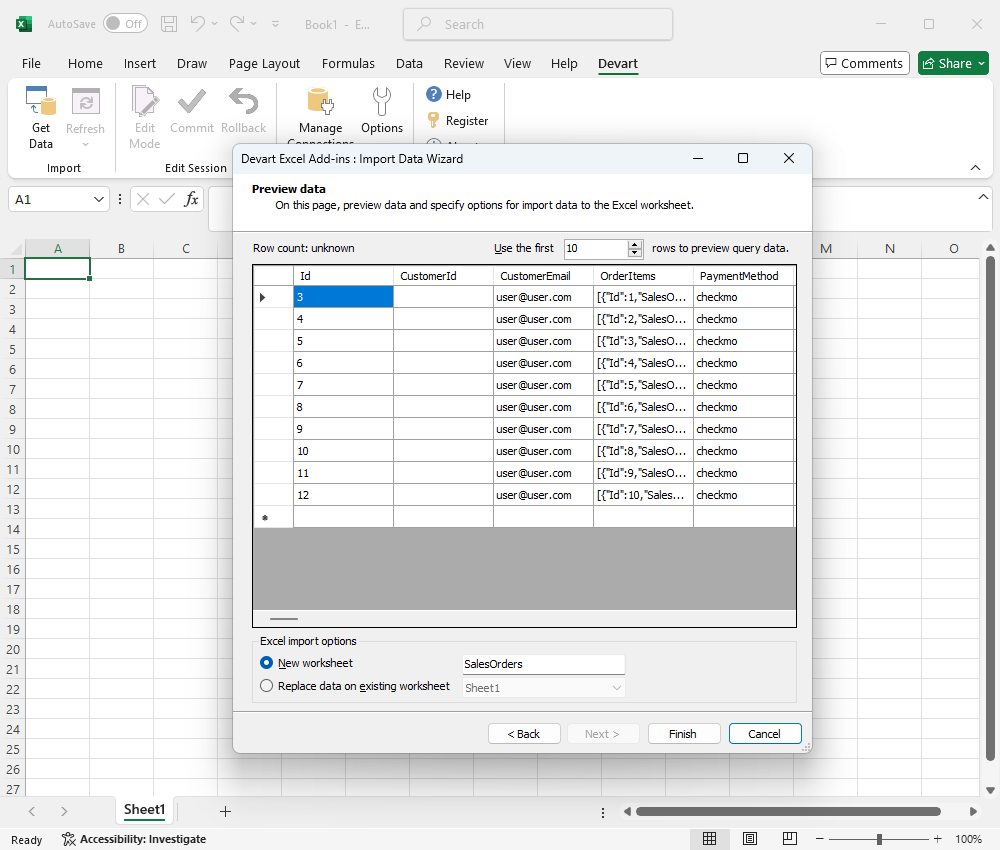
- Review your data in the Data Preview window before completing the import.
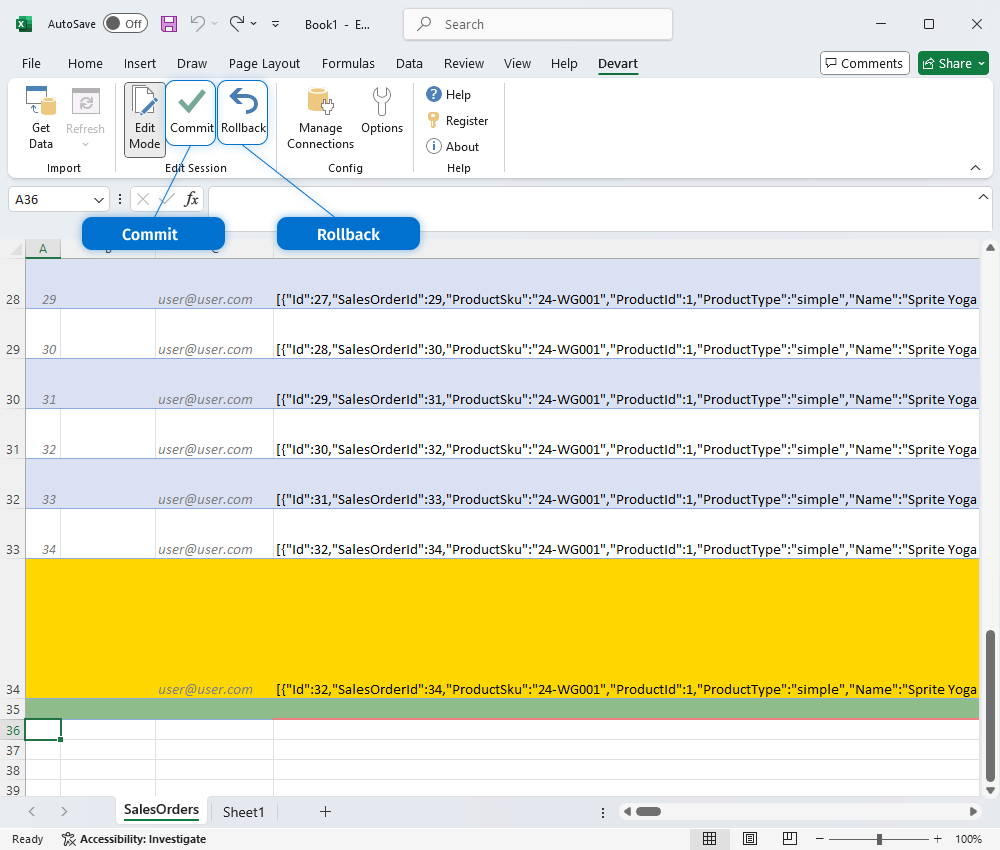
- Click Edit Mode to modify cells or add new rows by filling in the green-highlighted empty row or right-clicking to insert a new row.

- After making edits, hit Commit to save changes back to Magento or Rollback to discard them.
- Lastly, access your Magento admin panel and check the Orders section to make sure everything migrated correctly.
Managing inventory levels
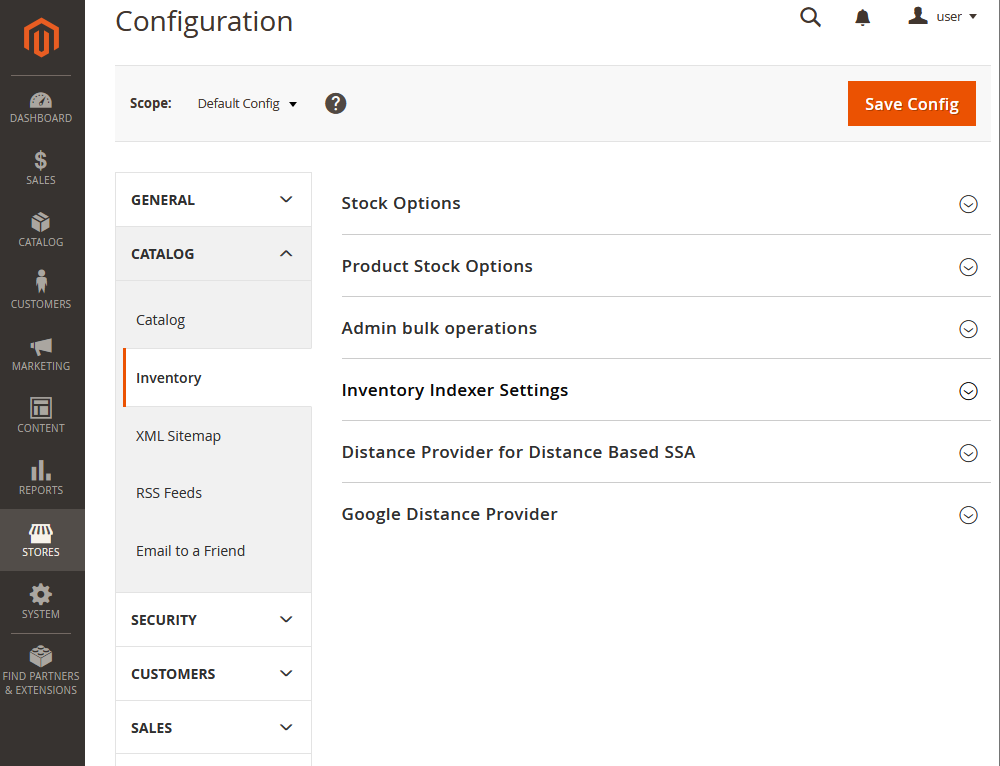
To analyze your Magento inventory and spot low-stock items:
- First, configure your Magento settings under Stores > Configuration > Catalog > Inventory.
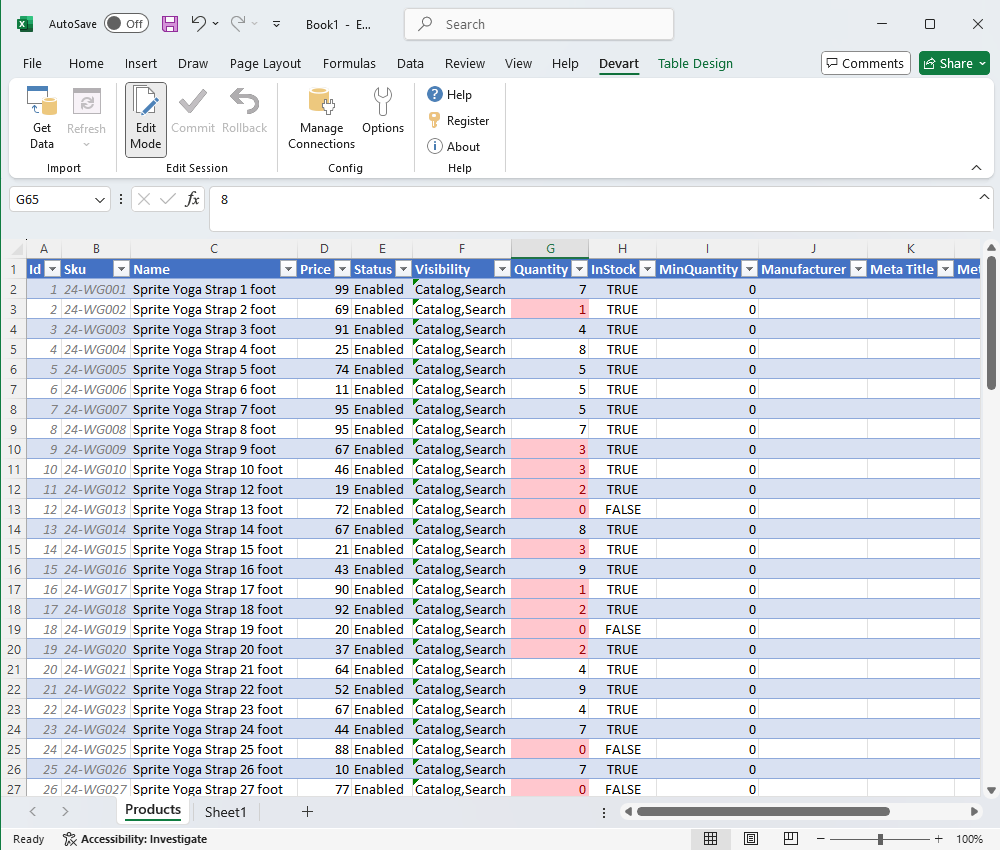
- Next, go to the Devart tab, click Export Data, and select Product to export your product data into Excel.
- Review the data for accuracy, ensuring you have columns for Product SKU, Reorder Point, Supplier Information, Lead Time, Cost Price, Selling Price, and Last Updated.
- Use conditional formatting to highlight low stock levels —set cells to turn red when stock drops below the reorder point.
Key Excel formulas for inventory management
While the Devart Add-in simplifies Magento bulk order processing, you can combine it with Excel formulas to get even deeper insights and automate tasks.
Here are some of the most useful:
- SUM and SUMIFS: Use SUM to calculate total quantities, like =SUM(B2:B10). For more specific totals, use SUMIFS to filter by criteria, such as =SUMIFS(C2:C10, A2:A10, “Laptops”, B2:B10, “>10”), which sums quantities in “Laptops” with stock levels over 10.
- COUNTIF and COUNTIFS: COUNTIF lets you count items meeting a condition, e.g., =COUNTIF(B2:B10, “<5”) for stock below 5. For multiple conditions, use COUNTIFS, like =COUNTIFS(A2:A10, “Electronics”, B2:B10, “<5”).
- MIN and MAX: Use MIN to find the lowest stock level and MAX to identify top-selling items. For example, =MIN(B2:B10) and =MAX(C2:C10).
- SORT: This function can organize your data. For instance, =SORT(A2:C10, 3, TRUE) sorts the range A2:C10 based on the values in the third column (e.g., stock levels) in ascending order.
Conclusion
Magento bulk order processing doesn’t have to be a nightmare. The solution is a simple Excel spreadsheet and a reliable add-in that integrates seamlessly with both platforms. If you’re looking to streamline your workflow, try the Devart Excel Add-in for Magento 2. You’ll be able to import and export large datasets, customize your inventory management, and update your Magento store in real-time directly from Excel — all within a few minutes.
