When you need to fill your databases with data for testing purposes, it’s usually quite handy to also have this data follow dynamic patterns like in real life. In such situations, records should both look realistic on their own and form a life-like overall picture. For example, if you want to fill your table with test data for an online service with a subscription model, the records would have to be dynamic from day to day. In real environment, the amount of subscriptions will always change – some people will leave the service while new subscribers come in. Of course, we would like the latter number to outweigh the former.
With the help of Data Generator for Oracle and some basic Python scripts, we can generate test data that will show a dynamic growth pattern.

How to generate realistic test data with a dynamic growth pattern
Creating the necessary tables
First of all, we need a database that can properly describe the information we want to store.
In this example, we’ll want three tables to hold our data – product, subscriber, and subscriptions.
The following SQL query will create these tables:
CREATE TABLE "Product" (
"id" NUMBER(10, 0),
"name" VARCHAR2(50 BYTE),
CONSTRAINT PK_PRODUCT_ID PRIMARY KEY ("id") USING INDEX TABLESPACE USERS
)
TABLESPACE USERS
LOGGING;
CREATE TABLE "Subscriber" (
"id" NUMBER(10, 0),
"name" VARCHAR2(50 BYTE),
CONSTRAINT PK_SUBSCRIBER_ID PRIMARY KEY ("id") USING INDEX TABLESPACE USERS
)
TABLESPACE USERS
LOGGING;
CREATE TABLE "Subscriptions" (
"day" NUMBER,
"product_id" NUMBER,
"subscriber_id" NUMBER,
CONSTRAINT FK_SUBSCRIPTIONS_PRODUCT_ID FOREIGN KEY ("product_id")
REFERENCES "Product" ("id"),
CONSTRAINT FK_SUBSCRIPTIONS_SUBSCRIBER_ID FOREIGN KEY ("subscriber_id")
REFERENCES "Subscriber" ("id")
)
TABLESPACE USERS
LOGGING;
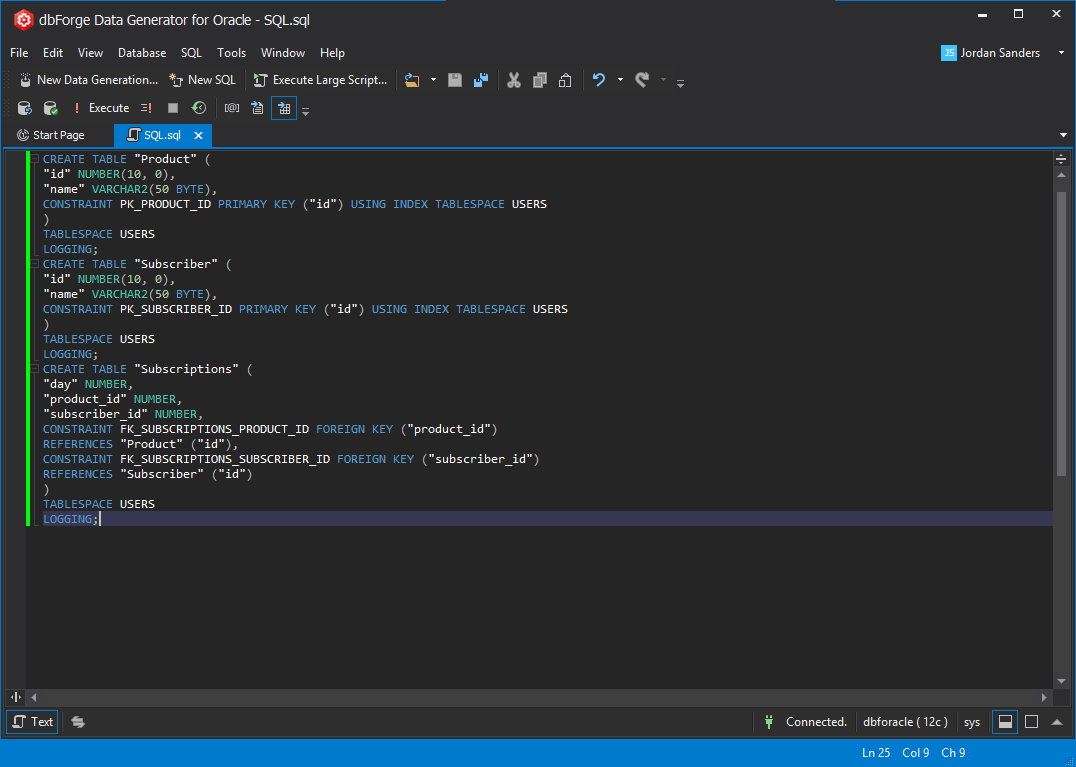
You can create the corresponding SQL file in Data Generator for Oracle. To do it, click the New SQL button located on the toolbar at the top left part of the screen. If you haven’t already connected to a server, the Connect to Server window will appear – here, select the desired connection. When this is done, click Connect. In a tab that will be opened, enter the query we provided above:

You can then execute this query to create the tables we need for the next steps.
With these three tables set up, we can proceed further.
Creating a new Data Generator document
Let’s create a new Data Generator document.
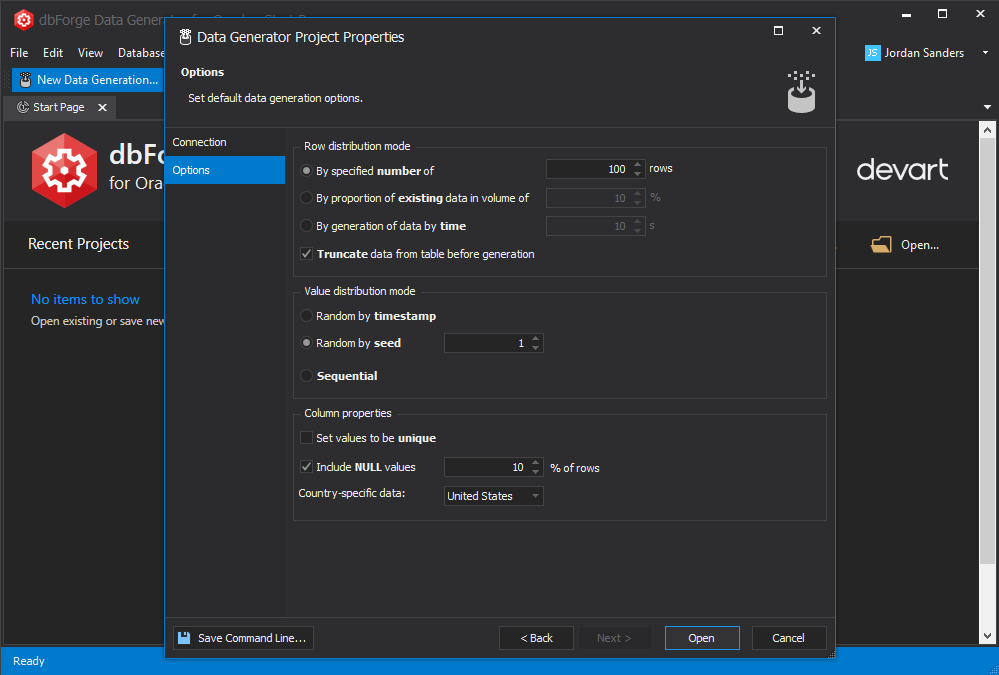
In dbForge Data Generator for Oracle, click New Data Generation on the top left corner of the screen. The Data Generator Project Properties window will be opened. In the Connection tab, choose the server connection and the schema containing the tables we created in the previous step. Then, press Next to continue. In the Options tab, you will be able to set various data generation options, if this is needed. You can also move on with the default options.

When everything is set up, press Open. The main Data Generator window will be opened.
Applying a custom data generation script
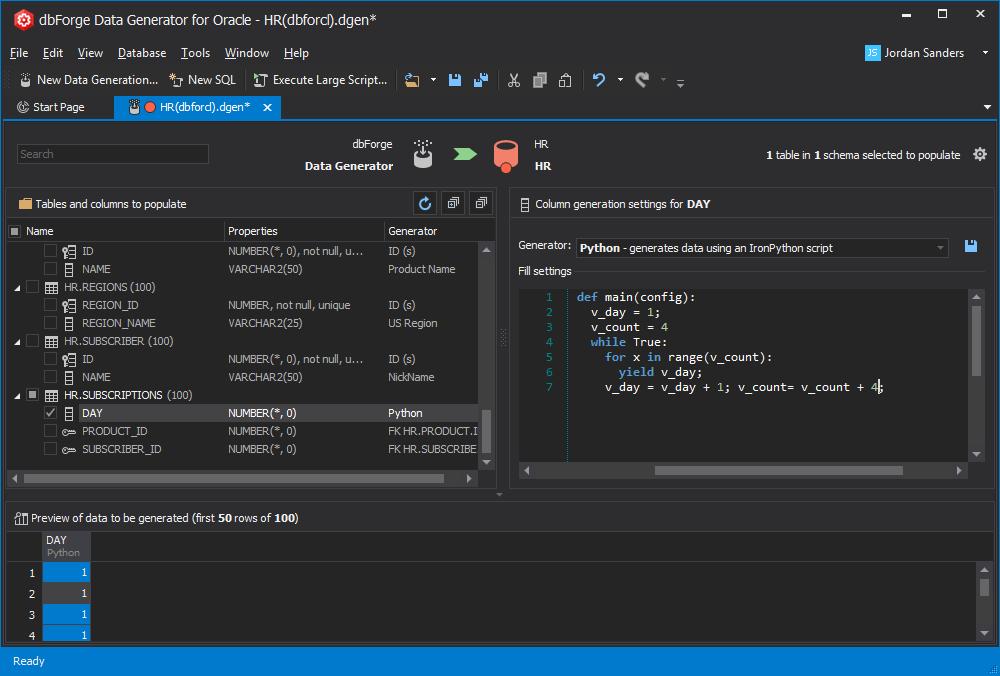
Now, select the table we just created by enabling the corresponding checkbox. Then, go to the table’s DAY field. In the Column generation settings window located at the right side, set the Generator value to Python.
In the Python script section, replace the default script with the following:
def main(config):

  v_day = 1;
  v_count = 4
  while True:
    for x in range(v_count):
      yield v_day;
    v_day = v_day + 1; v_count= v_count + 4;

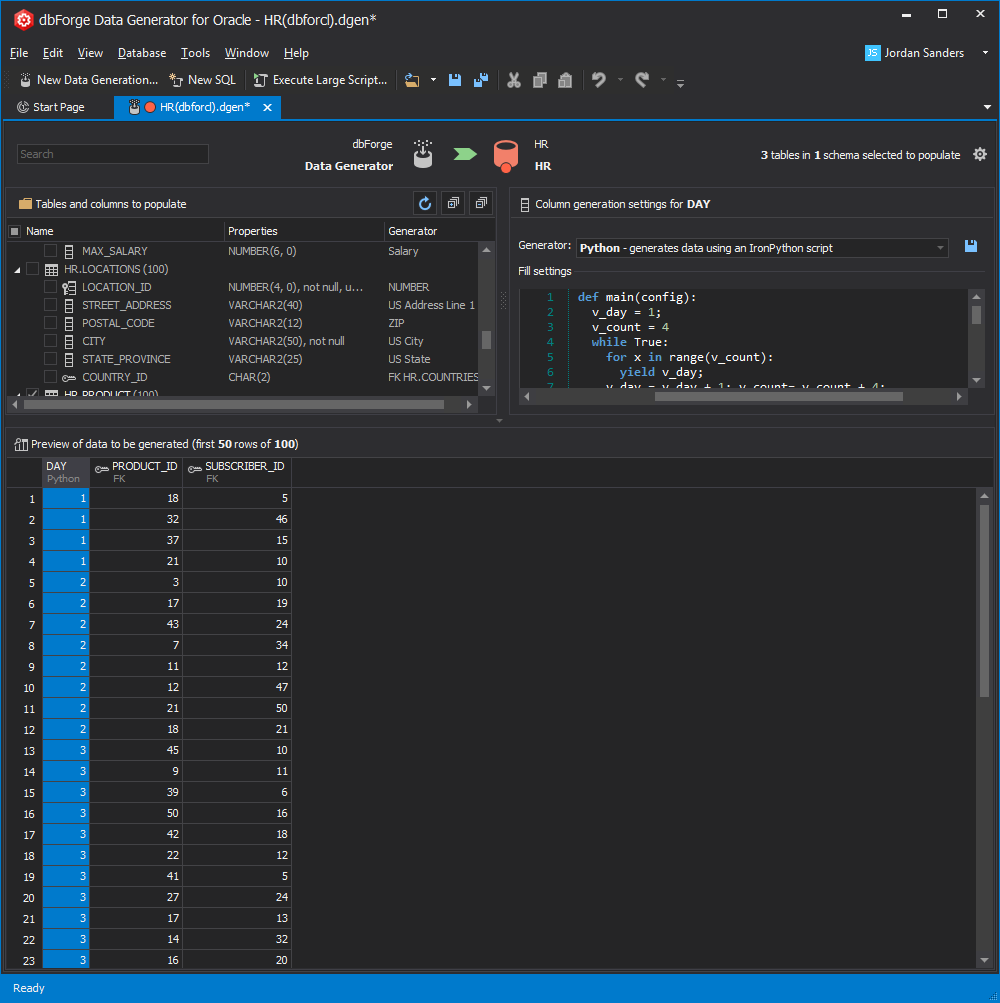
When the script is entered, you can see what kind of data it generates in the Preview of data to be generated section at the lower part of the screen:

What the initial values of the script mean
There are three things that are important to us in the script: the v_day and v_count variables and the daily growth of subscriptions.
v_day specifies the numerical value of the day of our service’s operation. So, the day we launched the service will be marked as day 1, and the day two weeks later as day 15.
v_count specifies how many subscribers we gain on the day from which we start generating the data. In the script’s initial version, we start with v_count = 4, which means we will have 4 new subscriptions on the first day.
At the very end of the script, you will find the following line:
v_count= v_count + 4;
This line specifies the daily growth of subscriptions. So, by default, the daily subscription growth is equal to 4. With all these initial values, we will get 4 new subscribers on the first day, 8 new subscribers on the second day, 12 on the third day, etc.
Changing the script to better suit your needs
To fine-tune the data generation process, you can change the corresponding values in the script.
By changing the initial value of v_day in the script, you can generate data starting from a specific day in our service’s lifespan. For example, you can start the data generation process from the point of time when our service is 1 month old by changing the first line of the script to:
v_day = 31;
By changing the value of v_count, you will change how much new subscribers you get on the day from which you start generating the data. So, let’s assume that by day 31 we have 2000 subscribers. We can specify that by changing the second line of the script like this:
v_count = 2000;
Finally, let’s change our daily subscription growth. If we get 12 new subscribers each day, we will need to change the last line of the script to:
v_day = v_day + 1; v_count= v_count + 12;
So, with these modified parameters, we’ll start generating data from day 31 of our service’s lifetime, with 2000 initial subscribers and the daily subscription growth of 12.
So, you can see that generating a dynamical pattern of data for your table is not that difficult with dbForge Data Generator for Oracle – you can download it and try out for yourself. Also, you can watch this video tutorial:


