
Managing financial data efficiently is important for any business, and QuickBooks Online and Excel are two of the most powerful tools available. However, one of the main challenges businesses face is the limited flexibility in generating custom reports and visualizations directly within QuickBooks. By exporting data from QuickBooks to Excel, businesses can create custom charts, graphs, and visualizations that are not possible in QuickBooks. Additionally, exporting data provides a way to share financial information with stakeholders who do not have access to QuickBooks. This guide will walk you through how to seamlessly import and export QuickBooks Online data using Excel Add-Ins, solving this key challenge and enhancing your data management capabilities.
Table of Contents
- Why Import/Export QuickBooks Online Data Into Excel?
- 4 QuickBooks Item List Types You Can Manage in Excel
- How to Manage QuickBooks Online Data Using Devart Excel Add-In
- QuickBooks Online vs Excel
- Advanced Tips and Tricks
- Conclusion
Why Import/Export QuickBooks Online Data Into Excel?
Exporting and importing QuickBooks data to Excel offers numerous benefits that address key business challenges. According to a study, 73% of businesses struggle with data silos, making it difficult to gain comprehensive insights from their financial data. QuickBooks Excel integration helps reduce these silos and enhances data management.
- Excel’s advanced features allow you to create detailed and customizable reports that are not possible in QuickBooks. For example, businesses can generate custom charts and graphs, providing deeper insights into financial performance.
- With Excel’s analytical tools, you can perform in-depth analysis, identify trends, and make data-driven decisions. This is particularly useful for businesses that need to analyze large datasets from multiple sources.
- Excel is a universal format that facilitates easy data sharing with stakeholders who do not have QuickBooks access. This ensures that financial data can be reviewed and analyzed by various departments and external partners.
- Leveraging Excel’s functionalities allows you to update and manage your data more efficiently. This reduces the risk of errors and improves the accuracy of your financial records.
- Excel lets you consolidate data from various sources, providing a more comprehensive view of your financial information. This is essential for businesses that use multiple platforms for their operations.
- By importing QuickBooks data into Excel, you can apply additional layers of analysis, such as pivot tables and advanced formulas, that go beyond QuickBooks’ built-in capabilities.
4 QuickBooks Item List Types You Can Manage in Excel
In this section, we will explore the different types of item lists in QuickBooks that you can import and manage using Excel. This capability allows for enhanced data manipulation and more detailed financial analysis. Let’s explore the four primary QuickBooks item lists you can manage in Excel.
QuickBooks Account List
The Account List in QuickBooks includes all the accounts used in your financial transactions, such as bank accounts, expense accounts, and income accounts. On another hand, managing this list in Excel is a way to level up document structure while streamlining account information updates.
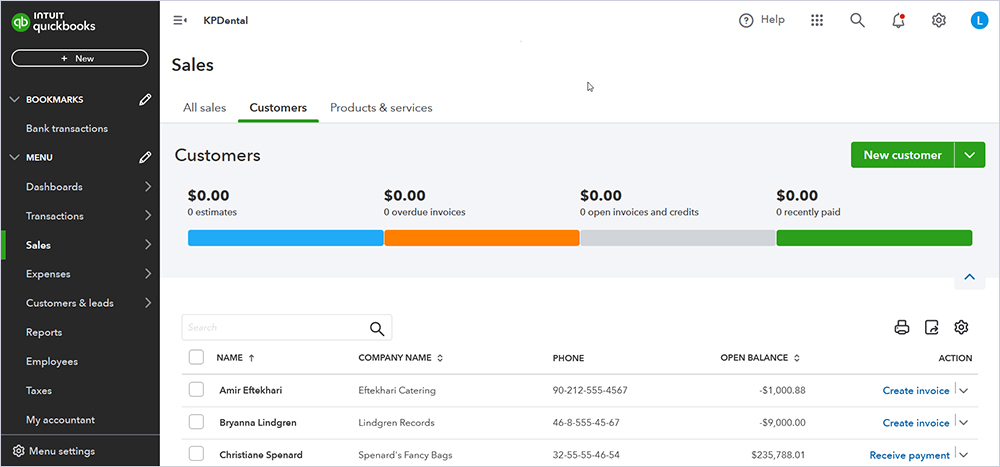
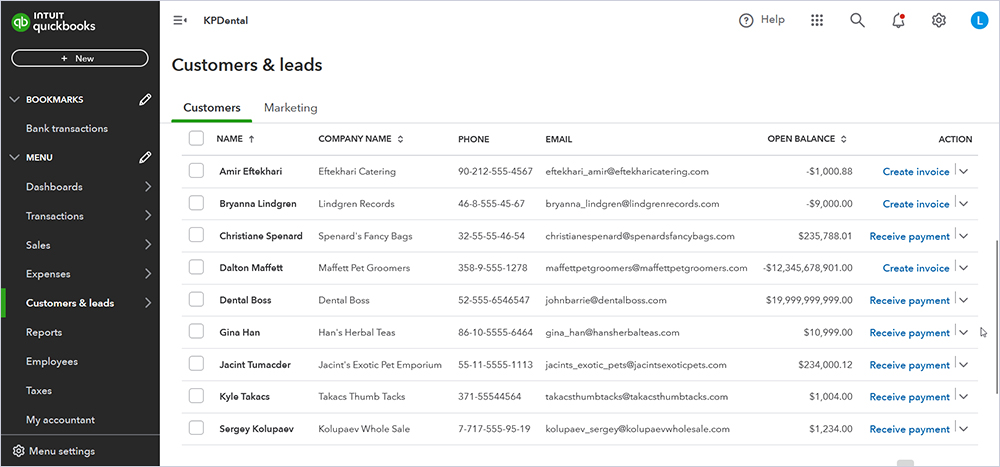
QuickBooks Customer Contact List
The Customer Contact List contains detailed information about your customers, including names, addresses, and contact info. Importing this list into Excel enables efficient data updates, bulk changes, and improved customer relationship management.
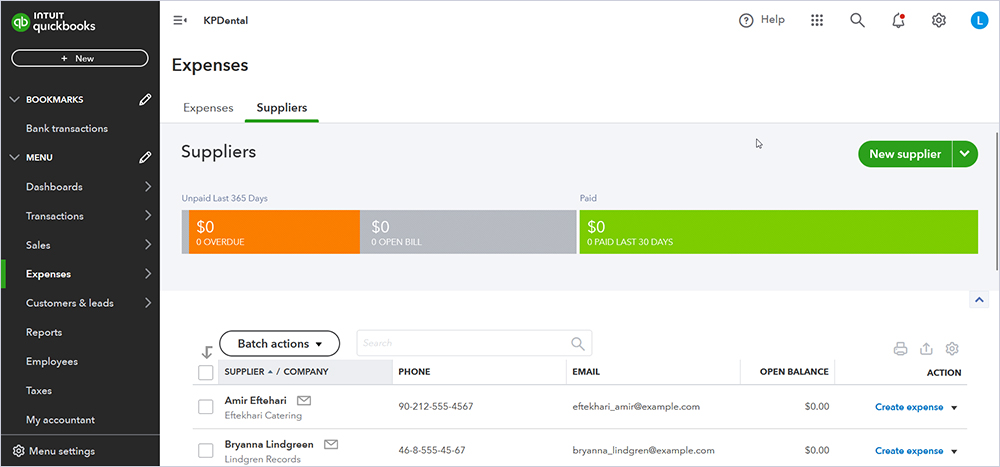
QuickBooks Vendor Contact List
The Vendor Contact List includes all your vendors’ names, addresses, and contact details. Managing this list using Excel helps maintain accurate records and streamline communication with vendors.
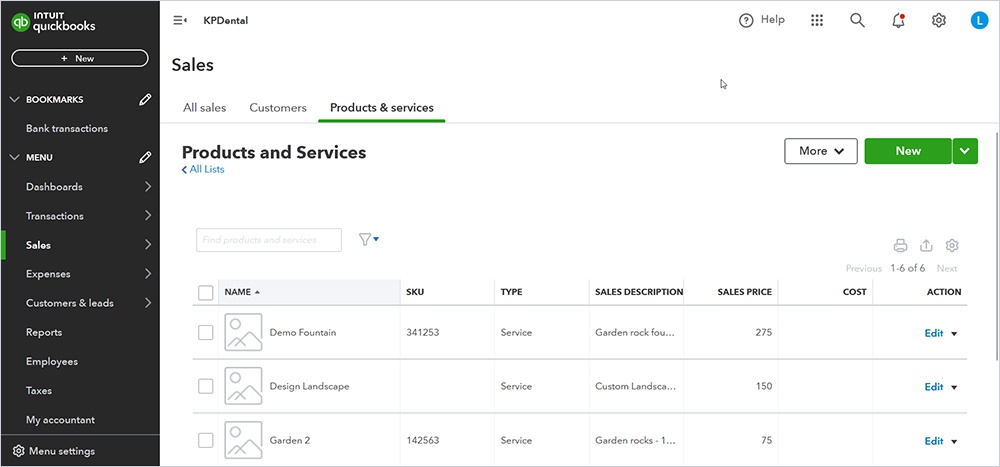
QuickBooks Product/Service List
The Product/Service List details your business’s products and services. Managing this list in Excel offers easy updates, bulk changes, and better inventory management.
Managing these QuickBooks item lists in Excel enhances your ability to keep detailed, accurate, and up-to-date records. This integration not only simplifies the process of updating and analyzing your data but also provides a more flexible and powerful way to handle your financial information.
How to Manage QuickBooks Online Data Using Devart Excel Add-In
Let’s go through the process of installing and configuring the Devart Excel Add-In for QuickBooks Online. Additionally, you will learn how to import and export various QuickBooks data lists to and from Excel, enabling more efficient data management and analysis.
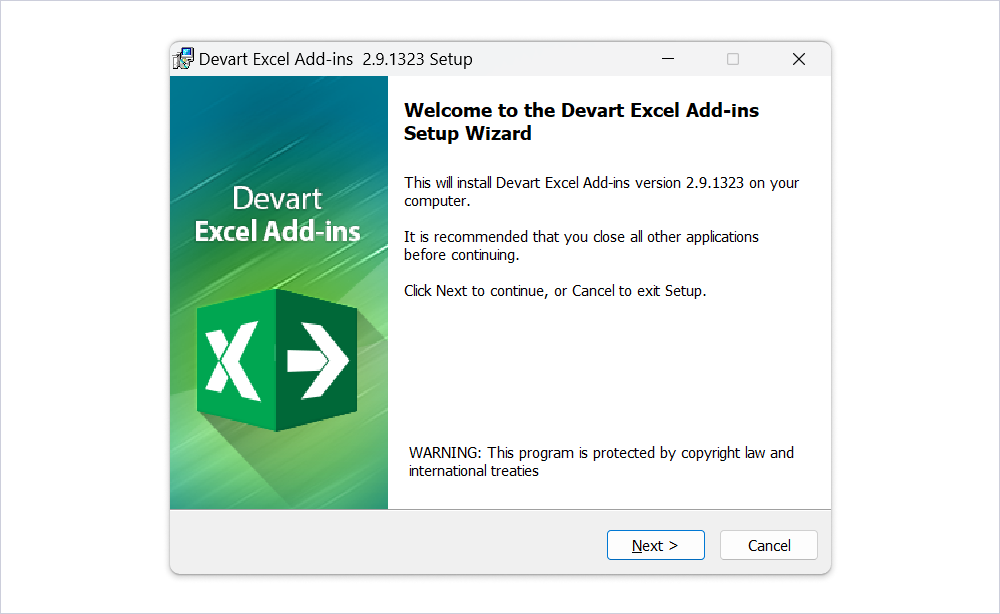
Install Devart Excel Add-In for QuickBooks Online
Download Devart Excel Add-In for QuickBooks Online here, and the wizard will guide you through the installation process.
Configuration
Once the Add-In is installed, follow these steps to connect it with QuickBooks Online:
- Select the Environment to connect to — Production or Sandbox.
- Click the Web Login button.
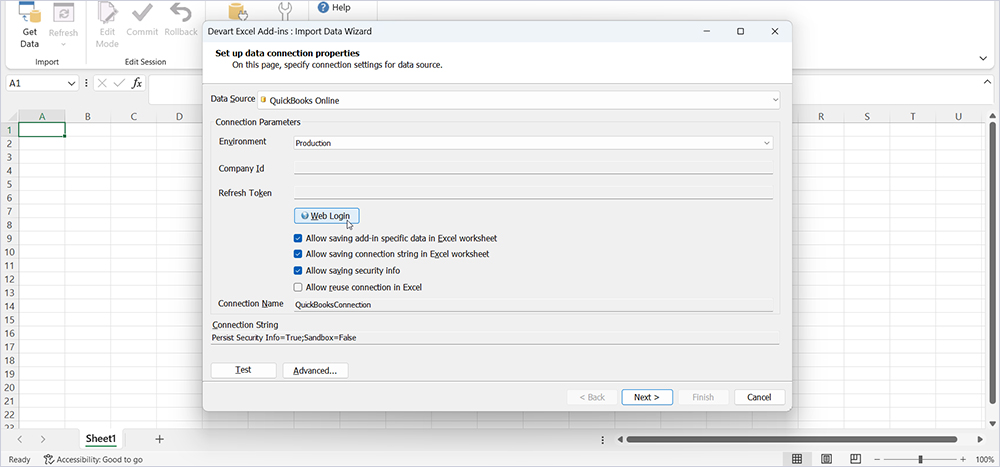
- In the Web Login dialog, sign in to your QuickBooks account.
- Select the company to query data from by clicking the link with the corresponding company name.
- Click Authorize.

Additionally, you may configure advanced connection options to fine-tune the connection. Once connected, you can proceed with importing and exporting data.
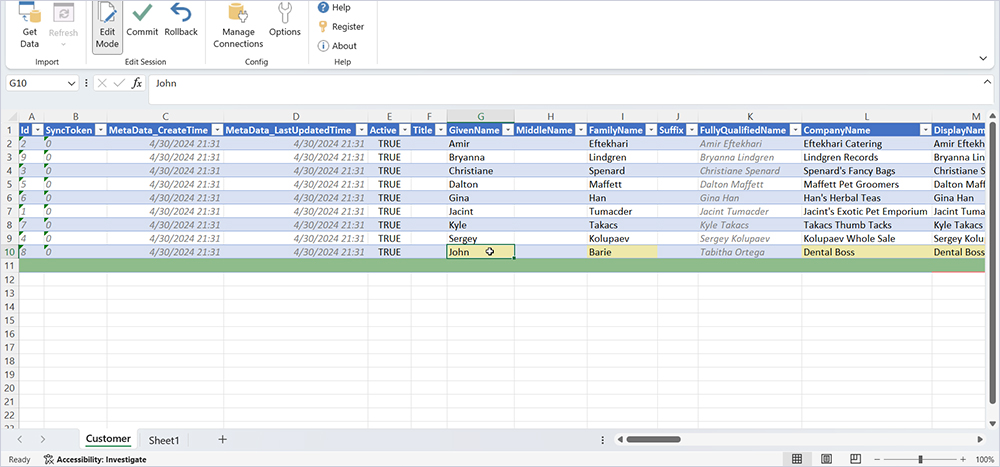
How to Import QuickBooks Customer Contact List Into Excel
Follow these steps to import your Customer Contact List into Excel using the Devart Add-In:
- Select the data source, such as Customer.
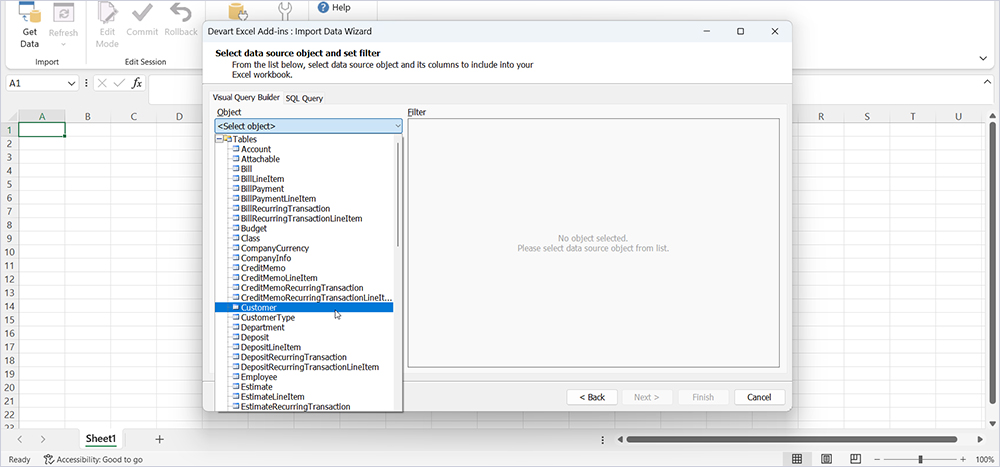
- Filter the data, if needed, using SQL queries.
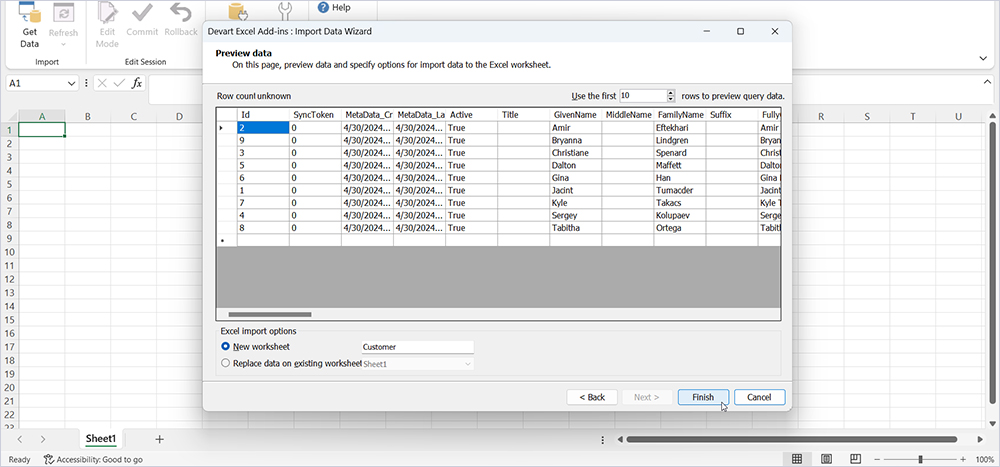
- Verify the imported data and complete the import process.
If necessary, switch to Edit Mode to modify data for future export. This process is similar for Accounts, Vendor Contacts, and Product/Service Lists.
How to Edit and Export Data From Excel to QuickBooks Online
To export data back to QuickBooks Online, follow these steps:
- After importing the data, switch to Edit Mode.

- Edit or add the necessary data.
- Click Commit to export the changes.

- Verify the changes in QuickBooks to ensure they were successfully applied.
QuickBooks Online vs Excel
Let’s compare the functionalities and benefits of using QuickBooks Online versus Excel for managing your financial data. This comparison will help you understand the strengths of each tool and how integrating them can provide a more robust solution for your business needs. Check the benefits of using Excel Add-Ins:
- Automates many accounting processes, reducing manual data entry errors and saving time. Excel requires manual entry and setup, which can be time-consuming and prone to errors if not done carefully.
- Provides a user-friendly interface with specialised accounting tools, making it easier for users without extensive accounting knowledge to manage their finances. Excel, while powerful, requires a higher level of expertise to set up and use effectively.
- Automatically updates financial data in real-time, ensuring that you always have the most current information. Excel requires manual updates and data imports, which can lead to outdated or inconsistent data if not managed properly.
- Offers built-in compliance with accounting standards and strong security measures to protect your financial data. Excel lacks these built-in features, requiring additional effort to ensure compliance and secure data management.
- Provides standard accounting reports that can be generated quickly. Excel, however, allows for more customised and detailed reports, making it ideal for complex data analysis and visualisation.
Advanced Tips and Tricks
To make the most out of managing QuickBooks data in Excel, here are some advanced tips and tricks for accountants, drawn from industry best practices:
Use PivotTables for Dynamic Reporting
PivotTables are a powerful feature in Excel that allows you to summarize, analyze, and present your data in a flexible and dynamic way. For accountants, PivotTables can be used to quickly generate financial summaries, break down expenses by category, or track income by customer.
How to use PivotTables:
- Select your data range.
- Go to the Insert tab and click PivotTable.
- Choose where you want the PivotTable report to be placed (new worksheet or existing worksheet).
- Drag and drop fields into the Rows, Columns, Values, and Filters areas to create your desired report.
Automate Tasks with Macros
Excel macros can save a significant amount of time by automating repetitive tasks. For example, if you regularly generate similar reports, you can create macros to automate the entire process.
How to create a macro:
- Go to the View tab and click Macros.
- Select Record Macro.
- Perform the tasks you want to automate.
- Click Stop Recording once you’re done.
Conditional Formatting for Quick Insights
Conditional formatting allows you to apply specific formatting to cells that meet certain criteria. This can help you quickly identify trends, outliers, and key metrics.
How to use conditional formatting:
- Select the range of cells you want to format.
- Go to the Home tab and click Conditional Formatting.
- Choose the rule type and define the criteria for formatting.
- Apply the formatting rules.
Data Validation for Accurate Data Entry
Data validation helps ensure that the data entered into your Excel sheets is accurate and consistent. You can set up rules that restrict the type of data or values that can be entered in a cell.
How to use data validation:
- Select the cells you want to apply data validation to.
- Go to the Data tab and click Data Validation.
- Define the validation criteria (e.g., whole number, decimal, list, date).
- Set input messages and error alerts if necessary.
Use VLOOKUP and HLOOKUP for Data Retrieval
VLOOKUP and HLOOKUP are essential functions for retrieving data from large datasets. VLOOKUP searches for a value in the first column of a table and returns a value in the same row from a specified column. HLOOKUP works similarly but searches horizontally.
How to use VLOOKUP:
- Use the formula =VLOOKUP(lookup_value, table_array, col_index_num, [range_lookup]).
- Replace lookup_value with the value you want to search for, table_array with the range containing the data, col_index_num with the column number containing the return value, and [range_lookup] with FALSE for an exact match or TRUE for an approximate match.
Regular Data Backups
Regularly backing up your Excel files is crucial to prevent data loss. Use cloud storage solutions like OneDrive or Google Drive for automatic backups and version control.
How to backup your data:
- Save your files to a cloud storage service with automatic backup settings.
- Regularly copy your files to an external hard drive or another secure location.
By applying these advanced tips and tricks, accountants can maximize the efficiency and accuracy of their data management processes in Excel, ensuring a seamless integration with QuickBooks Online.
Conclusion
Integrating QuickBooks Online with Excel using Add-Ins significantly improves your data management capabilities. This powerful combination allows for efficient data import/export, detailed analysis, and complex reporting, ultimately leading to better financial management and decision-making.
Ready to make some changes in your data management? Start integrating QuickBooks with Excel today by downloading the Devart Excel Add-In and follow the steps outlined in this guide. Enhance your financial reporting and take control of your business data now!
