
The topic of cross-compiling projects in Lazarus on Linux systems has been repeatedly raised by our users. Therefore, in this article, we want to examine in detail the features of cross-compilation in Lazarus and show how to create a simple application using UniDAC and compile it for a Windows platform in a Linux environment.
Contents
- Setting up the working environment
- Peculiarities of UniDAC cross-compilation
- Creating a project and setting cross-compilation parameters
Setting up the working environment
First, let’s take a quick look at setting up a working environment.
To create our project, we used Lazarus 2.0.12 + FPC 3.2.0 installed on a workstation with a 64-bit Ubuntu 18.04 LTS operating system. After installing Lazarus on a Linux system, you need to make the initial configuration of the FPC compiler, during which the necessary module packages will be generated for compiling a Windows application.
To do this, you need to run the following sequence of commands.
Note: The configuration script is executed with root privileges, therefore, at the end of the process, be sure to exit root mode (by closing the terminal window or by pressing Ctrl + D).
sudo –i
export FPCVER="3.2.0"
cd /usr/share/fpcsrc/"$FPCVER"/
make clean all OS_TARGET=win64 CPU_TARGET=x86_64
make clean all OS_TARGET=win32 CPU_TARGET=i386
make crossinstall OS_TARGET=win64 CPU_TARGET=x86_64 INSTALL_PREFIX=/usr
make crossinstall OS_TARGET=win32 CPU_TARGET=i386 INSTALL_PREFIX=/usr
ln -sf /usr/lib/fpc/"$FPCVER"/ppcrossx64 /usr/bin/ppcrossx64
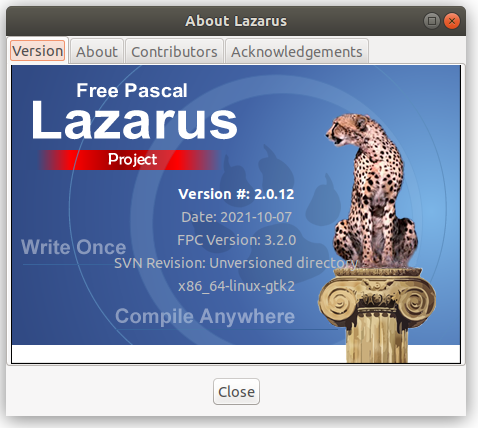
ln -sf /usr/lib/fpc/"$FPCVER"/ppcross386 /usr/bin/ppcross386The FPCVER variable set at the beginning of the script must match the version of the FPC you are using. As we wrote above, our environment uses FPC 3.2.0. You can check the version of the FPC you are using by opening the About window in Lazarus.
Peculiarities of UniDAC Cross-Compilation
Here, we will not describe in detail the installation of UniDAC components in Lazarus, since this process does not have any difficulties and is described in the documentation – https://docs.devart.com/unidac/installation_unidac.htm.
In the demo project, we used UniDAC Professional Edition with Source Code version 9.1. In our environment, the UniDAC components are installed in the folder ~/Documents/UniDAC/.
Let us dwell on a few points, which, on the one hand, are the “internals” of UniDAC and should not particularly concern the user, but on the other hand are important for understanding the features of compilation and cross-compilation of a project with UniDAC.
Firstly, UniDAC has a built-in SQLite engine, which is used to work with SQLite databases in Direct mode, without using a client library, and also has a built-in database encryption functionality. Considering UniDAC modules, this engine represents pre-compiled units for various platforms located in the folder ~/Documents/UniDAC/Source/sqlite3/.
Note: Keep in mind the path to this folder. We’ll need it later.
When the project is finally built, the compiler will statically link the precompiled unit for the required target platform to the application file.
Thus, the precompiled SQLite modules use many standard operating system functions (I / O, etc.). They would be taken directly from the operating system libraries if you compiled a Windows application in a Windows environment. But, in the case of building a Windows application on Linux, the compiler may need some additional libraries. These libraries for Windows 32-bit and Windows 64-bit platforms are supplied with UniDAC and located respectively in the folders ~/Documents/UniDAC/Lib/Lazarus1/i386-win32/ and ~/Documents/UniDAC/Lib/Lazarus1/x86_64-win64/.
For further steps, we will need these folders as well.
Creating a Project and Setting Cross-Compilation Parameters
We will not dwell directly on the application development process using UniDAC, but we’ll focus on setting up the project and preparing it for compilation for the Windows platform.
Let’s assume that we have a project called project1, which in our case is saved in the folder ~/Documents/test/.
First, let’s configure the necessary general parameters of the project. To do this, open the project settings (menu Project > Project Options … or use the keyboard shortcut Ctrl + Shift + F11) and go to the section Compiler Options > Paths.
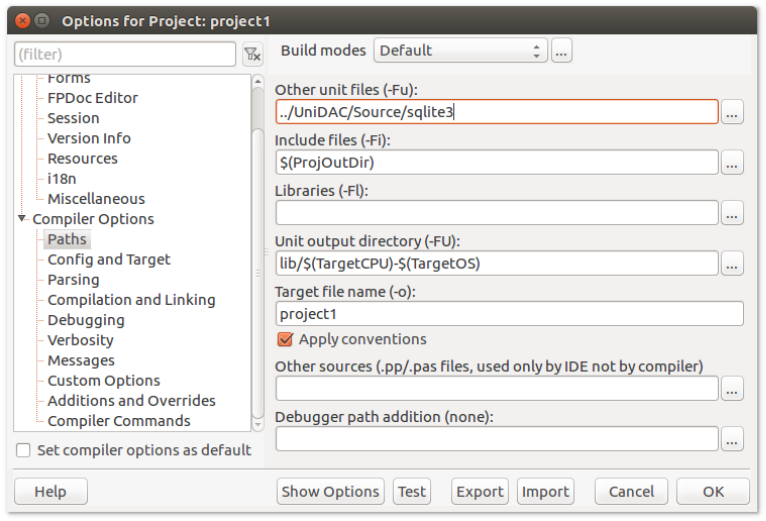
In the previous section, we talked about the precompiled modules of the SQLite engine that are included in UniDAC and located in the folder ~/Documents/UniDAC/Source/sqlite3/.
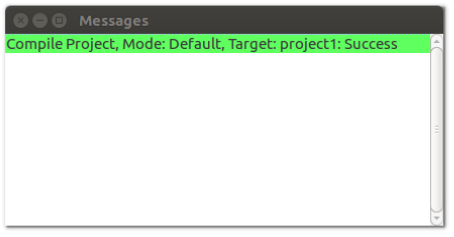
The path to the folder with these modules must be added to the Other unit files field. The completed steps are already enough for the project to be successfully compiled for the Linux platform. Let’s check the build by selecting the Run > Build menu item or pressing the Shift + F9 key combination.
Let’s move on to the next stage: setting up the project for cross-compilation. First, let’s create separate build modes for Windows 32-bit and Windows 64-bit platforms. To do this, open the modes window by clicking the ellipsis button at the top of the project settings window.
In the dialog box that appeared, add two modes: Win64 and Win32 for Windows 64-bit and Windows 32-bit, respectively.

Let’s make the Win64 mode active and close the dialog.
After that, in the Paths section of the project settings, in the Libraries field, you need to specify the path to additional Windows libraries, which we mentioned in the previous section. For the Win64 mode, this is the path to the folder ~/Documents/UniDAC/Lib/Lazarus1/x86_64-win64/.

The next step is to install the target platform. In the project settings section Config and Target in the Target OS field, specify the Win64 platform. In the Target CPU family field, specify the x86_64 processor family.
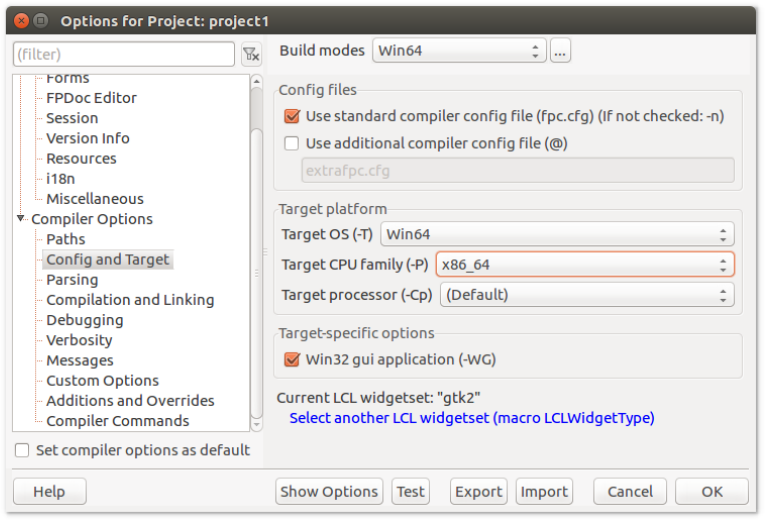
Pay attention to the warning shown at the bottom of the window. It says that the default LCL framework gtk2 cannot be used to compile an application for the Windows platform. Go to the Additions and Overrides settings section and select the win32 value in the set “LCL Widget Type’’ drop-down list.
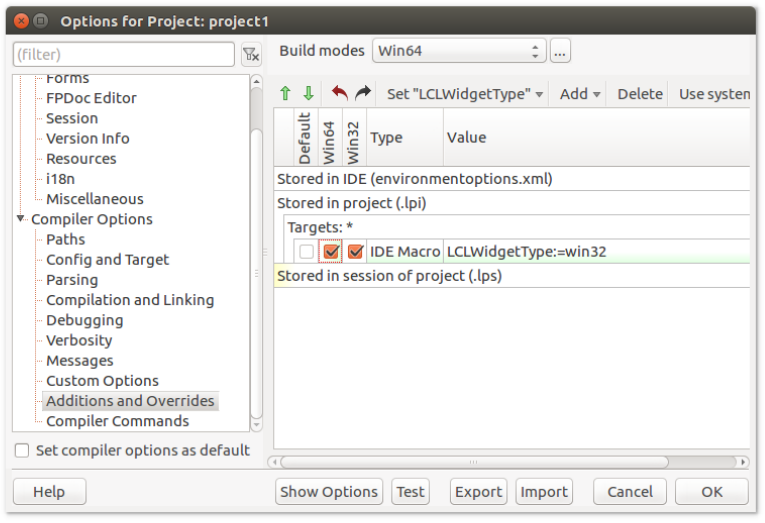
In the added line LCLWidgetType: = win32, set the checkboxes for both build modes, Win64 and Win32, to avoid returning to this step when setting up a project for the 32-bit Windows platform.
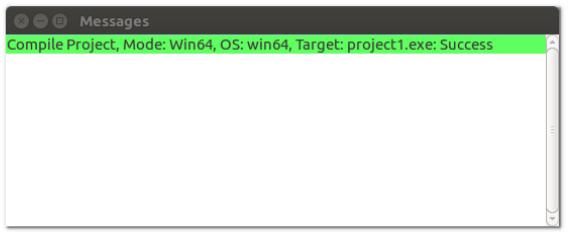
This completes the project setup for compilation for the Windows 64-bit platform. We check the correctness of the actions performed and compile the project (menu Run > Build or the keyboard shortcut Shift + F9).
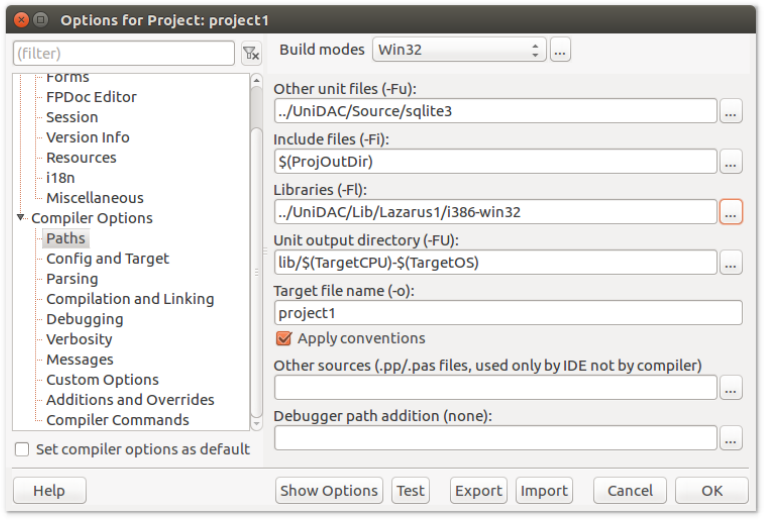
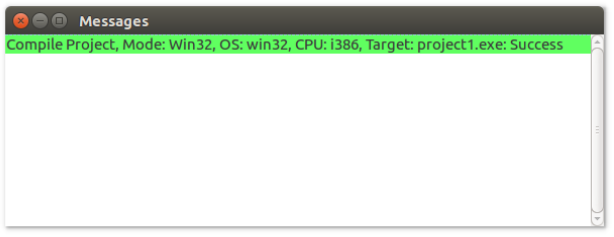
We configure the project for compilation for the Windows 32-bit platform in the same way described above. Set the active build mode Win32, in the Paths section of the project settings in the Libraries field, specify the path to additional Windows libraries: ~/Documents/UniDAC/Lib/Lazarus1/i386-win32/.
In the Config and Target section of the project settings, in the Target OS field, specify the Win32 platform and in the Target CPU family field – the i386 processor family.
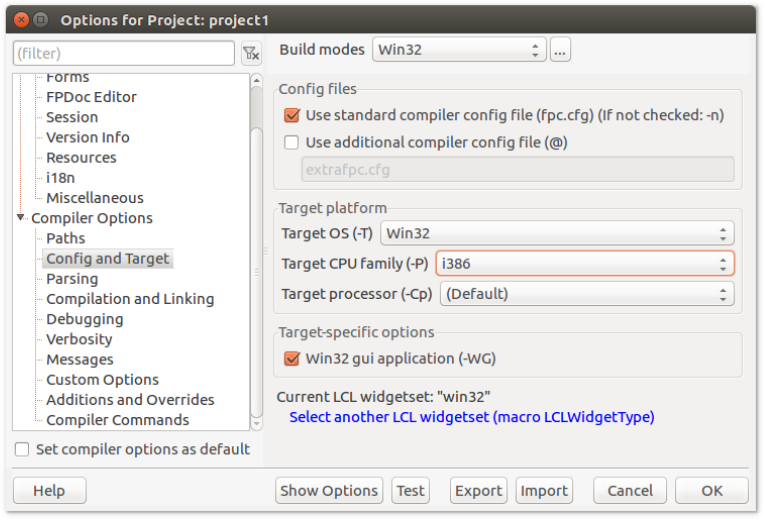
There is no need to set up LCLWidgetType as we did earlier. We check the correctness of the settings.
As a result, we get the opportunity to develop applications using UniDAC in Lazarus for Linux and compile them for both Linux and Windows platforms in a single development environment without using additional tools.
Hopefully, this article will answer many earlier asked questions related to cross-compilation in Lazarus.