
Content
- Objective
- Technology background
- Prerequisites
- Architecture
- Create a database in Snowflake
- Get Snowflake credentials
- Install Devart Python Connector for Snowflake
- Connect to a Snowflake database
- Conclusion
Objective
In the article, we will use Devart Python Connector for Snowflake to demonstrate how to connect to a Snowflake database within the Anaconda tool.
Technology background
Python Connector for Snowflake
Python Connector for Snowflake is a reliable connectivity solution for accessing the Snowflake data cloud from Python applications, in order to perform create, read, update, and delete operations on stored data. The solution fully implements the Python DB API 2.0 specification and is distributed as a wheel package for 32-bit and 64-bit Windows.
High Performance
The connector supports connection pooling and local data caching to increase access speed. It also lets you submit multiple update statements to the data warehouse for batch processing to improve execution time.
Platform Support
The Python connector is available for Windows and Windows Server (32-bit and 64-bit).
Unicode-Compliant Connector
The Unicode-compliant connector lets you retrieve and update multilingual data, regardless of its character encoding (Chinese, Cyrillic, Hebrew, and more) in any language environment.
Data Types Support
The connector supports all BigQuery and Python data types and offers additional options to control data type mapping between them.
About the Snowflake platform
Snowflake is a cloud-based platform that empowers data-driven organizations to mobilize data, apps, and AI across various industries and use cases. One of the key points of Snowflake is the Data Cloud Platform: Snowflake offers a single platform that eliminates data silos and simplifies architectures.
Prerequisites
Before starting to connect the Snowflake database by using Devart Python Connector for Snowflake and building Analytics, make sure to download the necessary tools and drivers:
- Anaconda IDE or any IDE for Python development
- Devart Python Connector for Snowflake (click here to download it)
- A Snowflake account and a Snowflake sample database
Architecture
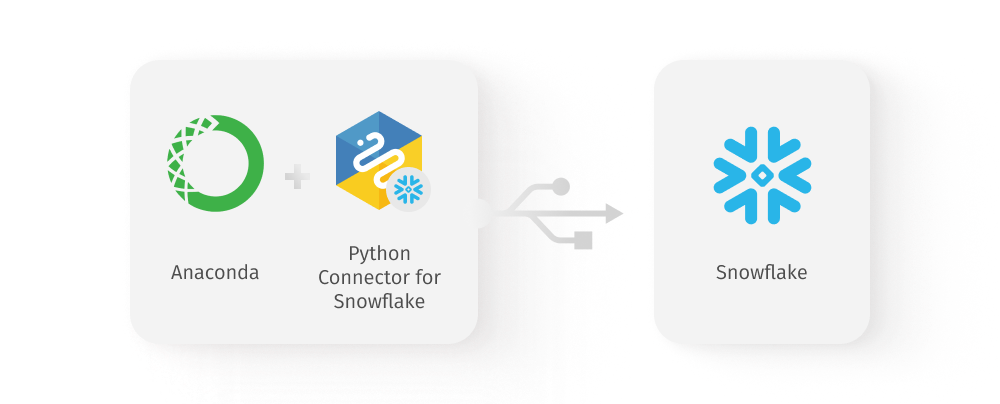
Create a database in Snowflake
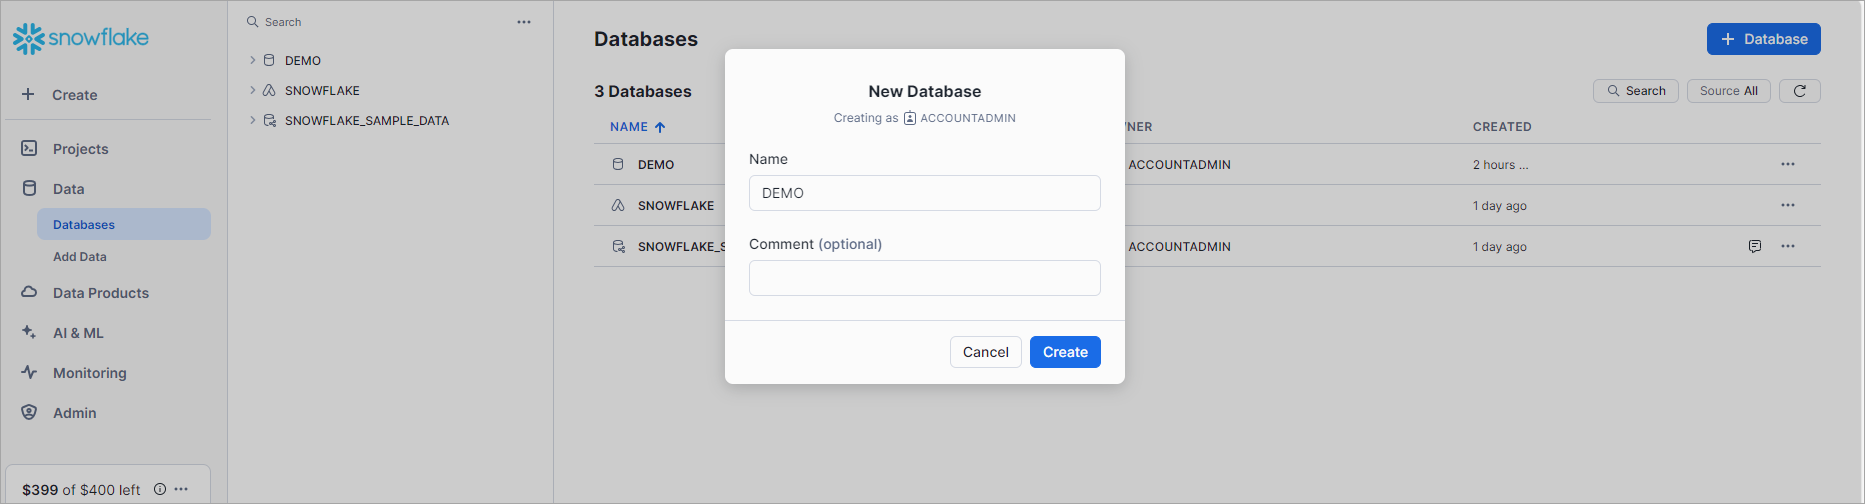
During this step, we will create a database in Snowflake and use it to create a connection.
Click + Database and enter a name for your new database. In our case, it will be called DEMO.
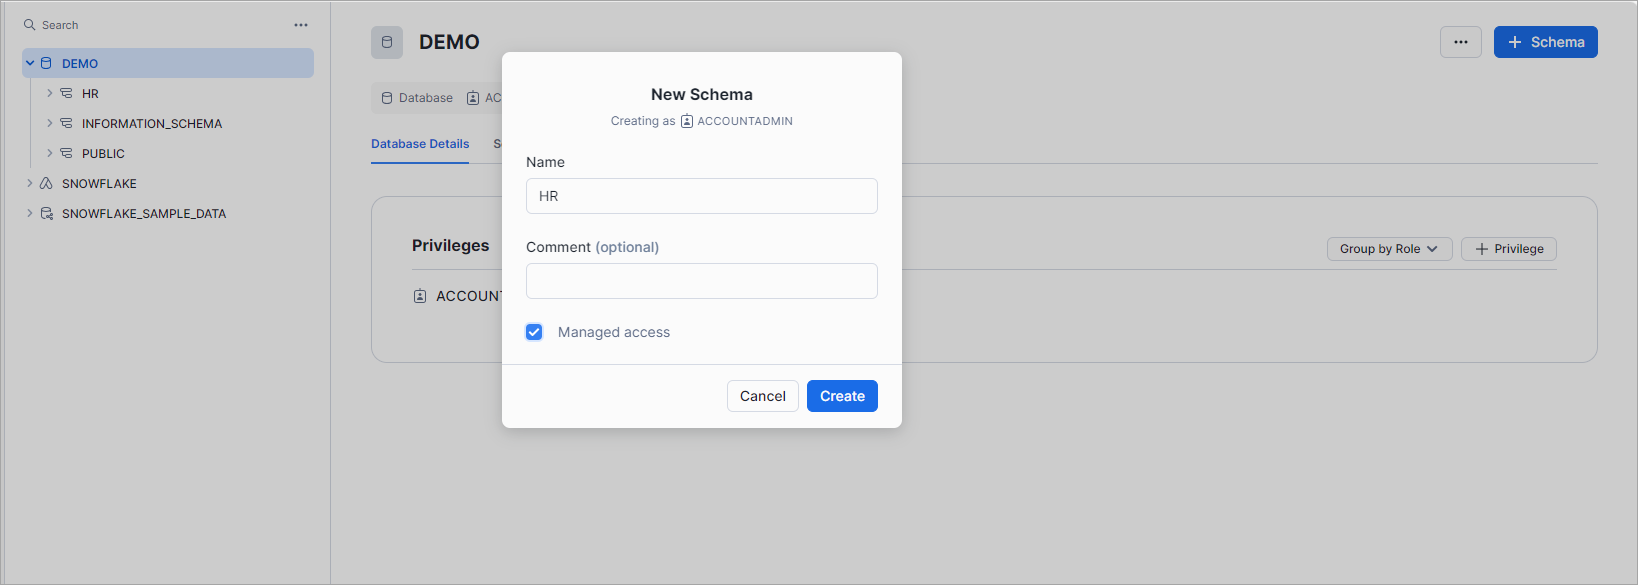
After the database is created, proceed to it and click + Schema to create a new schema in this database. In our case, we’ll call it HR.
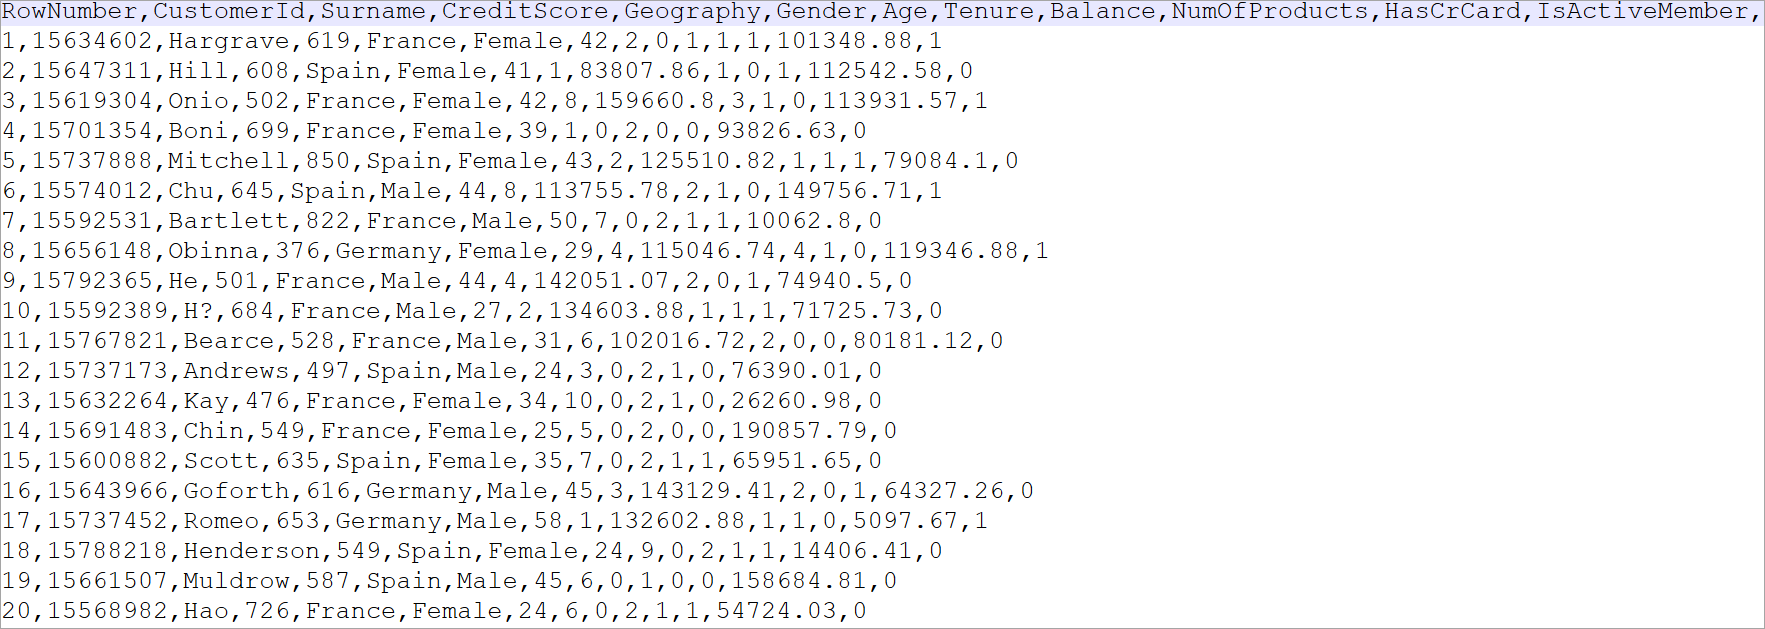
Next, let’s create a table and fill it with data. In our case, the table will be called EMPLOYEE_CHURN. We’ll import a list of active and non-active employees into this table and use it to analyze employee churn. This is what the list looks like.
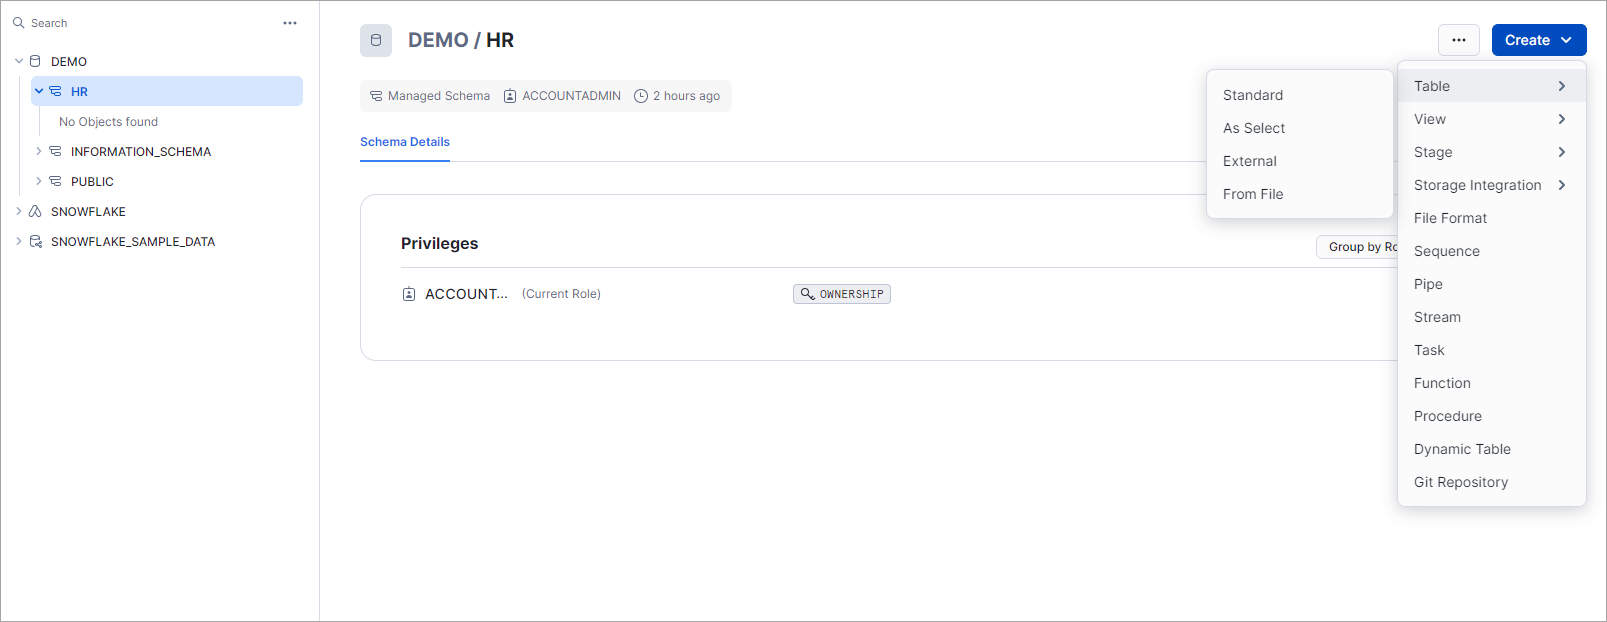
To import a file with data into a table, click Create > Table > From File.
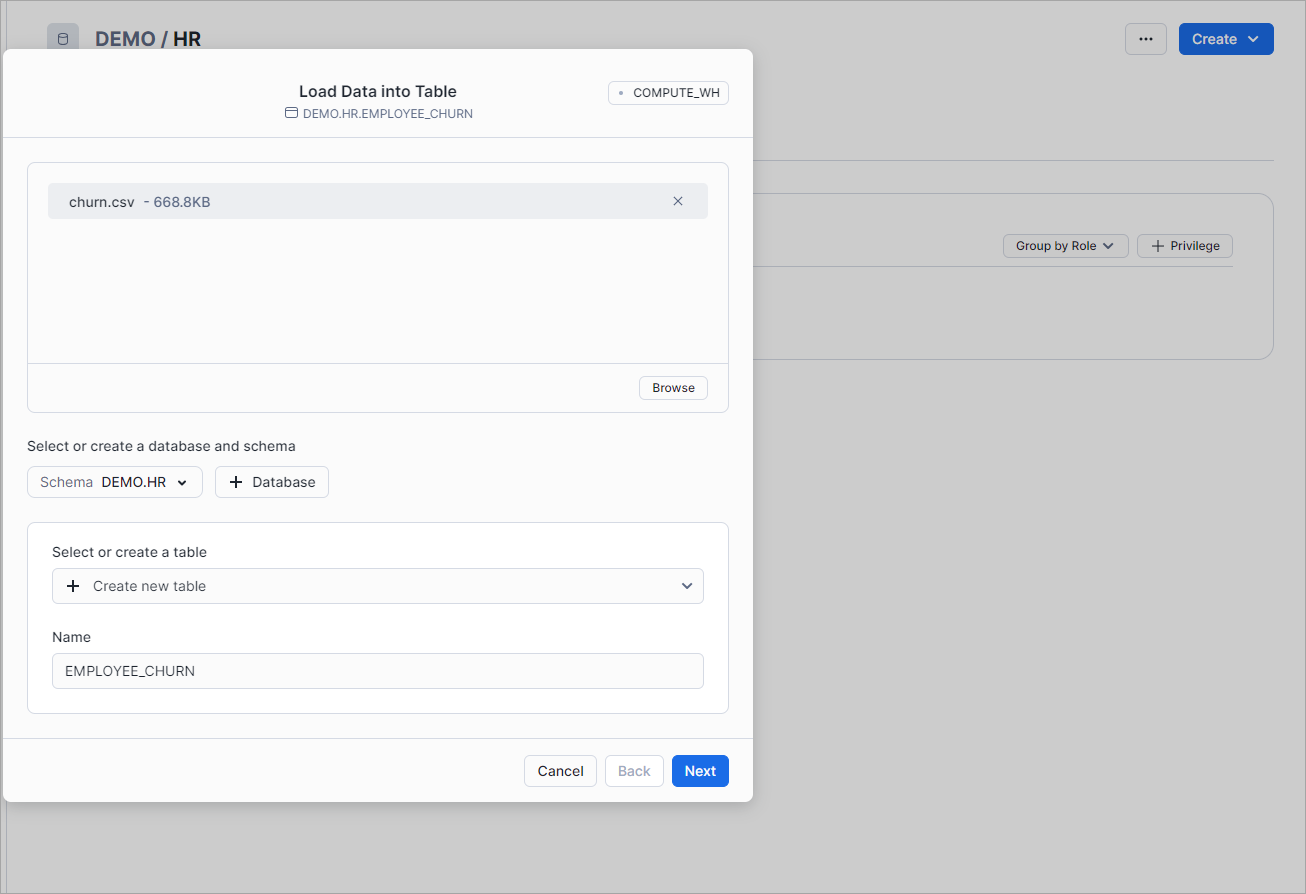
Keep all settings as default, enter the table name, and click Next.
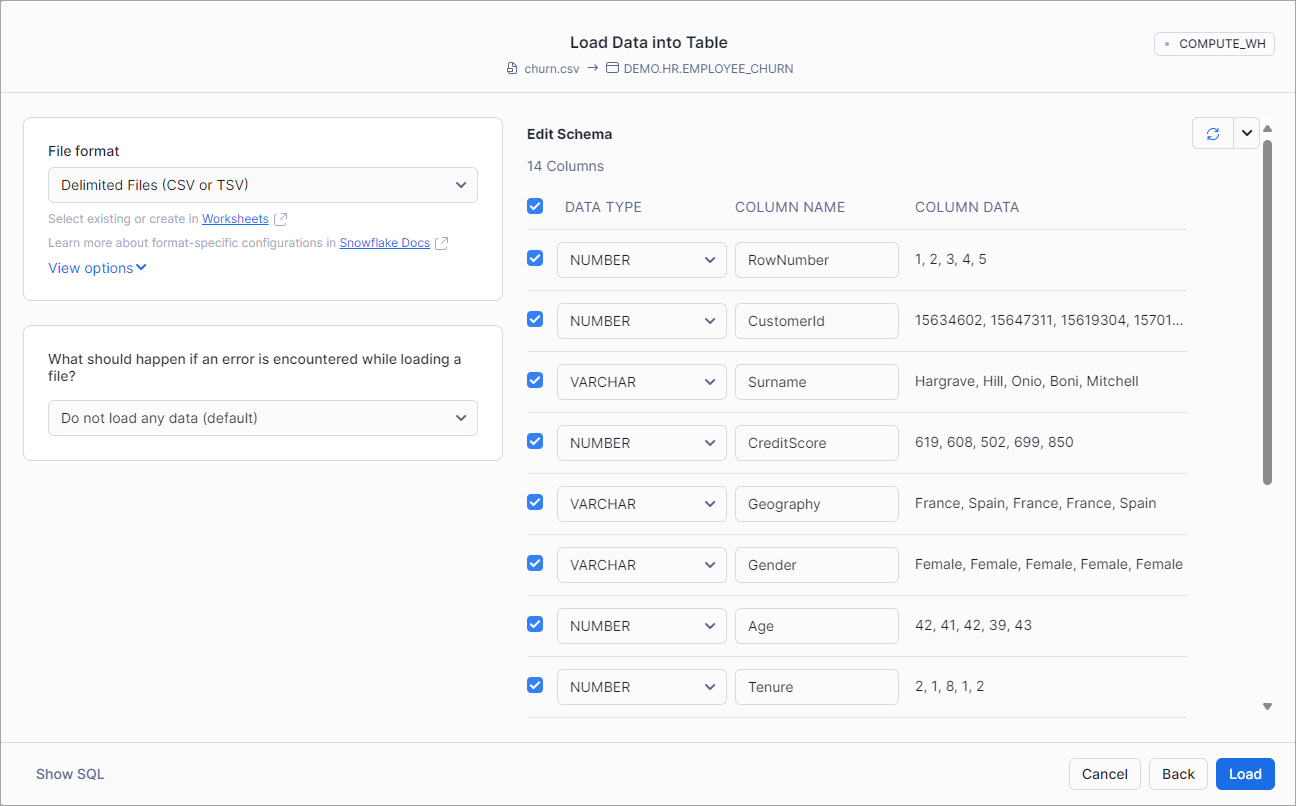
Next, check whether the data has been mapped correctly and click Load.
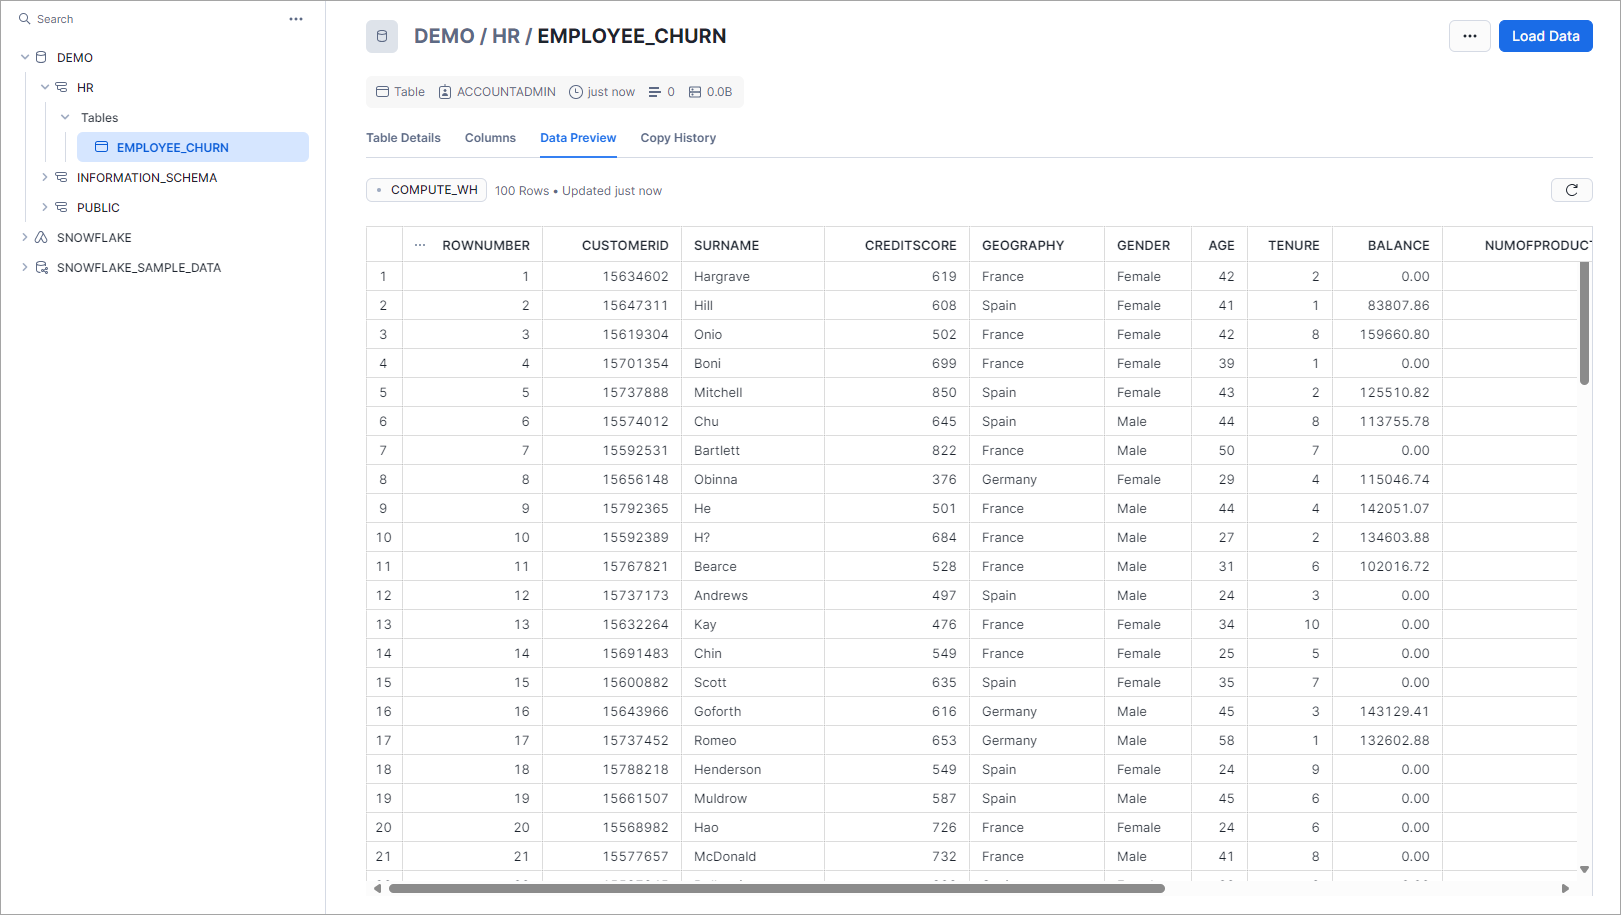
That’s it, the data is in your Snowflake table.
Get Snowflake credentials
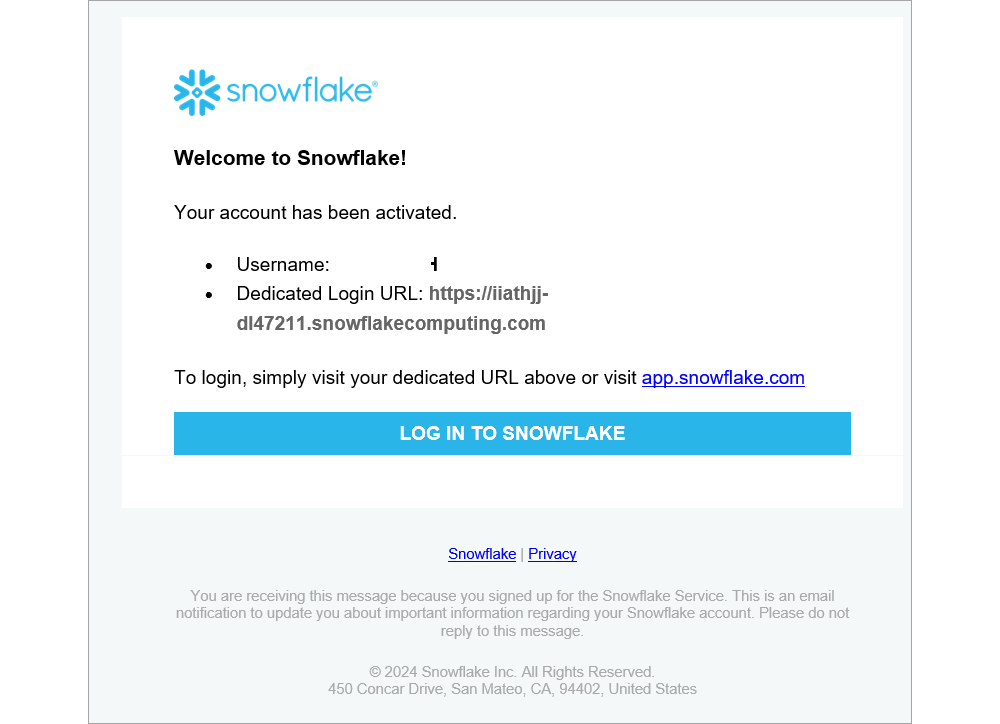
This information will help you create a connection to Snowflake during the next step. After registering your Snowflake account, you will receive an email confirming your account is active. In the content of the email, you must get two pieces of information: the Account Identifier (Domain URL or the hostname of Snowflake instance) and the User Name to access / log in to the Snowflake instance.
The Account Identifier is extracted from Dedicated Login URL. In our case, it’s iiathjj-dl47211.
Install Devart Python Connector for Snowflake
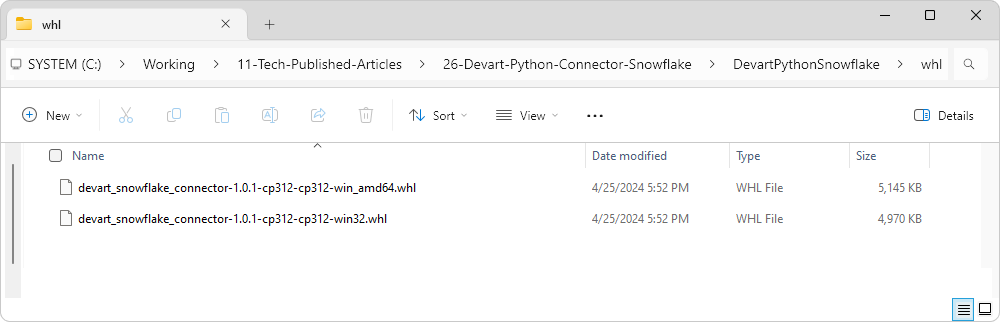
Download the installation file from the Devart website and extract its contents.
To install the Python package, your environment needs to have the installed Python and pip library.
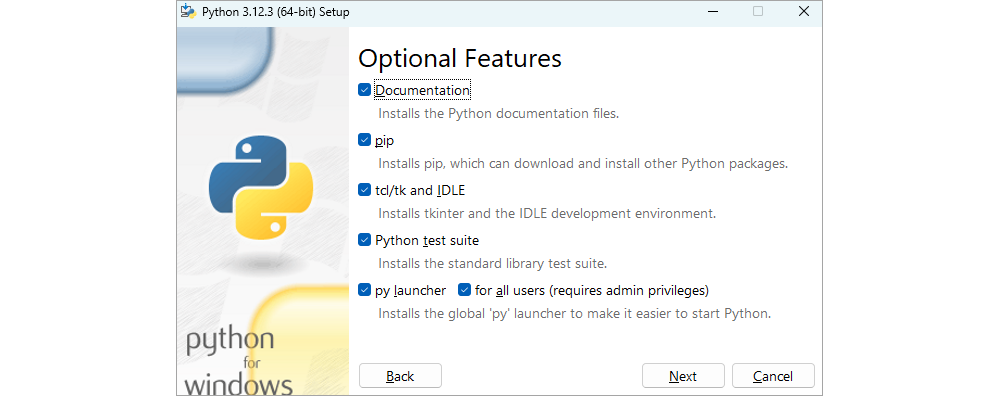
Install Python in your environment. Download Python 3.12 from here and run the installation file.
After the installation, open the Command Prompt to check the version of the pip library.

If pip is not available, run the command to install the pip library.
cd C:\Users\dtdinh\AppData\Local\Programs\Python\Python312

python get-pip.py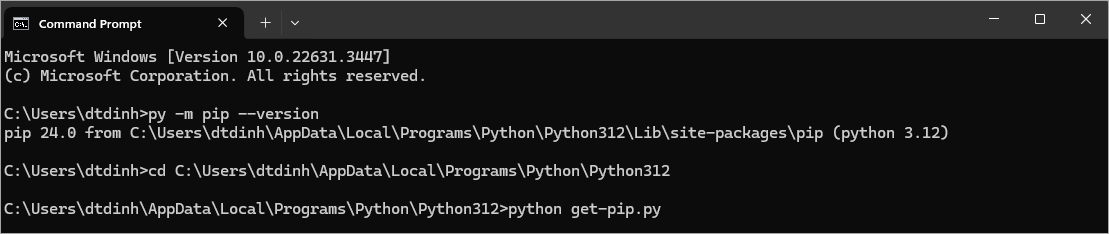
In the Command Prompt, browse to the folder where you have extracted the installation package and run the following command.
pip install devart_snowflake_connector-1.0.1-cp312-cp312-win_amd64.whl 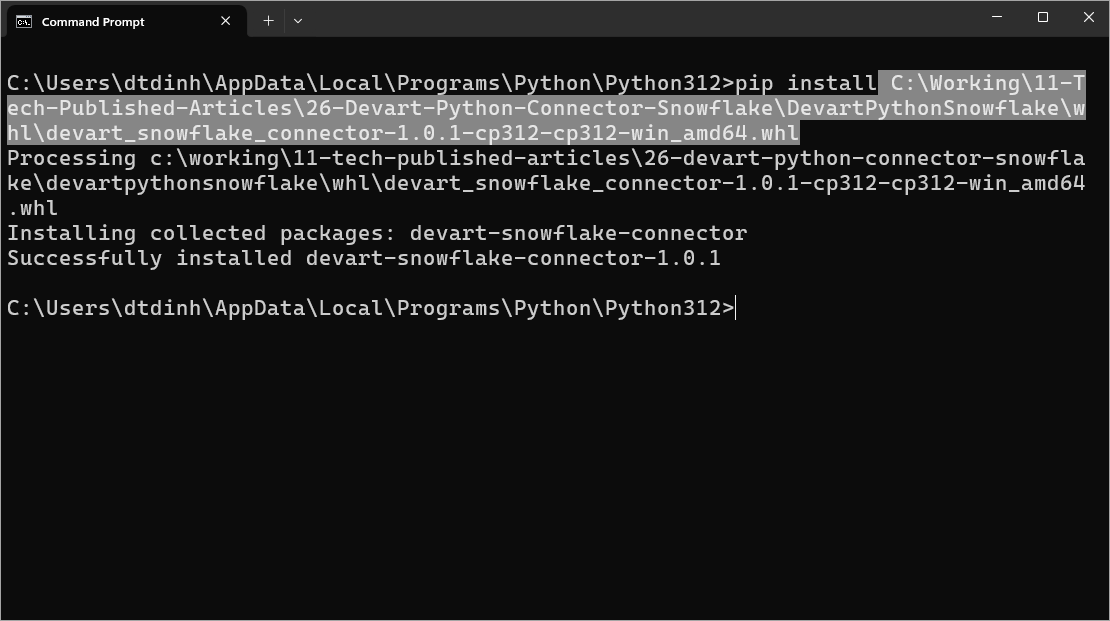
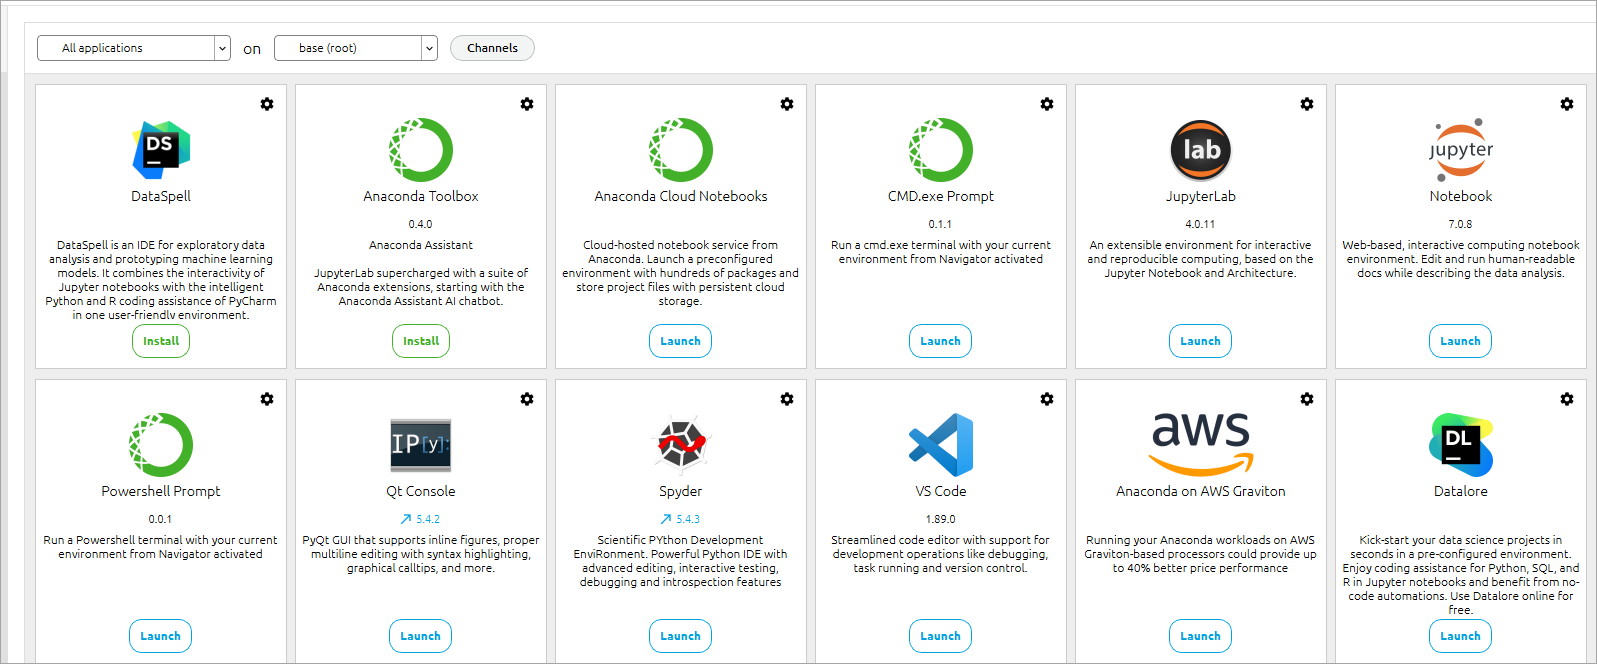
In our case, we have installed Anaconda in our environment, so we are able to install the package and leverage Anaconda to develop programs with Snowflake.
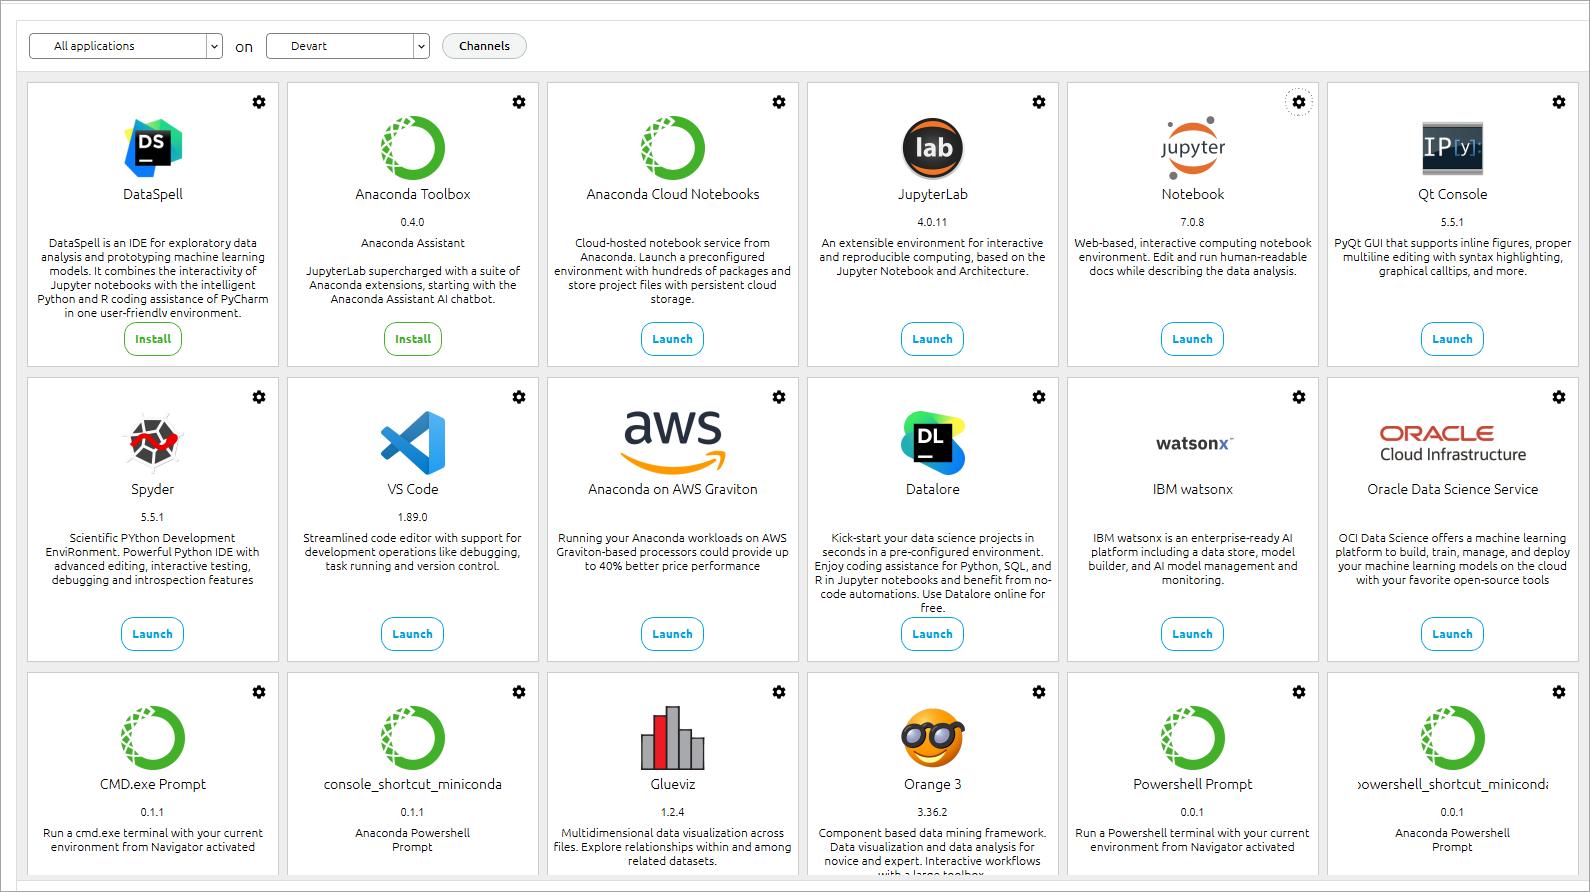
Open Anaconda and launch the CMD.exe prompt.
Run the following command to check if pip is installed. If it isn’t, you will need to install it.
py -m pip –version 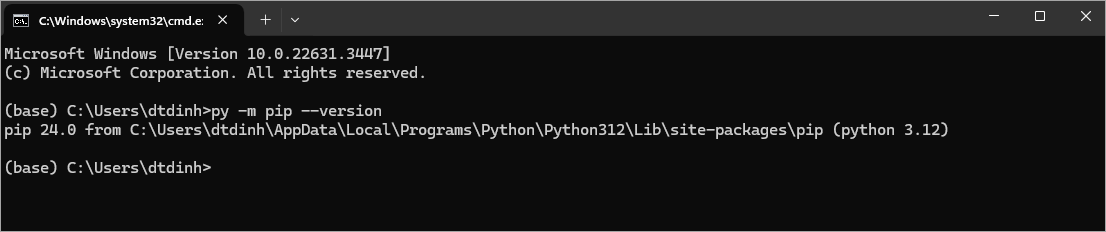
Run the following command to create a new environment in Anaconda, where you will isolate the environment and packages.
conda create -n Devart Python=3.12 anaconda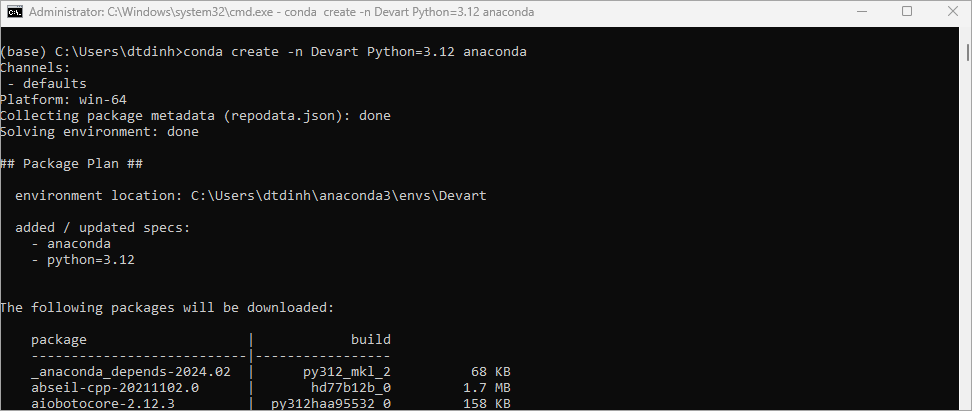
Run the command to activate the newly created Devart environment.
conda active Devart Run the command to install the Python Connector in the Devart environment.
cd C:\Working\11-Tech-Published-Articles\26-Devart-Python-Connector-Snowflake\DevartPythonSnowflake\whl Browse to the folder of Python Connector.
pip install devart_snowflake_connector-1.0.1-cp312-cp312-win_amd64.whl 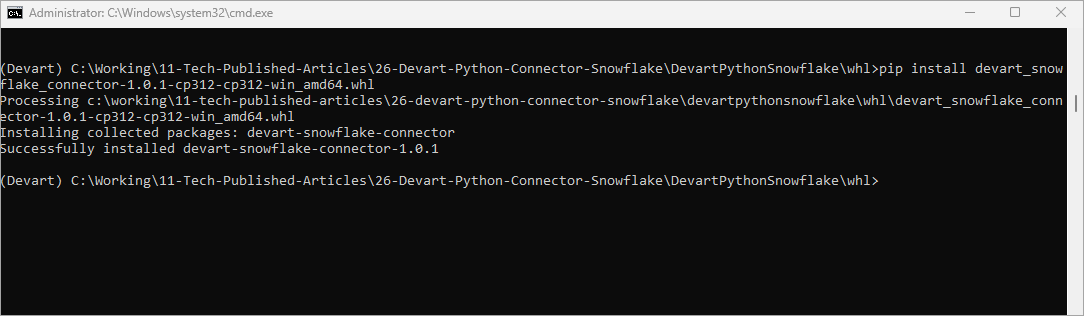
Connect to a Snowflake database
After you install the Devart Python Connector, you will be able to connect to your Snowflake database. You can use any Python IDE to develop Python-based programs that need to connect to the Snowflake database, such as Anaconda.
Open Anaconda and launch the Jupyter Notebook in the Devart environment.
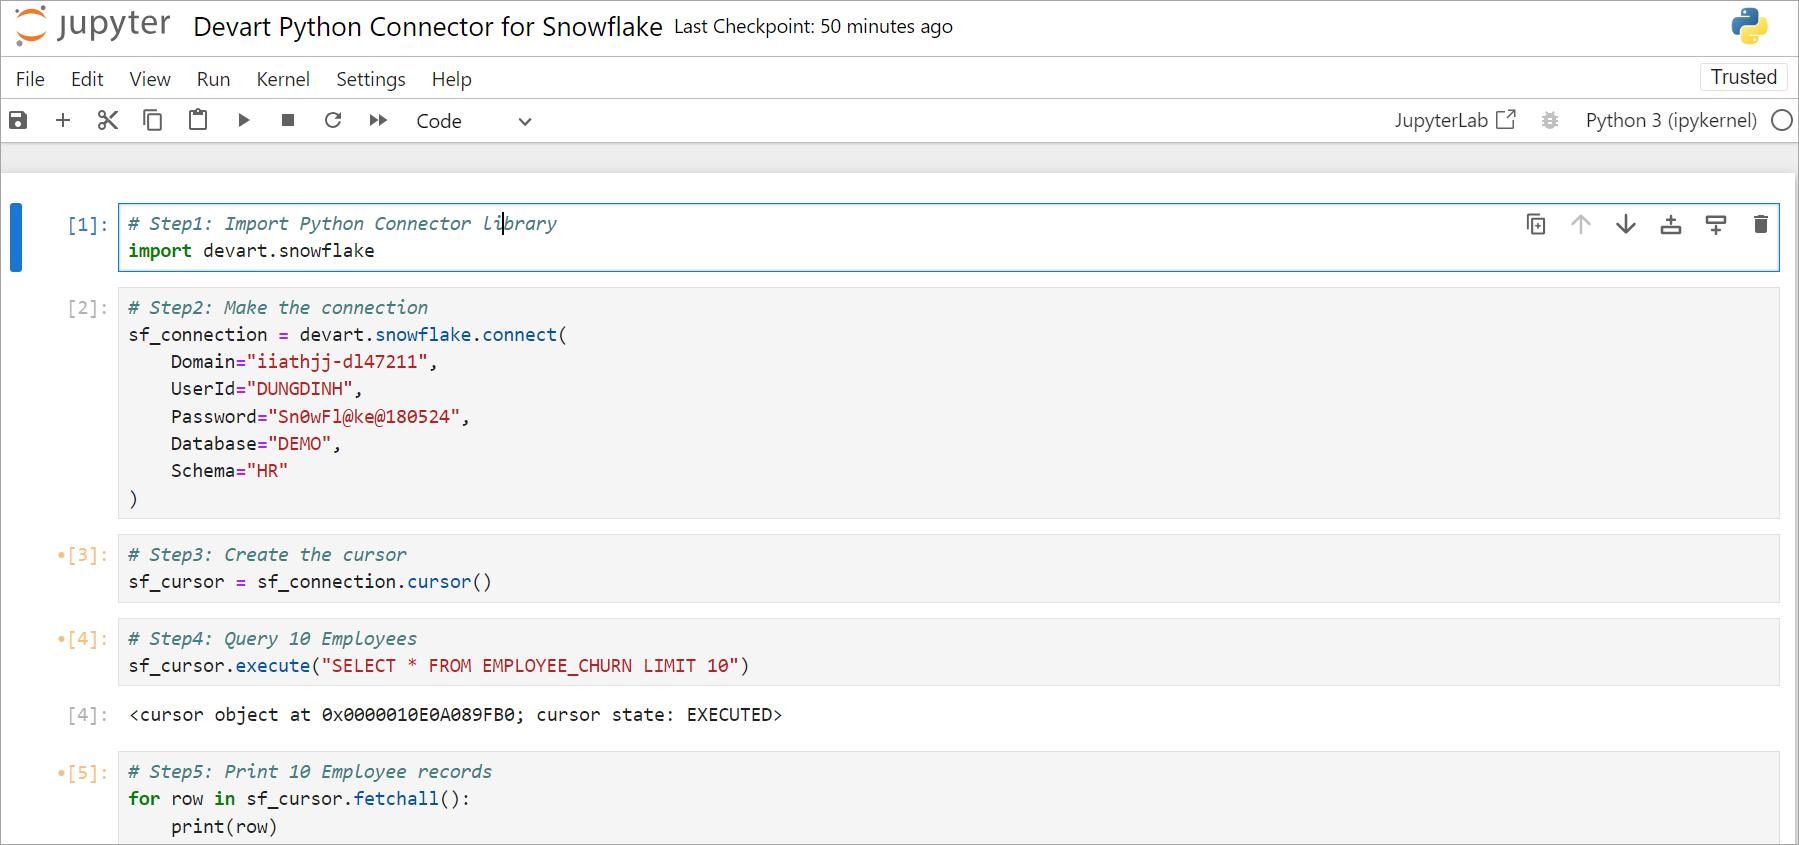
Create a Notebook and write Python code to connect your Snowflake database and query data from your table. In our case, it all will look as follows.
Step 1: We import the Devart Python Connector package.
# Step1 : Import Python Connector library

import devart.snowflake
Step 2: We establish a connection to our Snowflake database.
# Step2: Make the connection

sf_connection = devart.snowflake.connect(

    Domain="Account Identifier",

    UserId="User to access the Snowflake database",

    Password="Password of UserID ",

    Database="Snowflake Database",

    Schema="Schema in Database"

)
Step 3: We create a cursor object to fetch data from our Snowflake database.
# Step3: Create the cursor

sf_cursor = sf_connection.cursor()
Step 4: We query 10 employees from our EMPLOYEE_CHURN table.
# Step4: Query 10 Employees

sf_cursor.execute("SELECT * FROM EMPLOYEE_CHURN LIMIT 10")
Step 5: We print 10 employee records.
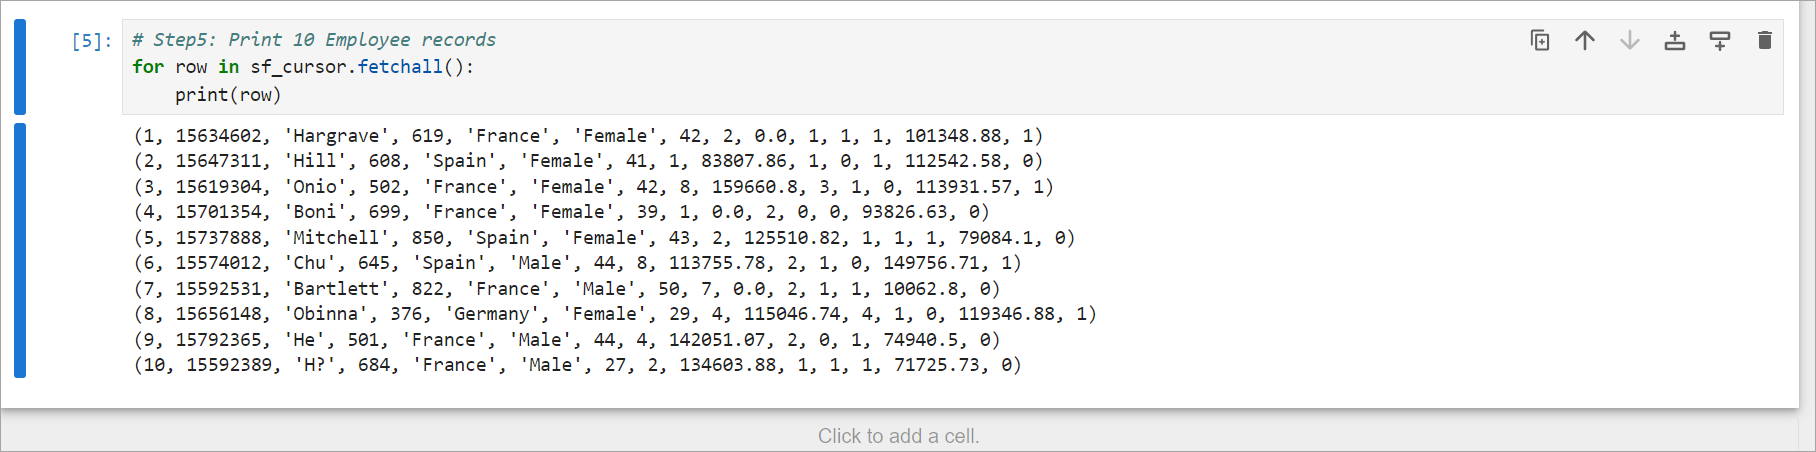
# Step5: Print 10 Employee records

for row in sf_cursor.fetchall():

    print(row)
Finally, the program looks as follows:
Now, we execute Python and see the result in order to analyze the employee churn.
Conclusion
Devart Python Connector for Snowflake is a reliable connectivity solution for accessing the Snowflake data cloud from Python applications to perform create, read, update, and delete operations on stored data. The solution fully implements the Python DB API 2.0 specification and is distributed as a wheel package for 32-bit and 64-bit Windows.