
The necessity to export data from Amazon RDS to the on-premises MySQL database may be spawned by various reasons such as a user request, an upgrade to a system, data consolidation, need for backup, etc. The fact that data are usually required yesterday and export tasks need to be repeated again and again only compounds the difficulty. This article presents a walkthrough on how to export data quickly and easily with the help of dbForge Studio for MySQL.

Data Export and Import Tools for MySQL
Data export and import utilities of dbForge Studio for MySQL are long-time favorites of database administrators as they allow getting export/import jobs done with a little as a few clicks of the mouse. And the cherry on the cake is a comprehensive and easy-to-follow user interface letting non-expert users successfully perform data migrations.
Export MySQL data from AWS RDS
In this worked example, we will export data from the Customer table on Amazon RDS to an MS Excel file. Please note, that with dbForge Studio for MySQL it is also possible to export the result of the query. To export the query result, call the Data Export wizard by right-clicking the result grid and follow the instructions.
Step 1: Establish a connection
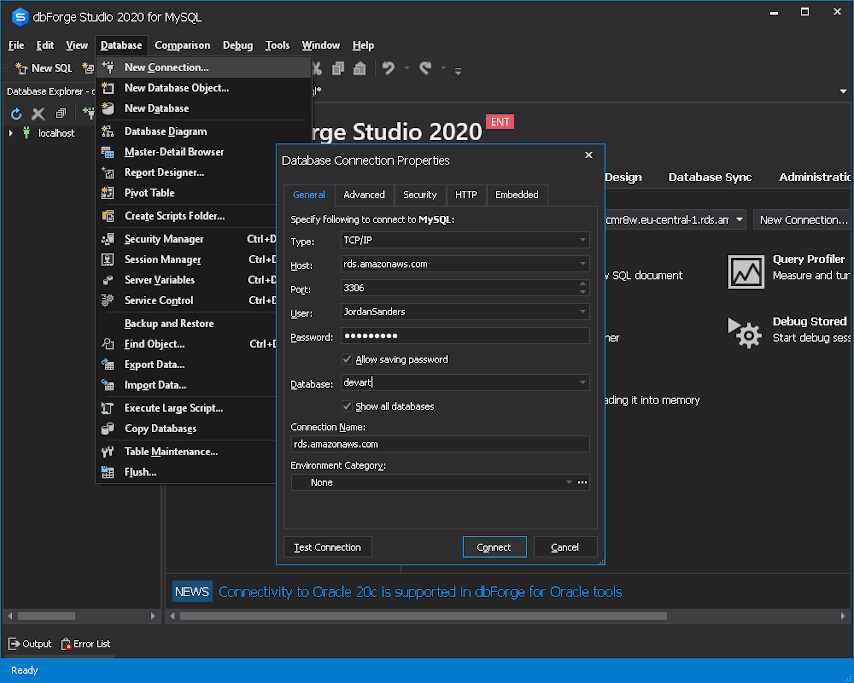
To start working with the Export tool in dbForge Studio for MySQL, the first step is to learn how to connect to Amazon RDS MySQL. To add a new connection navigate Database -> New connection. In the Database Connection Properties window, make all the necessary connection settings.
Step 2: Open Data Export wizard
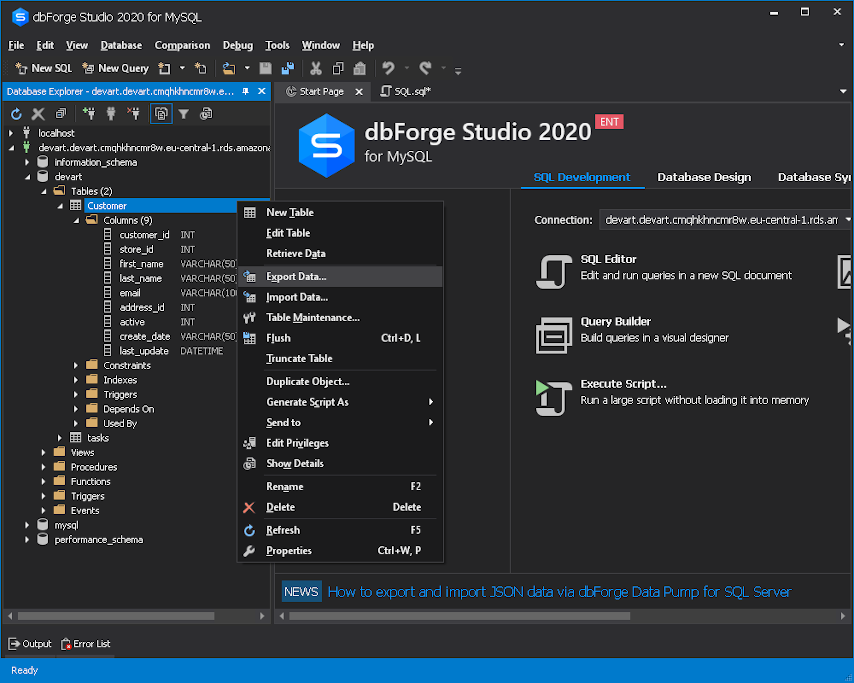
To export data from Amazon RDS to a file, first, you need to call the Data Export wizard. This can be done from the Data Pump tab on the Start Page. Alternatively, in the Database Explorer, right-click a table you want to export data from and select the Export Data command from the context menu that appears.
Step 3: Select file format
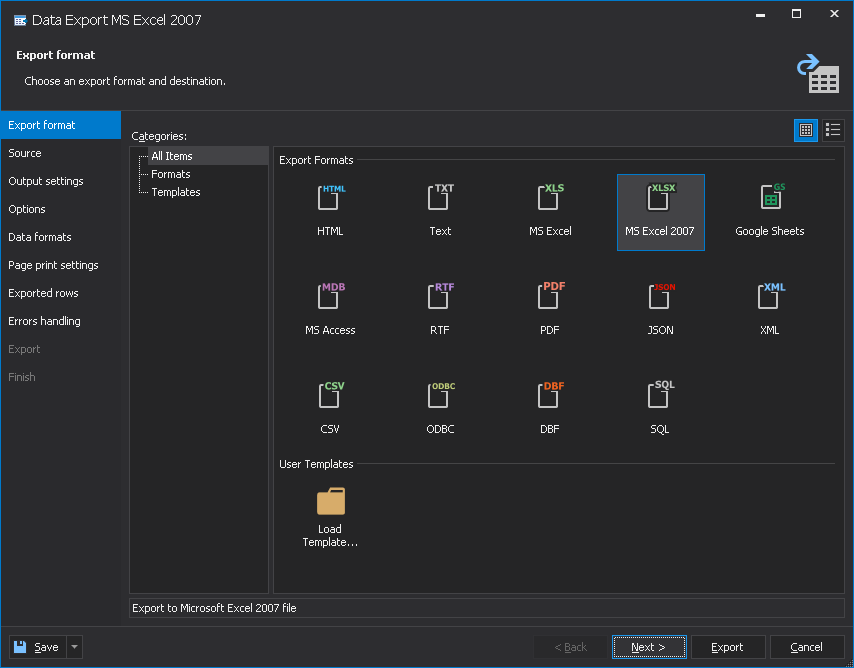
In the Data Export wizard, select an export format and click Next. In this tutorial, we will export MySQL data from Amazon RDS to one of the most common formats – MS Excel 2007.
Step 4: Select a source table
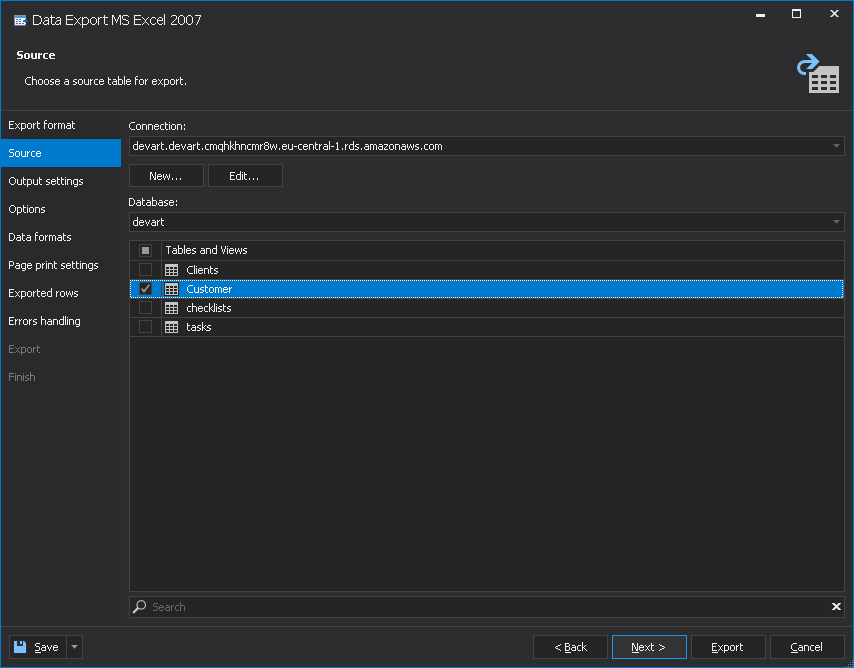
On the Source tab of the Data Export wizard, select a table you want to export data from and click Next.
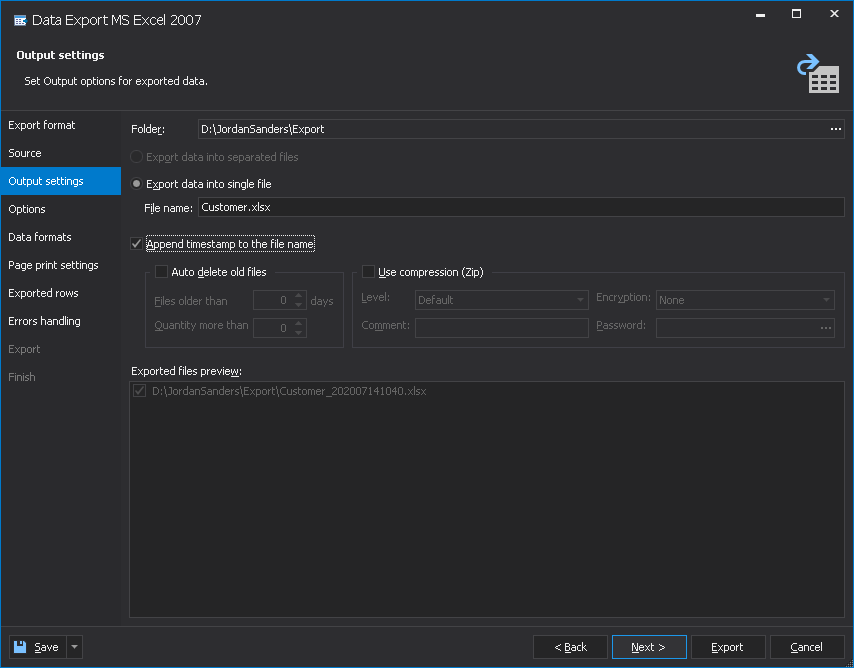
Step 5: Set output options for the data to be exported
The Output settings tab provides the possibility to set export options for the output file.
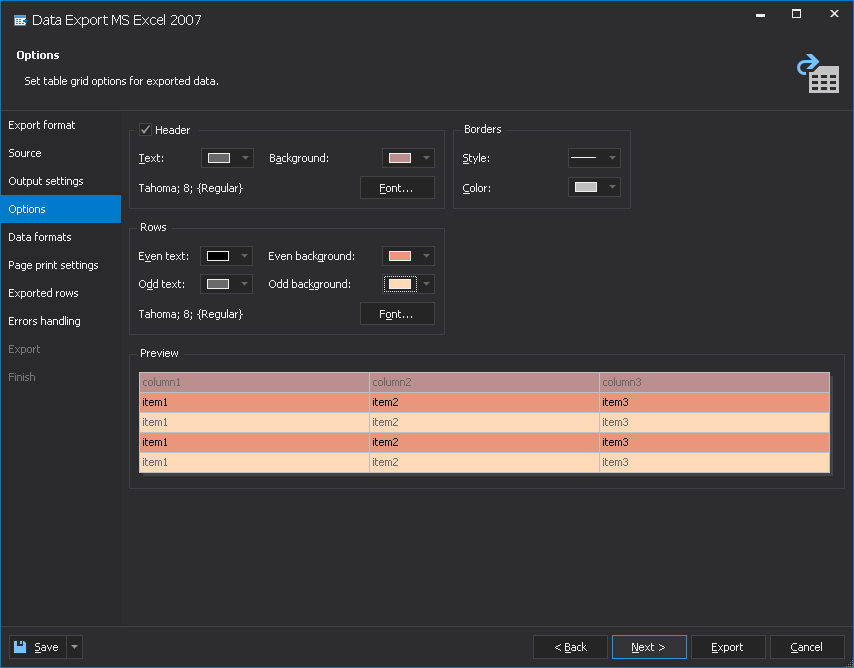
Step 6: Set table grid options for the data to be exported
On the Options tab of the Data Export wizard, you can configure the table grid layout for the exported data. You can configure the following:
– Borders style and color
– Header text color, font, and background
– Text color, font, and background for even and odd rows separately.
You can preview the result and change the settings if required.
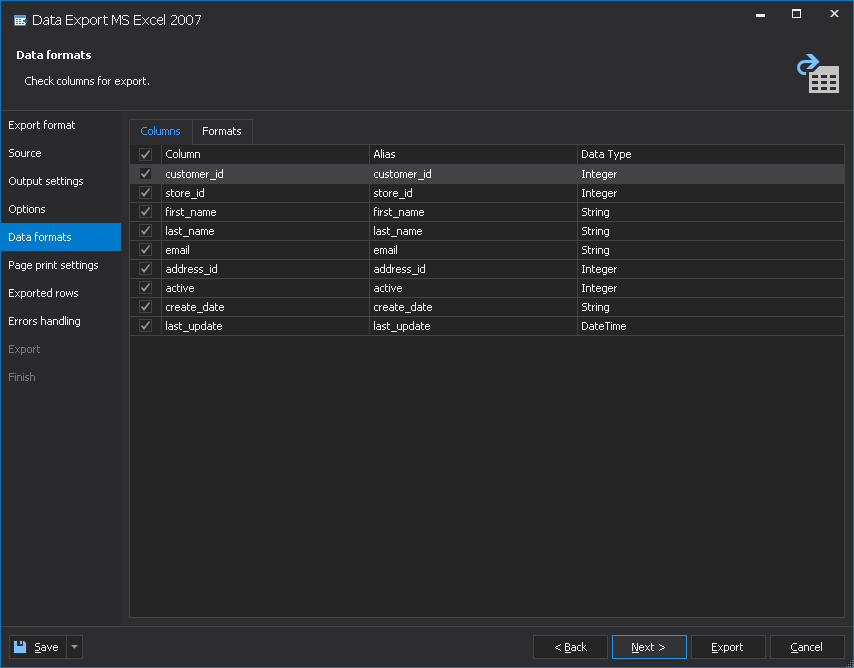
Step 7: Select columns for export and adjust data formats
On the Data formats tab, you can select columns for export and adjust data formats. It is possible to exclude certain columns from export, change column names and their types of data.
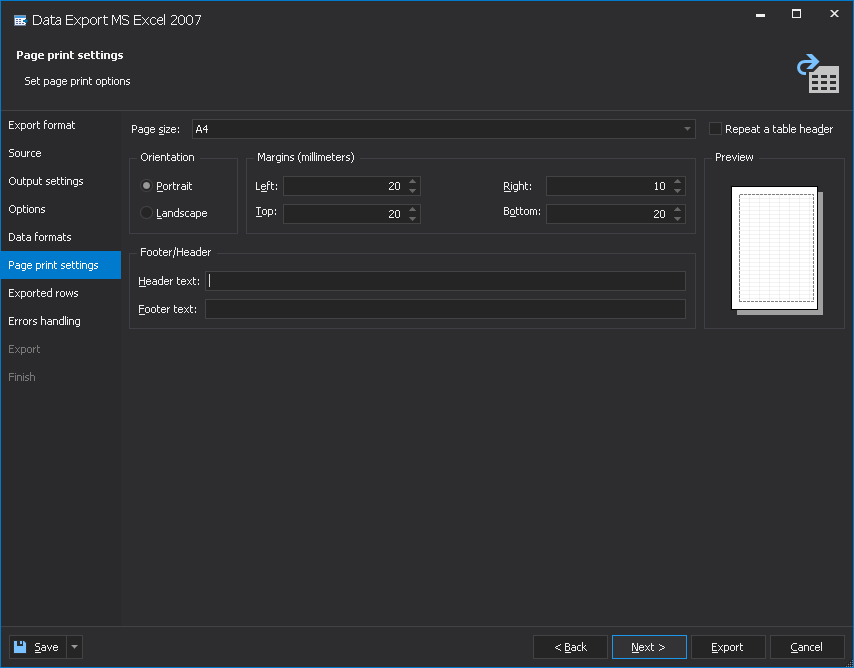
Step 8: Set page print options
On the Page print options tab, you can select the page size, specify the orientation and margins, add Footer and Header text.
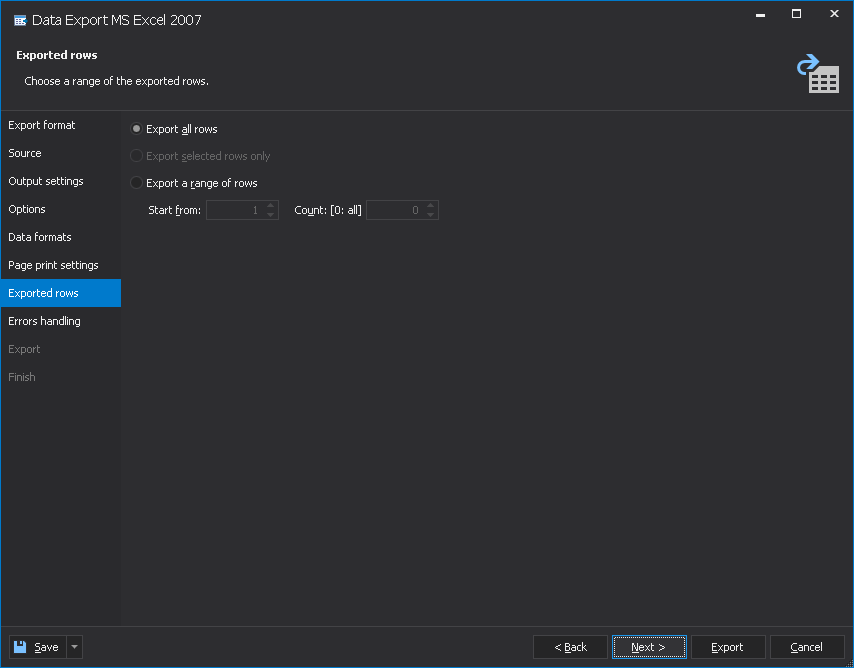
Step 9: Select the rows to be exported
On the Exported rows tab of the Data Export wizard, you can select the range of rows to be exported. You can choose to:
– Export all rows
– Export selected rows
– Export a range of rows and specify it.
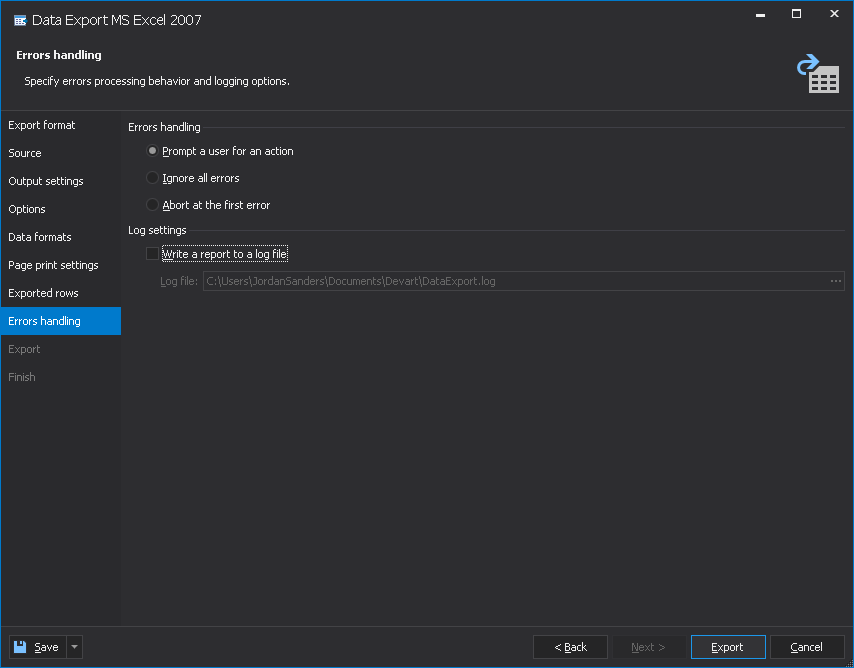
Step 10: Specify errors processing behavior and logging options
At last, on the Errors handling tab, you can configure the application behavior in case it encounters an error. Here you can also tune the logging options.
Step 11: Finish export and save the template
Having completed all the steps in the wizard, click the Export button. You will see a notification about the result of your export job. The undoubted advantage of dbForge Studio for MySQL is the ability to save the export configurations for recurring export tasks. Click the Save button to save the settings either as an export template or as a batch file for further command-line operations.

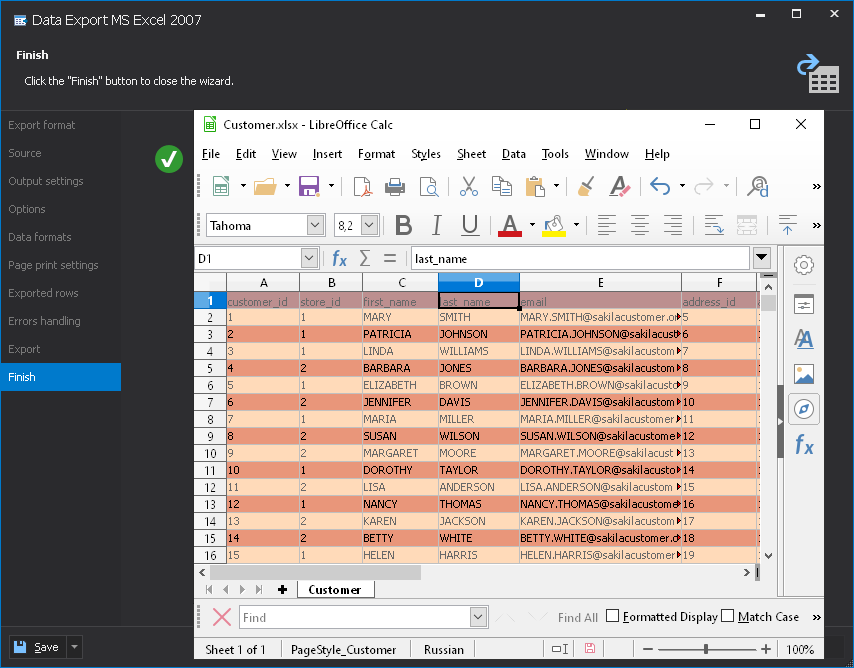
Step 12: Check the result
Click the Open result file button to check the result.
Note:
You can then use the file to transfer data to another MySQL database either local or remote. To learn how to import data from a file using dbForge Studio for MySQL, please see the tutorial.
Conclusion
dbForge Studio for MySQL allows exporting data from Amazon RDS quickly and easily. You don’t need to suffer configuring the Export wizard again and again – just save the export template and perform your export jobs in a wink. Have a need for scheduling or automating export tasks? It’s not an issue either, save the export options as a batch file and schedule it with Windows Task Scheduler.
Try it out and all your doubts, if any, will vanish! Also, you can watch this video tutorial:
