
If you are in search of the optimal way to export data from SQL Server to Excel spreadsheets, look no further. Just check this article. Here we tried to gather together different methods—any of them could turn out to be useful for your particular case. Without further ado, let’s get started!
CONTENTS
1. How to export data from a SQL table to Excel using the SQL Server Import and Export Wizard
2. How to export SQL query results to Excel with headers
3. How to export data from SQL Server to an Excel file using the Data Connection Wizard
4. How to export SQL Server data to an Excel file using a T-SQL statement
5. How to export data from SQL Server to Excel using dbForge Studio for SQL Server
How to export data from a SQL table to Excel using the SQL Server Import and Export Wizard
1. Launch SSMS and connect to the required database.
2. In Object Explorer, go to the database that you want to export to Excel. Invoke the shortcut menu and go to Tasks > Export Data. The wizard opens.
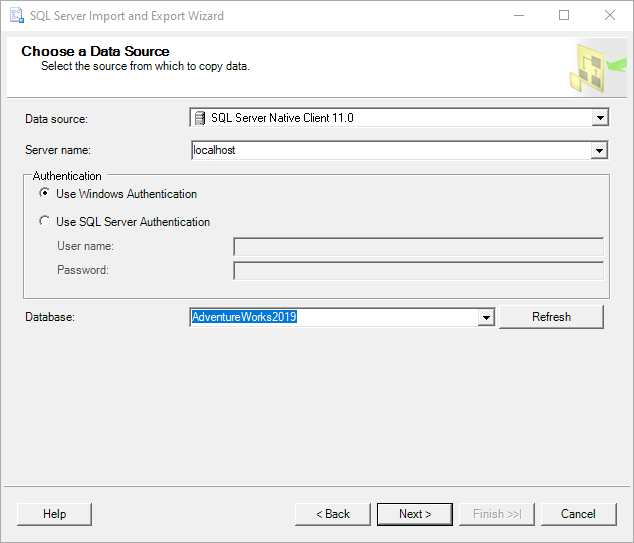
3. On the Choose a Data Source page, specify the data source and server name from the drop-down list. You can also select either Windows or SQL Server Authentication and, if necessary, select another database to be exported.
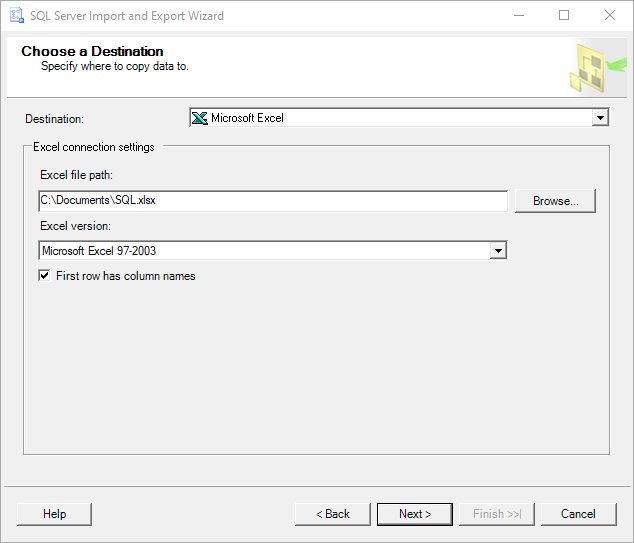
4. The second page is Choose a Destination, where you can set the path to the required Excel file and select an Excel version.
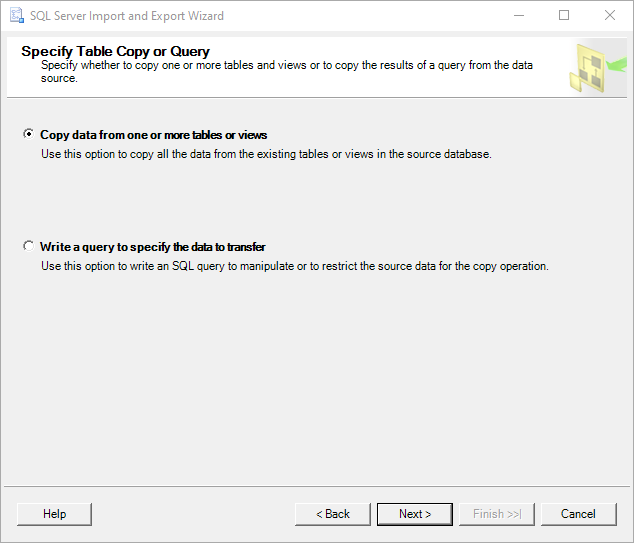
5. The next page is Specify Table Copy or Query, where you need to select Copy data from one or more tables or views.
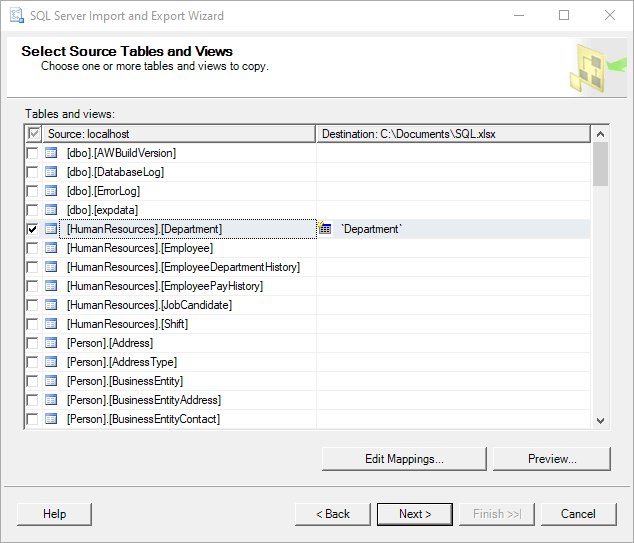
6. On the Select Source Tables and Views page, you can specify the required tables and views. Additionally, you can Edit Mappings or click Preview to see what data is going to be exported to the Excel file.
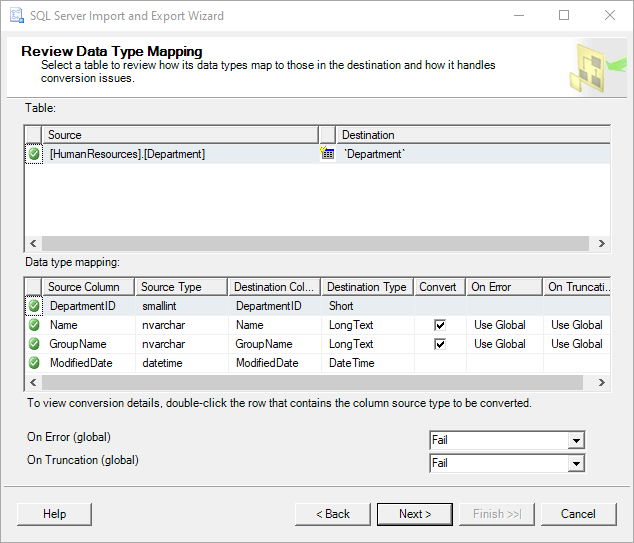
7. On the Review Data Type Mapping page, you can conveniently review the mapping of the selected tables.
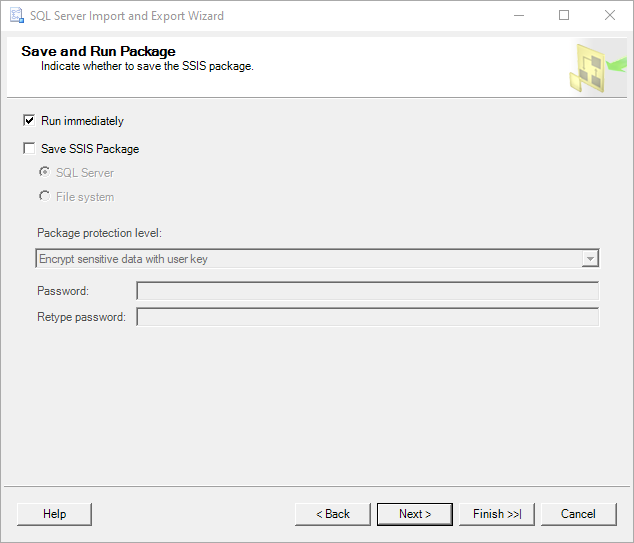
8. On the Save and Run Package page, select the Run immediately check box and click Next.
9. We’re almost there! On the Complete the Wizard page, you will be able to see all the settings you have configured during this export operation.
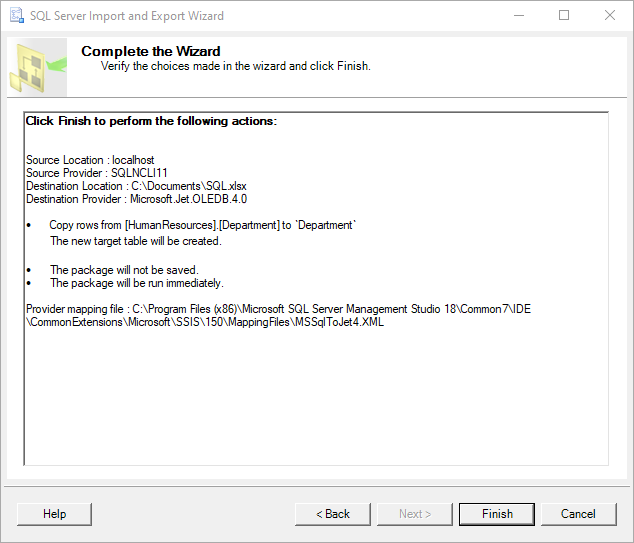
If everything is correct, click Finish to see the export progress and enjoy the results of the successful execution.
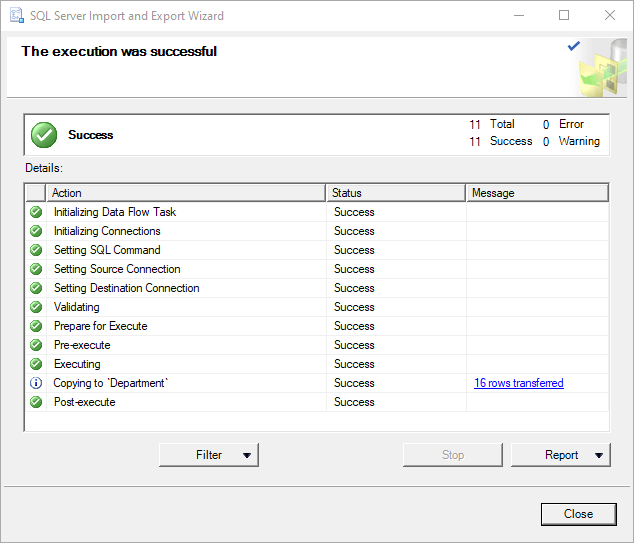
That’s it! The results will be exported to a new sheet that will be added to your Excel file.
Now let’s see how to export SQL query results to Excel with column headers.
Additionally, to learn how to export and import data in SQL Server, feel free to watch this video.
How to export SQL query results to Excel with headers
The workflow here is quite similar to the previous case, with steps 1-4 being actually identical (so you may check them here).
But then you proceed to step 5—the Specify Table Copy or Query page—where you need to select Write a query to specify the data to transfer.

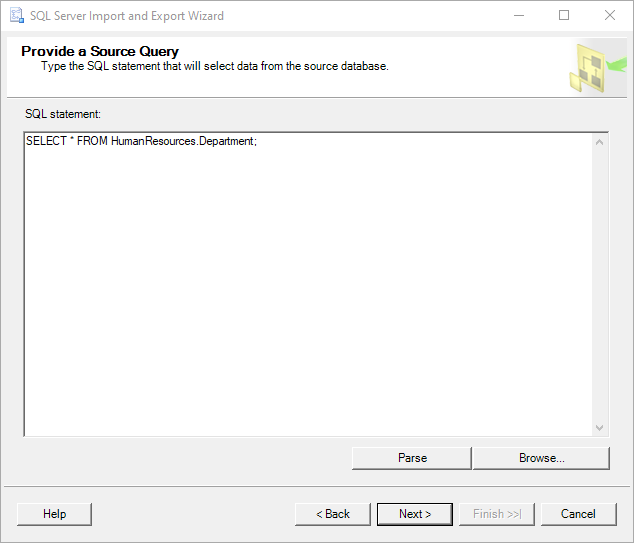
Then, on the Provide a Source Query page, enter the required SQL statement.
Click Parse to quickly check whether there are any typos in your statement.
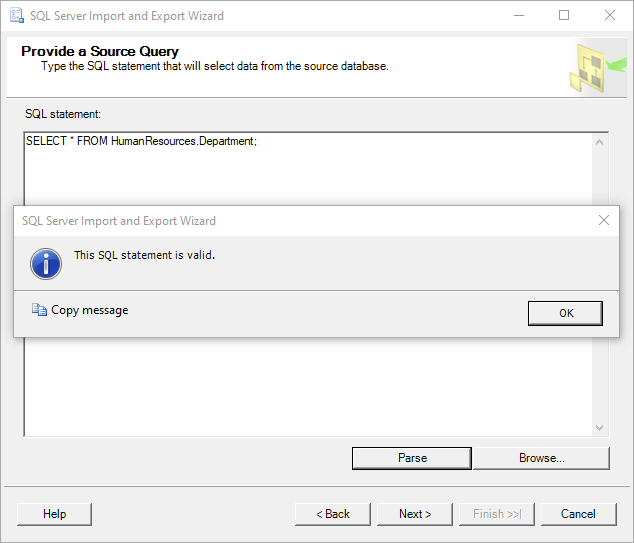
Okay, our SQL statement is valid. Let’s click Next to move on.
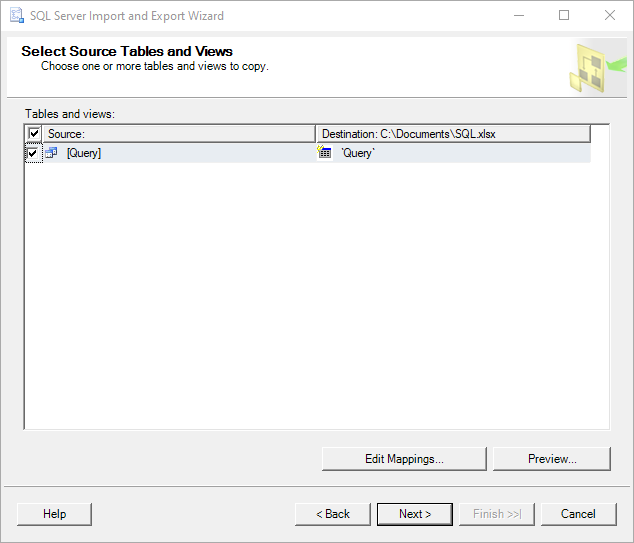
On the Select Source Tables and Views page, you will see the source labeled as [Query]. You can also see that a sheet called Query will be added to the selected Excel file.
The rest of the workflow is also identical to the previous case. On the Save and Run Package page, select the Run immediately check box. On the Complete the Wizard page, check all the settings you have configured and click Finish to complete your export. Your query results will be exported to a new sheet that will be added to your Excel file.
How to export data from SQL Server to an Excel file using the Data Connection Wizard
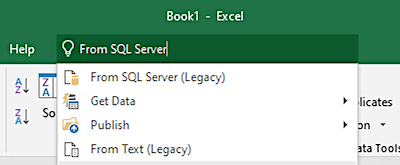
Or, to be more precise, we are talking import here, because this operation is launched from Excel on a machine that must be connected to SQL Server. The fastest way to launch the Data Connection Wizard is to go to the search bar, enter From SQL Server, and click the suggestion on the drop-down list.
1. On the Connect to Database Server page, enter the required Server name and choose the preferred authentication mode in the Log on credentials section.

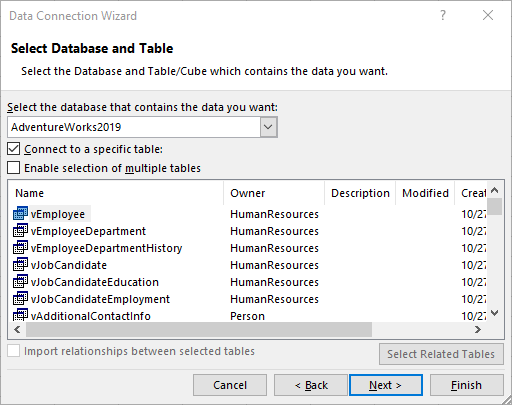
2. On the Select Database and Table page, select the required database and one or more required tables from the grid.
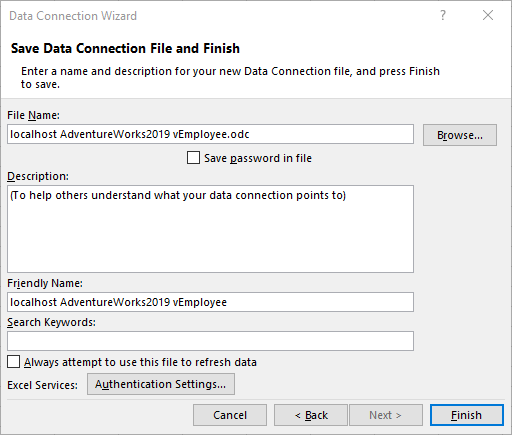
3. On the Save Data Connection File and Finish page, you only need to leave everything as it is and click Finish.
4. The final dialog is Import Data, where you need to select to view your data in a Table and choose whether you want to import it to an Existing worksheet or a New worksheet. In the former case, you can specify the required starting cell.
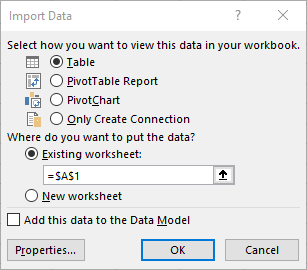
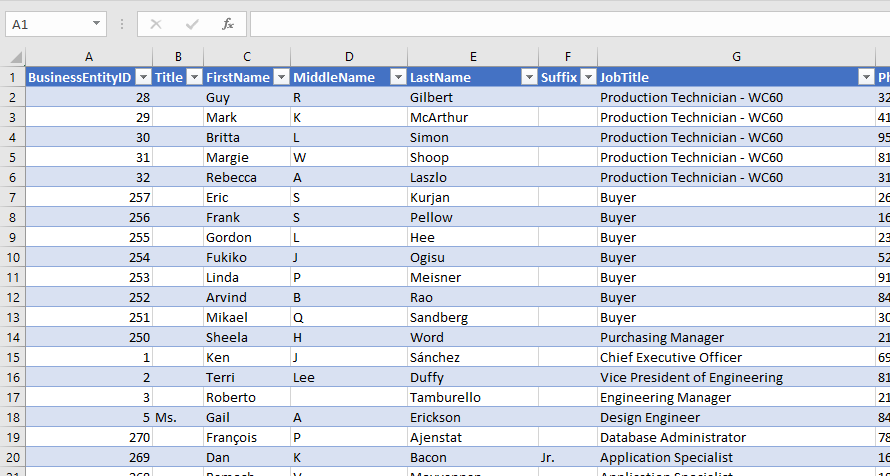
Now simply click OK, and the data will be imported into your Excel file.
How to export SQL Server data to an Excel file using a T-SQL statement
Our next export method brings us back to SSMS. You can use the T-SQL OPENROWSET to export SQL Server data to Excel. Open the query editor via the New Query button on the menu and execute a query, similar to the following one, against the required database:
INSERT INTO OPENROWSET('Microsoft.ACE.OLEDB.12.0','Excel 12.0; Database=C:\Documents\SQL.xlsx;','SELECT * FROM [Sheet1$]')
SELECT * FROM HumanResources.Department
Please make sure you indicate a valid OLE DB provider name (indicated as Microsoft.ACE.OLEDB.12.0 in the example), Excel file name (indicated as SQL.xlsx in the example), and the table you want to export data from (indicated as HumanResources.Department in the example).
Please note that before the execution of your query succeeds, it might encounter a few issues along the way. If it does, check this guide for a list of possible errors with detailed solutions.
How to export data from SQL Server to Excel using dbForge Studio for SQL Server
Finally, you can perform versatile export operations via dbForge Studio for SQL Server, a multifunctional IDE that covers nearly every aspect of SQL Server development, management, and administration. Naturally, data import and export tools are part of its core functionality. Export to Excel becomes far more customizable than in the previous cases—yet just as easy.
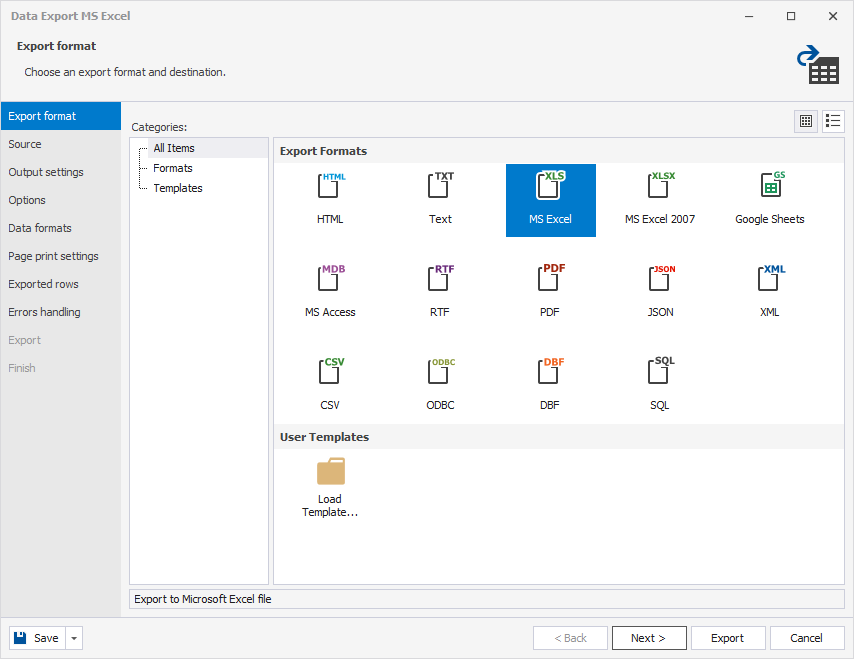
1. In Object Explorer, right-click the required database/table/view and click Export Data on the shortcut menu to invoke the export wizard. On its first page, Export format, select the preferred format: MS Excel (.xls) or MS Excel 2007 (.xlsx).
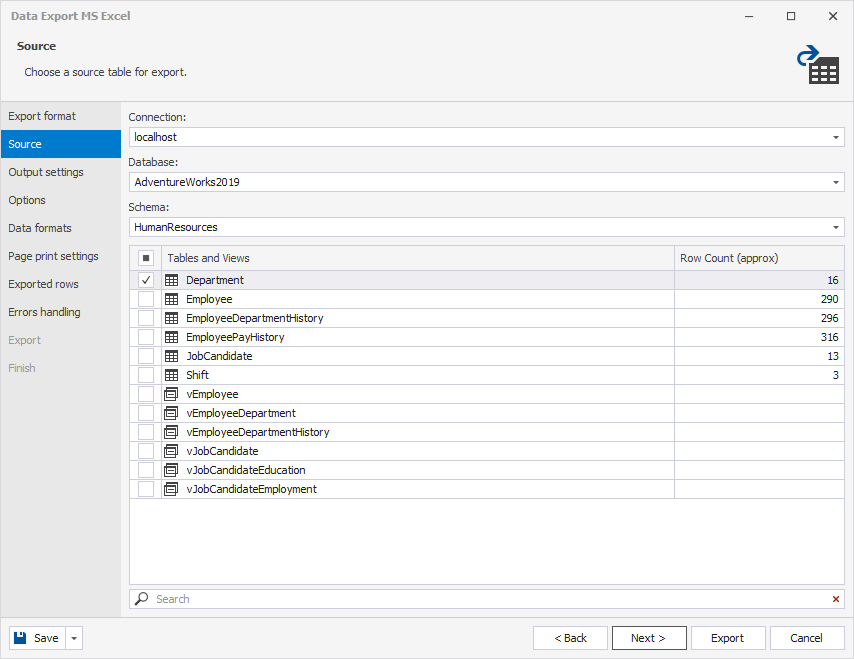
2. On the Source page, check your connection, database, schema, and the tables and/or views selected for export.
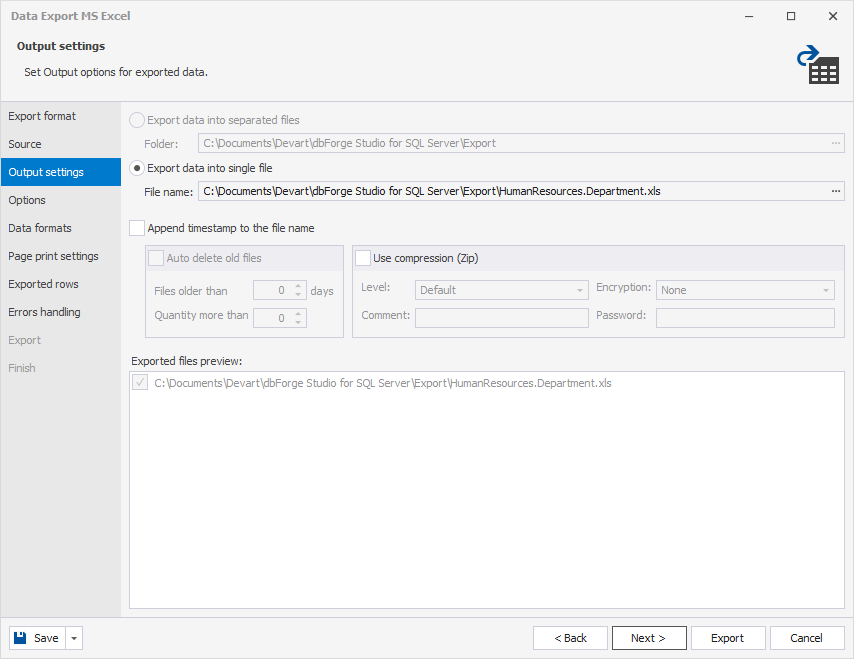
3. On the Output settings page, select to export data to a single file. Additionally, you can append a timestamp to the file name, auto-delete old files, create an archive with exported files, and preview them.
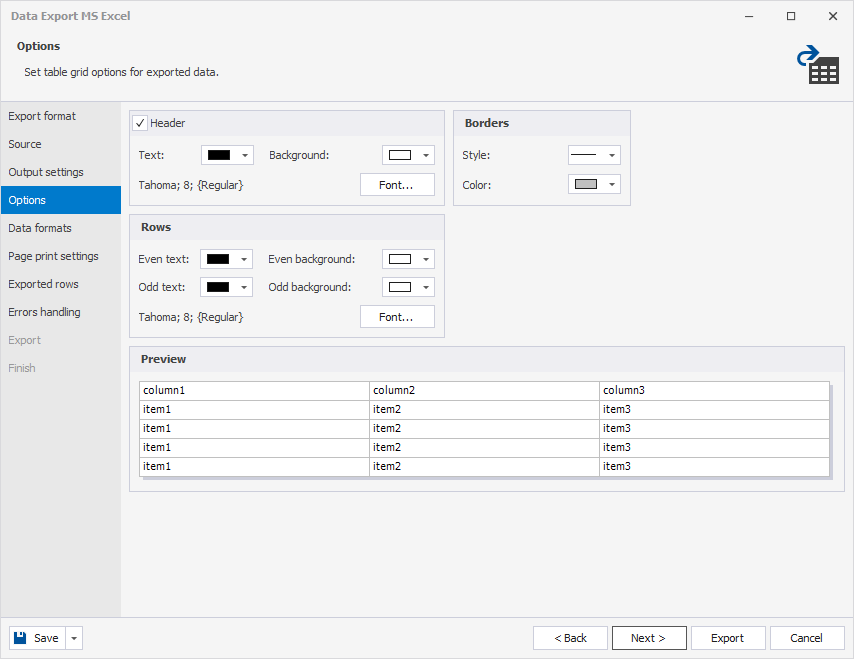
4. On the Options page, you can configure the table grid options for exported data. The results are conveniently shown in the Preview section.
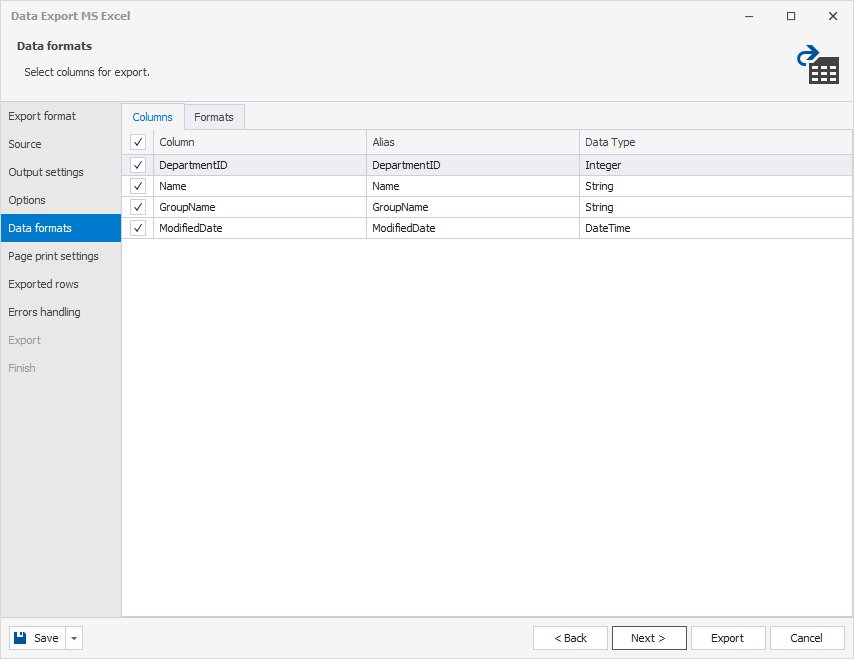
5. On the Data formats page, you have two tabs. The first one is Columns, where you can select columns for export and check their aliases and data types. The second one is Formats, where you can change the default format settings as well as select the required binary encoding from the drop-down list.
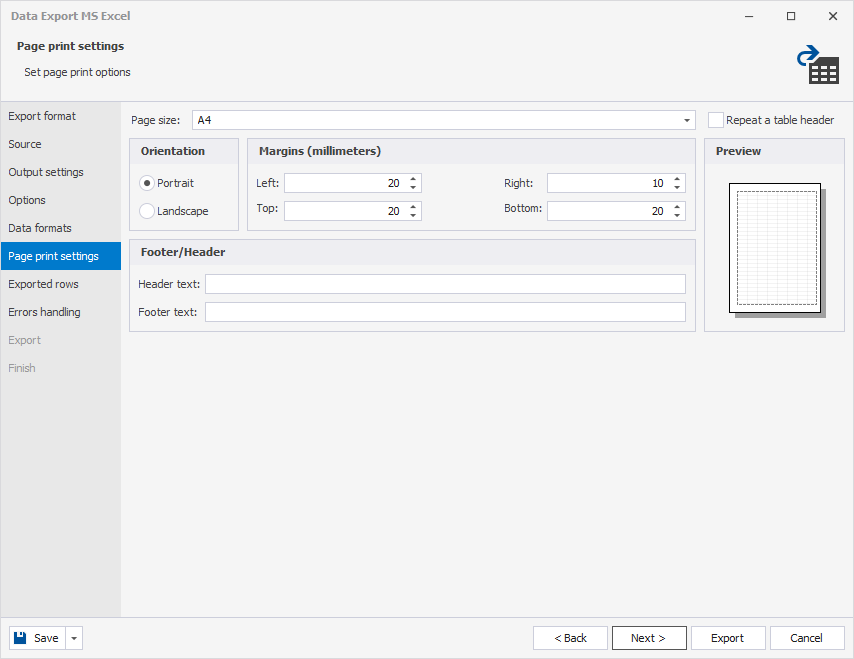
6. On the Page print settings page, you can configure the page size, orientation, margins, header and footer text (including the option to repeat the table header).
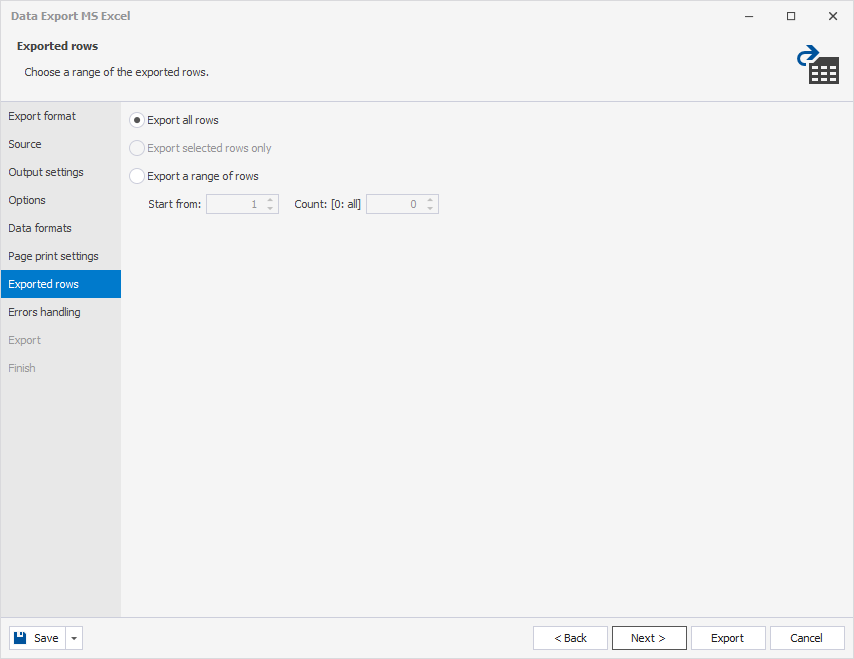
7. On the Exported rows page, you can select to export all rows, export the rows selected on the Data formats page, or export a specified range of rows.
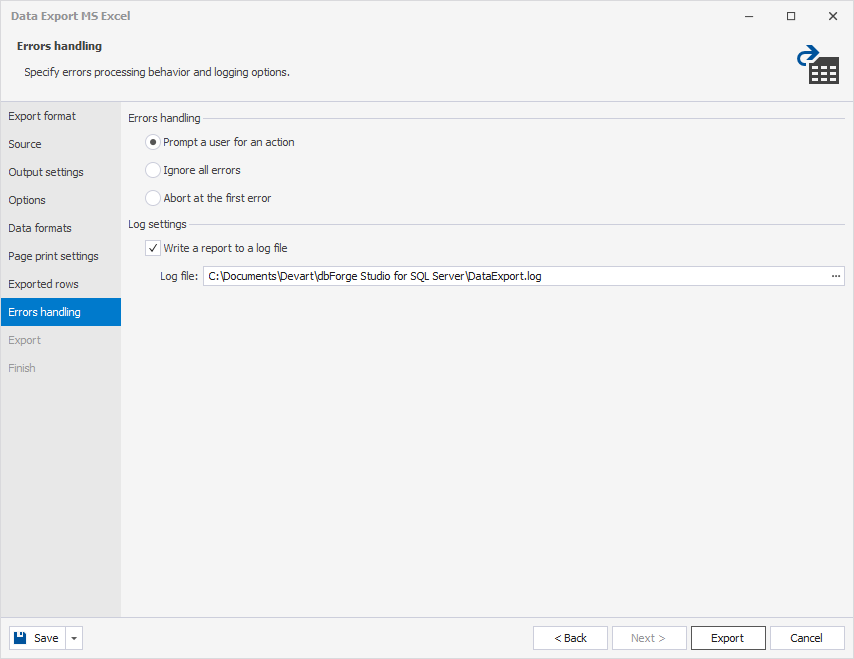
8. On the Errors handling page, you can specify the error processing behavior and opt to write reports to a log file with a specified path.
9. That’s it! Now you only have to click Export, and the operation will be completed in a matter of moments. You will find the exported Excel file in the specified destination folder.
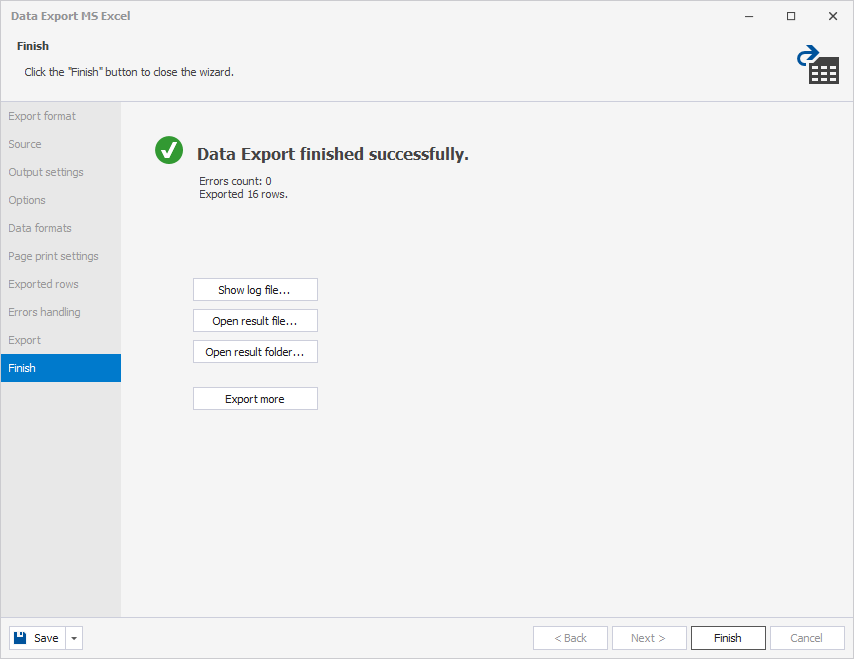
It is also worth noting that you can save export settings to a template using the Save button in the lower left corner of the screen.
For avid users of SQL Server Management Studio, we can suggest an alternative – dbForge Data Pump, a powerful SSMS add-in that allows exporting data to 14 formats and importing data from 10 formats, including Google Sheets.
Download a free 30-day trial of dbForge Studio for SQL Server to gain some firsthand experience and see it in action.
