
This article introduces a solution on how to automatically synchronize two SQL Server databases on a schedule.

Prerequisites
To automate and schedule schema changes, we will use the dbForge Schema Compare tool that comes as part of the SQL Tools bundle, the project file created with the help of dbForge Schema Compare, and a customized PowerShell script.
The logic behind the whole process is to have a PowerShell script that will launch the .scomp project file created via dbForge Schema Compare and containing all the necessary schema comparison and synchronization settings. That PowerShell script responsible for initiating the Schema Compare tool and running the synchronization can be further scheduled via any third-party task scheduler.
Thus, to set up automatic schema sync between two databases, you need to go through the following steps:
- Save the project file
- Create the PowerShell script for scheduling synchronization
- Schedule the PowerShell script execution
- Check the synchronization results
Save the project file
To begin with, you need to create and save the Schema Compare project (.scomp) file. This file will be invoked by the PowerShell script that we will create in the next step.
1. Run dbForge Schema Compare.
2. Click New Schema Comparison:

3. In the New Schema Comparison wizard, select the source and target connection and databases you want to synchronize schema changes between:
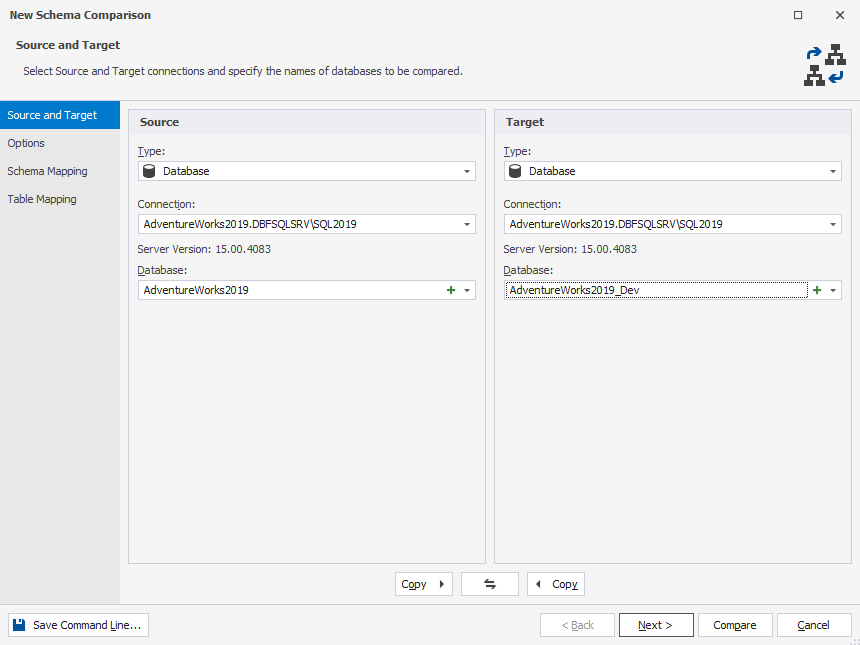
4. On the Options, Schema Mapping, and Table Mapping pages, you can customize the comparison settings. To get more information on how to do this, refer to Setting comparison options, Mapping Schemas, Mapping Tables, and Columns topics of the Schema Compare documentation.
5. To start the comparison process, in the New Schema Comparison wizard, click Compare. The window displaying the schema comparison results will open:
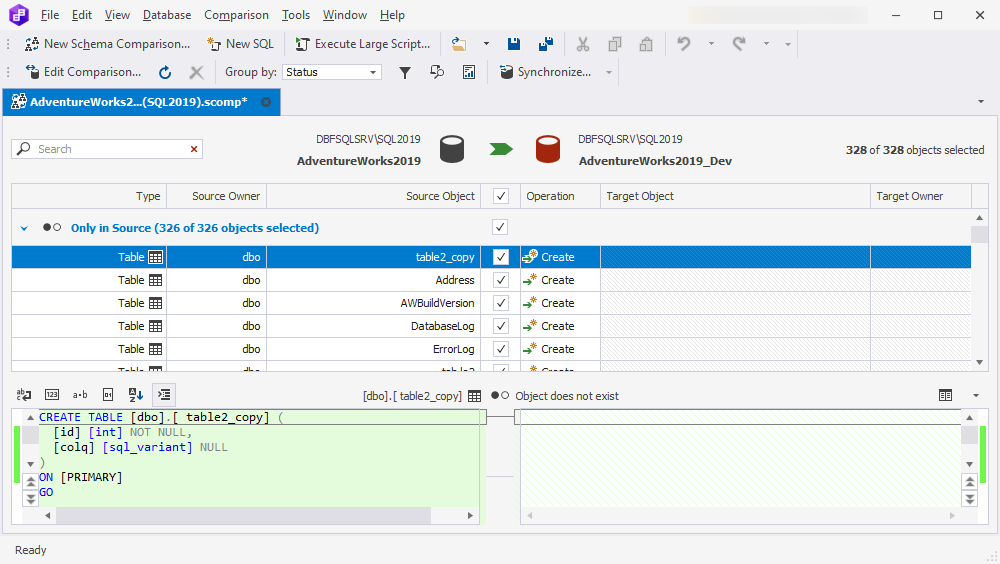
6. Add objects to synchronization by selecting the corresponding checkboxes and then click the Save icon:

Note
The saved project (.scomp) file will contain information on the objects for synchronization and default schema synchronization options.
Add custom schema synchronization options to the project file
In case you need the Schema Compare project file to include the custom synchronization options, click Synchronize to open the Schema Synchronization wizard. On the Options tab of the wizard, make the necessary settings, close the wizard, and only then save the project file.
Create the PowerShell script for scheduling the synchronization process
Next, you need to create the PowerShell script that will launch the synchronization process.
#checks if the Outputs folder exists. If it doesn’t, the script creates it and returns its full path
function CheckAndCreateFolder($rootFolder, [switch]$Outputs)
{
    $location = $rootFolder

    #set the location based on the used switch
    if($Outputs -eq $true)
    {
        $location += "\Outputs"
    }
    #create the folder if it doesn't exist and return its path
    if(-not (Test-Path $location))
    { mkdir $location -Force:$true -Confirm:$false | Out-Null }

    return $location
}

#set the root folder
$rootFolder = "C:\SchemaSync\"

#set the location of output files
$outsLoc = CheckAndCreateFolder $rootFolder -Outputs

#define the tool’s location, date stamp variable and the tool’s parameters
$diffLoc   = "C:\Program Files\Devart\Compare Bundle for SQL Server Professional\dbForge Schema Compare for SQL Server\schemacompare.com"
$dateStamp = (Get-Date -Format "Mmddyyyy_HHMMss")

#output log file path
$logPath = "$outsLoc\DataOutput_$dateStamp.txt"

$Params = "/schemacompare /compfile:""C:\SchemaSync\Project\adventureworks2019.scomp"" /log:""$logPath"""
$sync = " /sync"

#initiate the schema comparison and synchronization process
(Invoke-Expression ("& `"" + $diffLoc +"`" " +$Params))
     $returnCode = $LASTEXITCODE

     $message = ""

if ($returnCode -notin (100, 101))
     { #an error is encountered
       $logPath = "$outsLoc\DataOutput_error.txt"

       $message >> $logPath
       clear-content $logPath
       $message = "`r`n $returnCode - An error is encountered"

       #output file is opened when an error is encountered
       Invoke-Item "$logPath"
     }
     else{
     if ($returnCode -eq 101)
    {
    clear-content $logPath
    (Invoke-Expression ("& `"" + $diffLoc +"`" " +$Params+$sync))
    $returnCode = $LASTEXITCODE

   #schema changes are detected
   }
   if($returnCode -eq 0)
   {
       $message = "`r`n $returnCode - Schema changes were successfully synchronized"
   }
   else
   {
       #there are no schema changes
       if($returnCode -eq 100)
       {
           $message = "`r`n $returnCode - There are no schema changes. Job aborted"
       }
   }
   }
   $message >> $logPath
In this script, you need to:
1. Provide the path to the directory where dbForge Schema Compare is stored.
2. Specify the date stamp format.
3. Provide the path to the log file.
4. Provide the path to the saved .scomp file.
You can run the script manually, schedule its execution, or use it in your CI.
Schedule the PowerShell script execution
Now, when the script is ready, you can schedule its execution, for example, via Windows Task Scheduler.
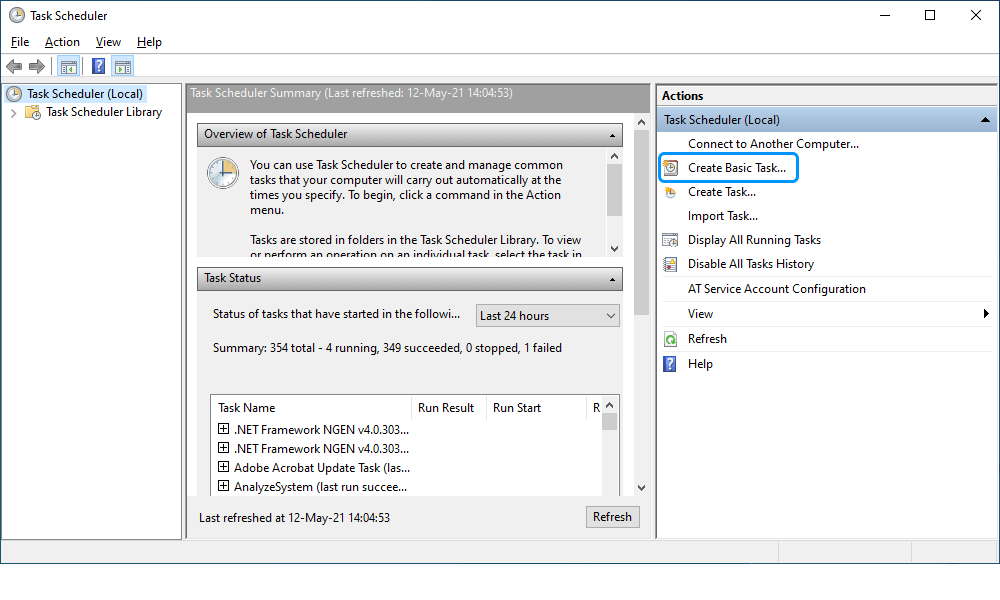
1. Save the script to the .ps1 file and open Task Scheduler on your PC.
2. In Task Scheduler, navigate to Action > Create Basic Task.
3. Fill in the Name and Description fields. Then click Next.
4. Select the desired option and click Next.
5. Select the time when you want the script to be launched. Set the number of days for the script execution and click Next.
6. Select an action for the task and click Next.
7. Click Browse and select the path of the PowerShell script. Then click Next.
8. Finally, check the settings and click Finish.
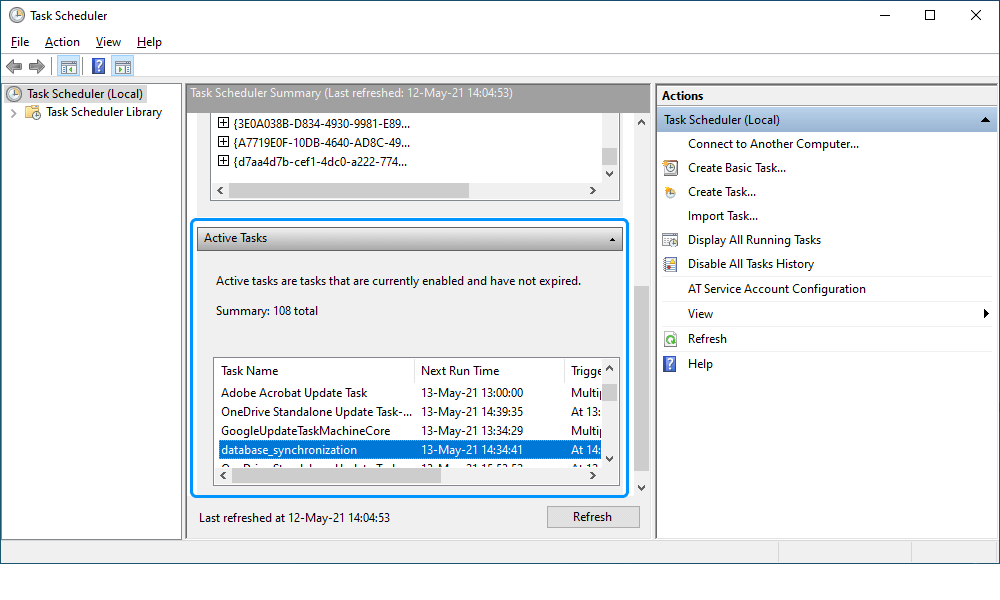
The task will be displayed in the Active Tasks section.
Check the synchronization results
After the PowerShell script has run, you can check schema output summaries in the location you have specified in the $rootFolder and $outsLoc variables. In our case, the files are saved to \temp\SchemaSync\Outputs.
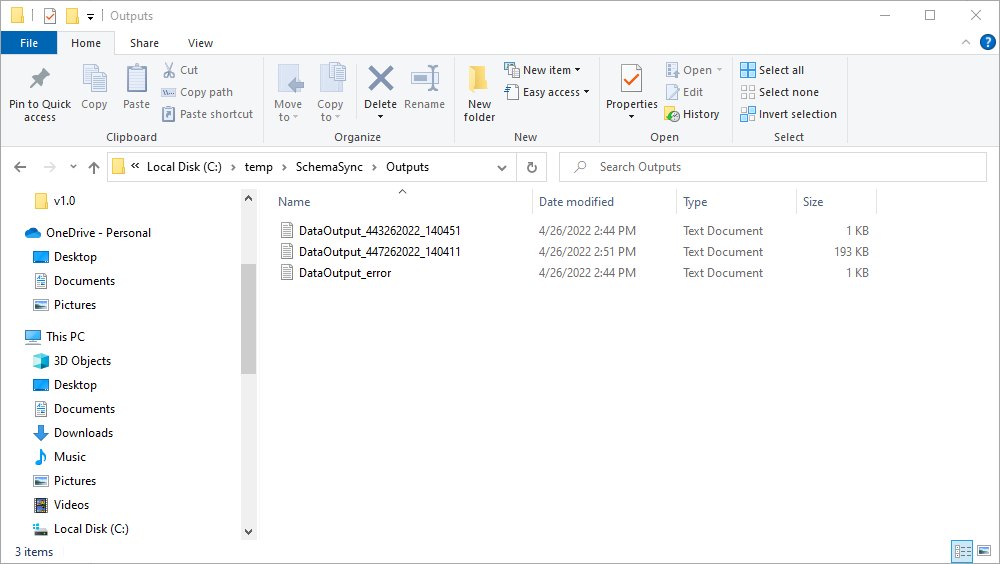
If there is an error, you will see the corresponding information about it in a SchemaOutput.txt file. To be aware of any error, you can use Exit Codes Used in Command Line for /schemacompare article.
Interested in ways to detect and report data changes, and ensure automated data updates on schedule between two SQL databases? Explore Data Compare for SQL Server, a powerful SQL data comparison tool!
Conclusion
We have described how to automate the synchronization of schema changes on a schedule using dbForge Schema Compare, the PowerShell script, and Windows Task Scheduler. As you can see, you can set up automatic schema synchronization quickly and easily. You can check it yourself: download dbForge Compare Bundle for SQL Server (including Schema Compare) for a free 30-day trial and start scheduling and automating your project’s synchronization processes.
