
Many database professionals use Mac for their daily work. Devart is going to develop its software products for Mac platform in future. But for now, our users owing macOS devices can face some issues with procuring high-quality and comfortable work. One of the best solutions to resolve such issues is a software called Parallels Desktop. This is a virtualization environment, in which you can run Windows or any other OS while remaining in macOS. Today, we will tell you about the intricacies of setting up the dbForge Studio for MySQL environment in this app.

The creators of Parallels Desktop did their best to maximize the capabilities of both operating systems running on one Mac. In Parallels Desktop, Windows occupies your entire screen, so it looks just as on Windows PC. Windows apps can be freely transferred to macOS desktop which allows working in both OS in parallel. So once you complete installing the app, you will be able to launch and use dbForge Studio for MySQL directly from the desktop of your Mac.
Installing Windows in Parallels Desktop
After purchasing a Parallels Desktop license and its intuitive installation, you will need to install and configure Windows. To do this, the software will require an image of the OS. However, if you have an installation flash drive or even a disk (and a DVD-ROM of course), you can use them too. The right-away installation of Windows 10 is not necessary. If you have Windows 7 or 8.1, it is easier to install them and then just upgrade the OS to version 10 using the Upgrade Advisor utility. The update is absolutely safe and does not differ from that on computers with Windows OS.
The entire process of installing Windows is fully automatic and doesn’t require any actions from you. When complete, the Windows operating system becomes available at once. After you’ve installed Windows, you can set up its configuration by clicking the Settings icon on the top main toolbar. The Settings window will open.
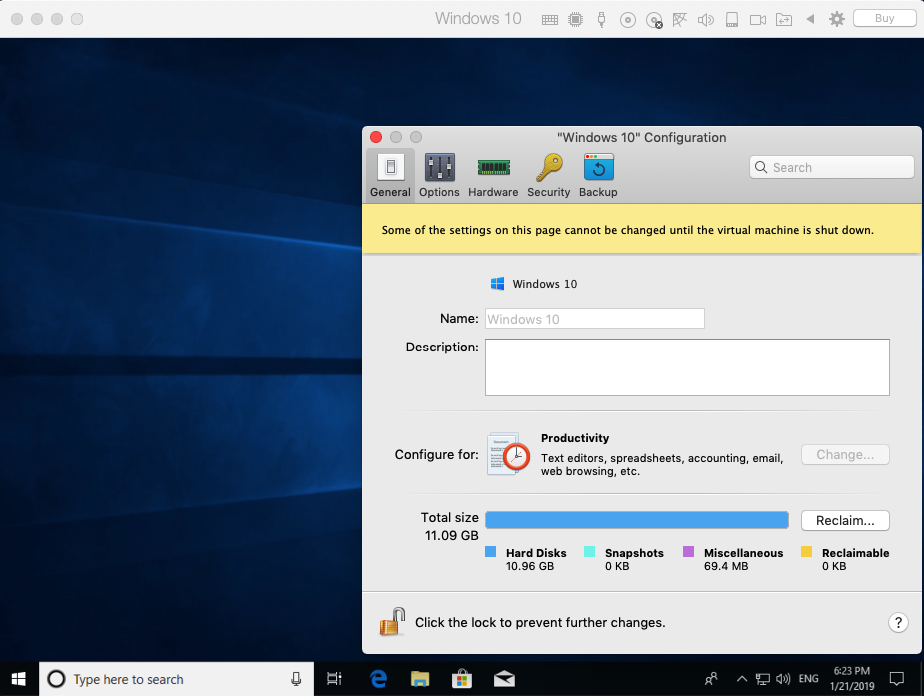
The window has some various settings that can be customized to better suit your needs. The most important thing is to choose the mode in which you will be later working. It is possible to make Windows and macOS work side-by-side on the same desktop. You can also work with each system separately but in this case, it will be necessary to switch between the Windows OS and macOS windows.
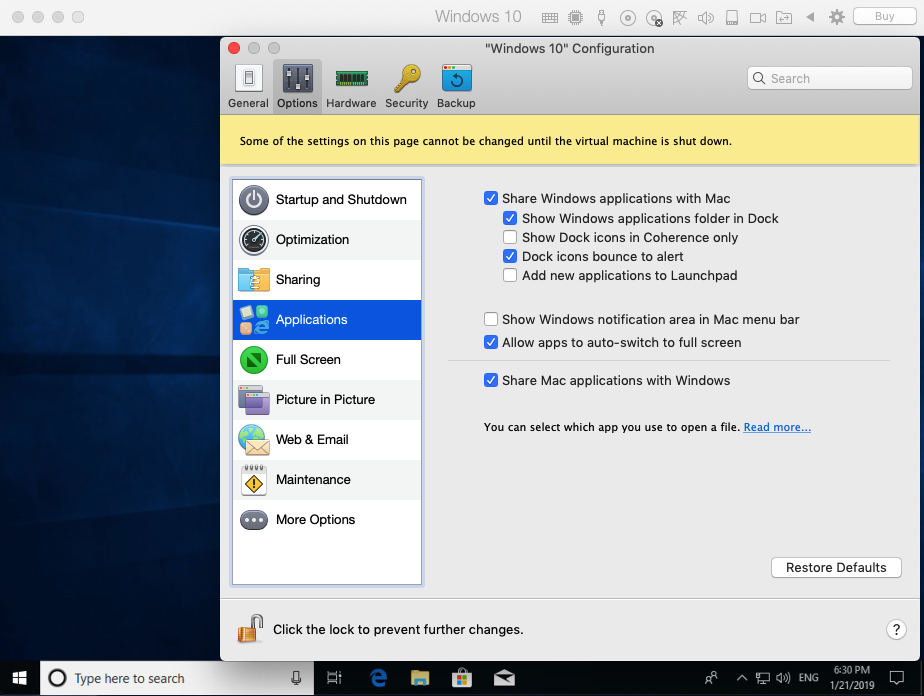
This behavior can be configured in the Applications section under the Options tab, as shown below.
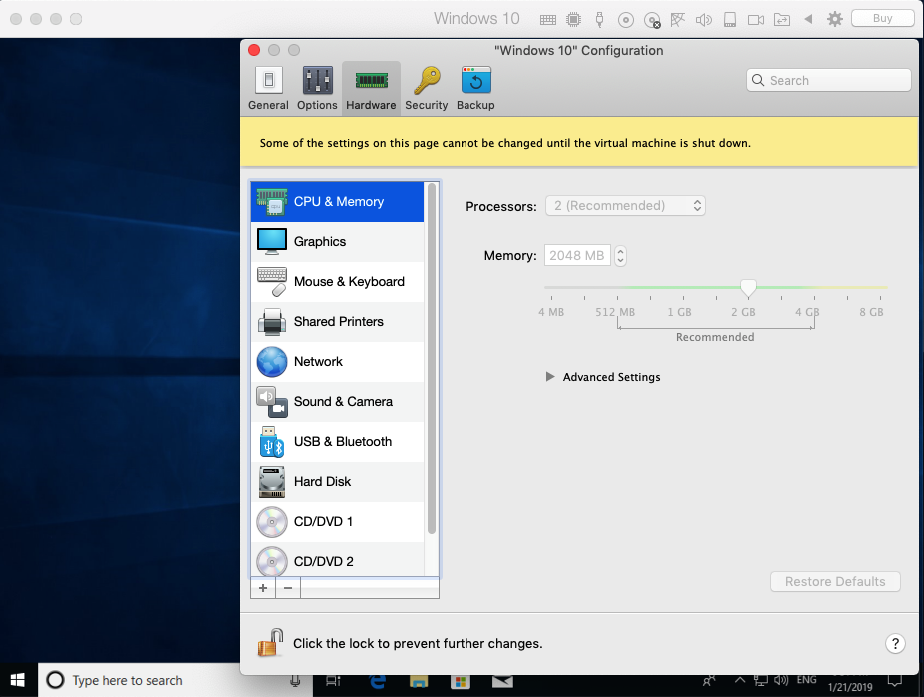
After that, you will need to choose the capacity of resources that you allocate for the system. It is possible to do this in the CPU & Memory section under the Hardware tab of the virtual machine. The hardware may be also configured here. The Pro edition users can operate with 64 GB of virtual RAM and 16 virtual processors. So, even resource-intensive programs can be launched. However, the minimal resources will suffice to run and work with dbForge Studio for MySQL. But of course, everything depends primarily on your Mac, the virtual machine will not be able to work better and faster than it.
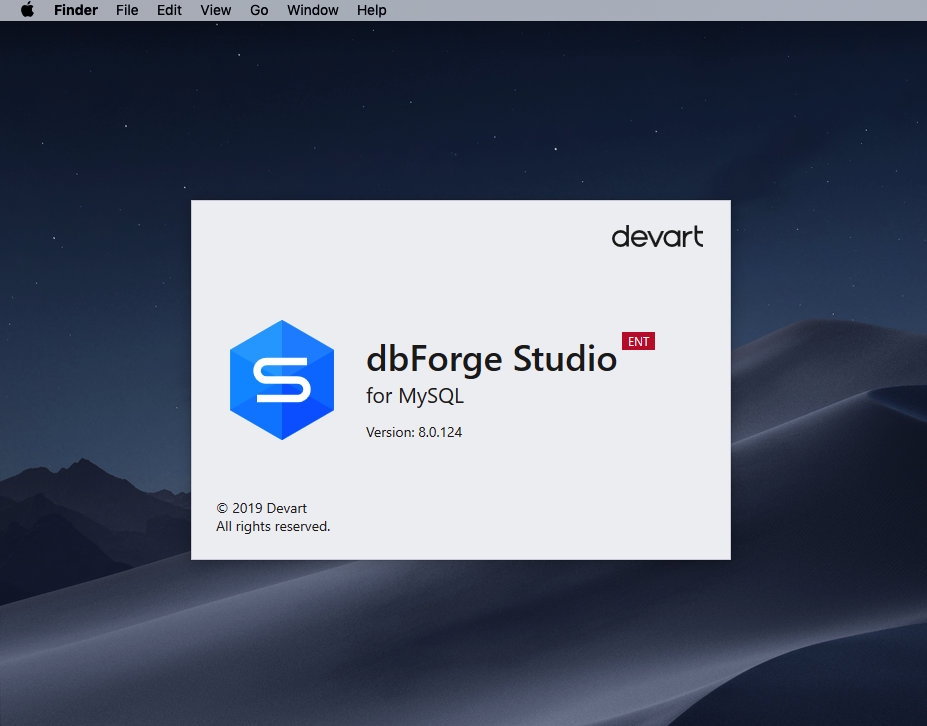
After configuring the required settings, you can install dbForge Studio for MySQL inside the virtual machine. To work with the IDE directly on a Mac, you simply need to drag-and-drop its shortcut from the virtual machine to the desktop of your Mac.
See also: How to Install MySQL on macOS
Conclusion
Parallels Desktop is a powerful and effective tool that allows using dbForge Studio for MySQL on macOS. As you can see, the installation and setup are quite simple and do not require much effort. If you are looking for a different way to install the Studio on macOS, try a specialized application called CrossOver. It provides a compatibility layer that allows Windows applications to run both on Linux and macOS.