
Regularly backing up your MySQL databases is crucial for data security and business continuity. Firstly, it safeguards against data loss caused by hardware failures, software glitches, or human errors, ensuring that critical information remains intact and accessible. Secondly, backups provide a safety net in case of security breaches or data corruption, allowing for rapid recovery and reducing the risk of data exposure or compliance violations. Lastly, regular backups are essential for disaster recovery, enabling businesses to quickly restore their databases and resume operations in the event of natural disasters or other unforeseen emergencies.
In this article, we will take a brief stop to explore the backup creation process in general using dbForge Studio for MySQL. Then, we will fully immerse ourselves in the comprehensive guide on uploading backup files to FTP or freely available file hosting services, providing you with a thorough understanding of these essential tasks.
Contents
- How to Easily Make Protected MySQL Backups
- The Importance of Compressing and Password-Protecting MySQL Backups
- How to Upload MySQL Backup to FTP Server
- FTP Alternatives: The Best Online File Hosting Services for MySQL Backups
- Conclusion

How to Easily Make Protected MySQL Backups
Now, let us see how easy and fast it is to create a database backup using dbForge Studio for MySQL. It is a versatile MySQL GUI tool for developing, managing, and administering MariaDB and MySQL databases. This IDE can increase productivity, optimize query performance, efficiently compare and synchronize databases, and automate and schedule database backups.
With the MySQL backup tool, built into dbForge Studio for MySQL, you can back up and restore MySQL databases in the most efficient and quickest way.
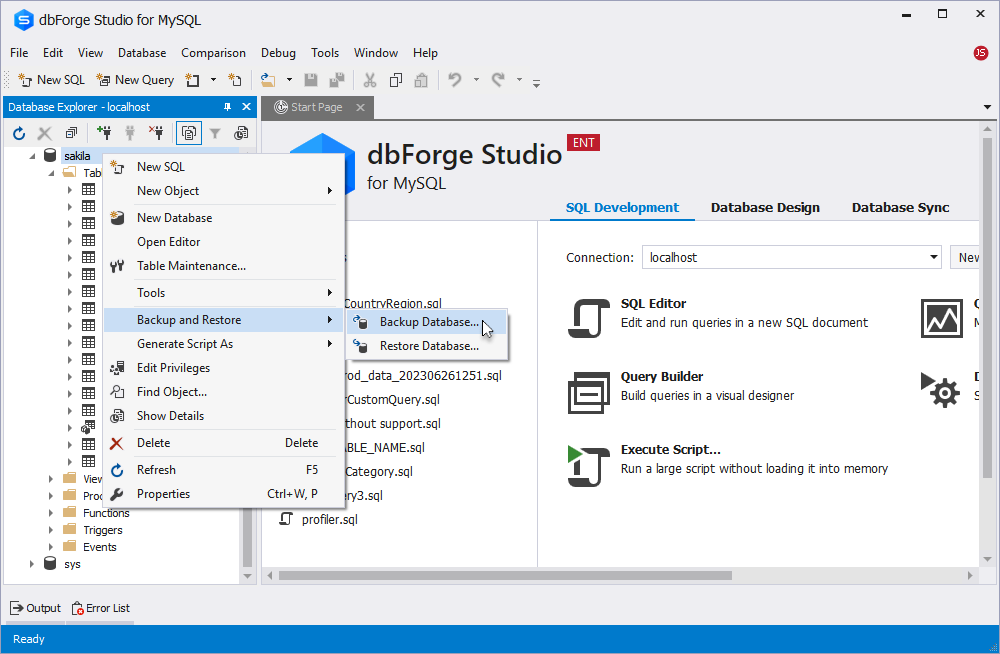
To create a backup for the database, open the tool and connect to the MySQL server. In Database Explorer, right-click the database you want to back up and select Backup and Restore > Backup Database.
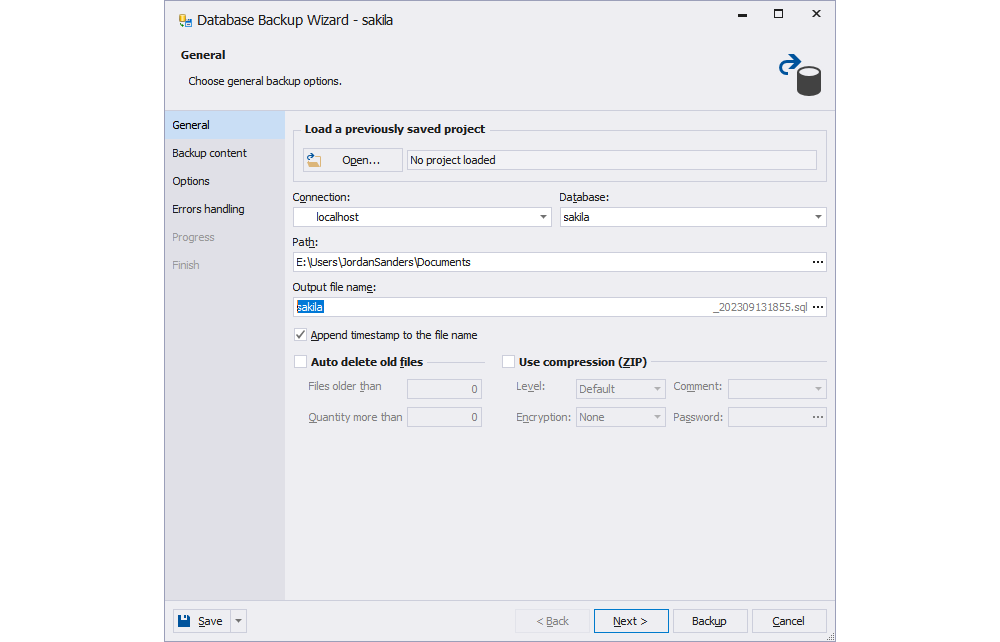
In the Database Backup Wizard that opens, specify the connection, database, location to store the output file, and name for this file.
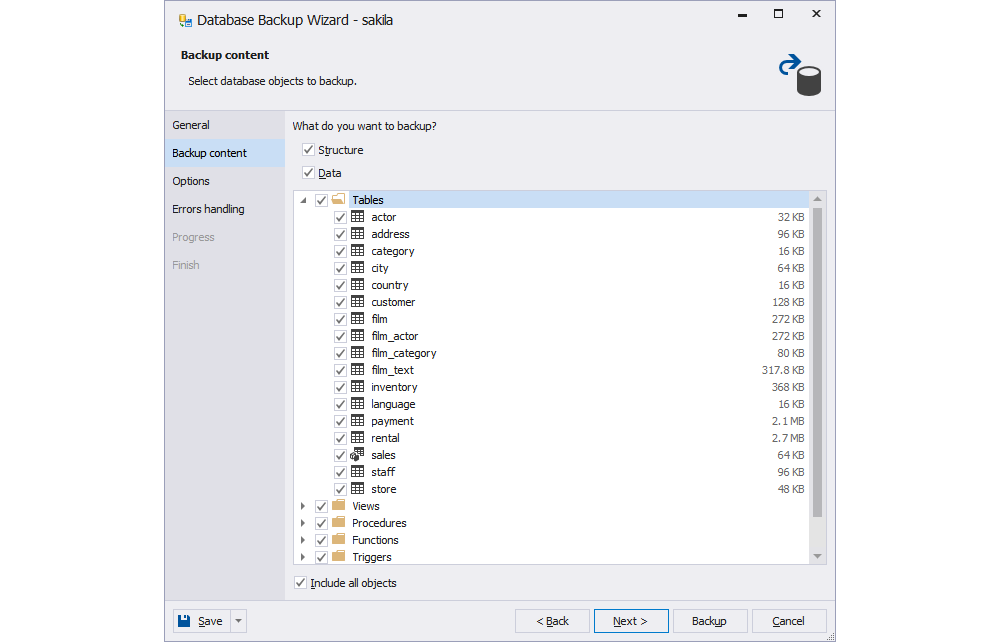
On the Backup content tab, select whether you want to back up a database structure, data, or both, and select database objects.
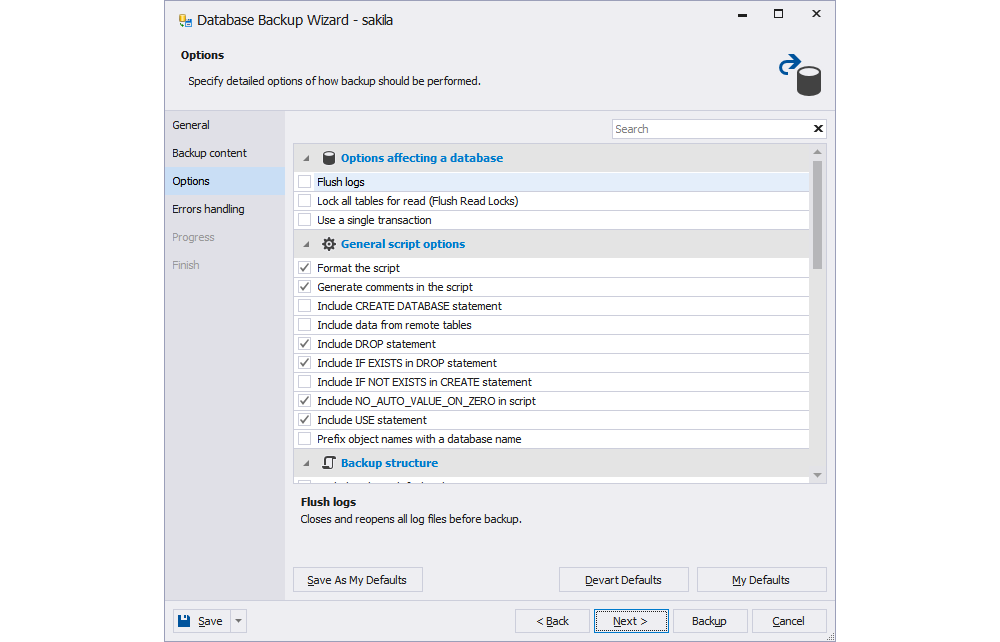
On the Options tab, set additional options that will handle the backup process.
If you want to configure error processing behavior and logging options, switch to the Errors handling tab and set up the options. To launch the database backup, click Backup. After the process is complete, you will see the corresponding notification and can close the wizard.
The Importance of Compressing and Password-Protecting MySQL Backups
Now that we have already freshened up our backup creation skills let us season this knowledge with some best practices. Using compression and password-protecting when creating a backup provides a balance of efficiency and security. It optimizes storage space, protects sensitive data, and ensures a smooth and secure upload process to FTP servers, ultimately safeguarding your valuable information for the future.
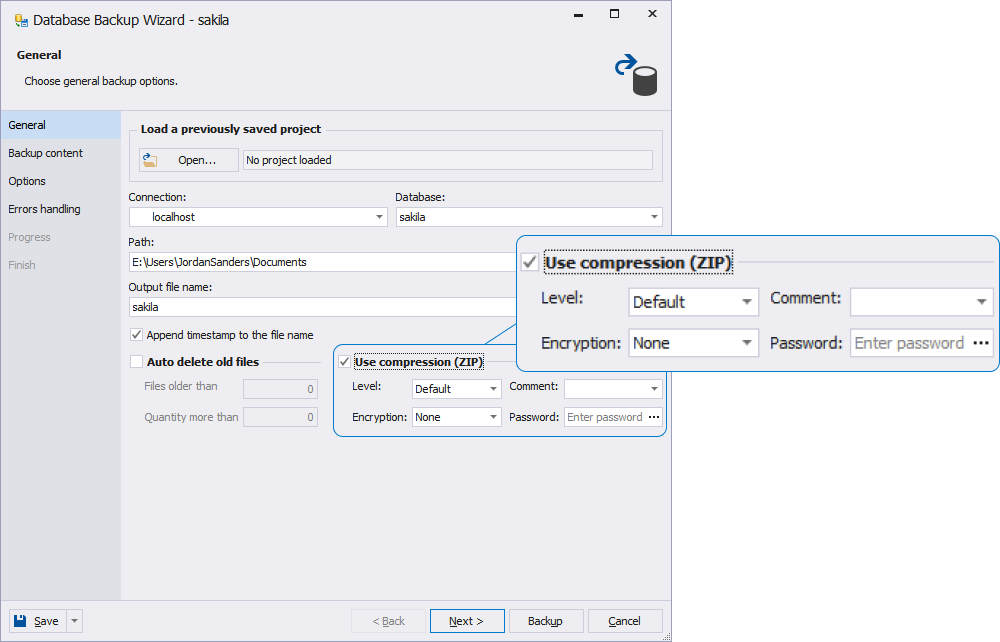
Compression reduces the size of the backup files, making them more manageable and efficient to store. This is especially important when dealing with large datasets, as it conserves storage space and speeds up the backup process. When it comes to uploading backups to an FTP server, these practices become even more vital. Compressed files not only take up less bandwidth during the upload process, but they also require less time to transmit, reducing the risk of data corruption or interruption.
Encryption adds an extra layer of security to the backup files. It ensures that even if unauthorized access occurs, the data remains protected and unreadable without the correct decryption key. This is essential for safeguarding sensitive information and maintaining privacy. Additionally, password-protected backups provide an extra level of security during transit. Even if intercepted, the data remains secure and inaccessible to any unauthorized parties. This ensures the integrity and confidentiality of your information.
How to Upload MySQL Backup to FTP Server
An FTP server is a dedicated computing system designed to facilitate the exchange of files over the Internet. It functions as a sizable electronic repository for the storage and dissemination of diverse data types. For instance, in the context of a website, an FTP server serves as a platform for uploading various files, including images and pages, thereby enabling accessibility for others. This straightforward process effectively renders files accessible on the web.
To check if you have FTP on your hosting or VPS, log in to your management account. There is usually a section called FTP or File Manager. If you do find information about FTP there, it means you can use it. If you do not, you can always ask the support team just to make sure.
Without any further ado, let us face an important and valuable task – uploading files via FTP. This process allows for easy exchange and storage of files on the internet. We will guide you through the steps for the most efficient use.
Using FTP Client
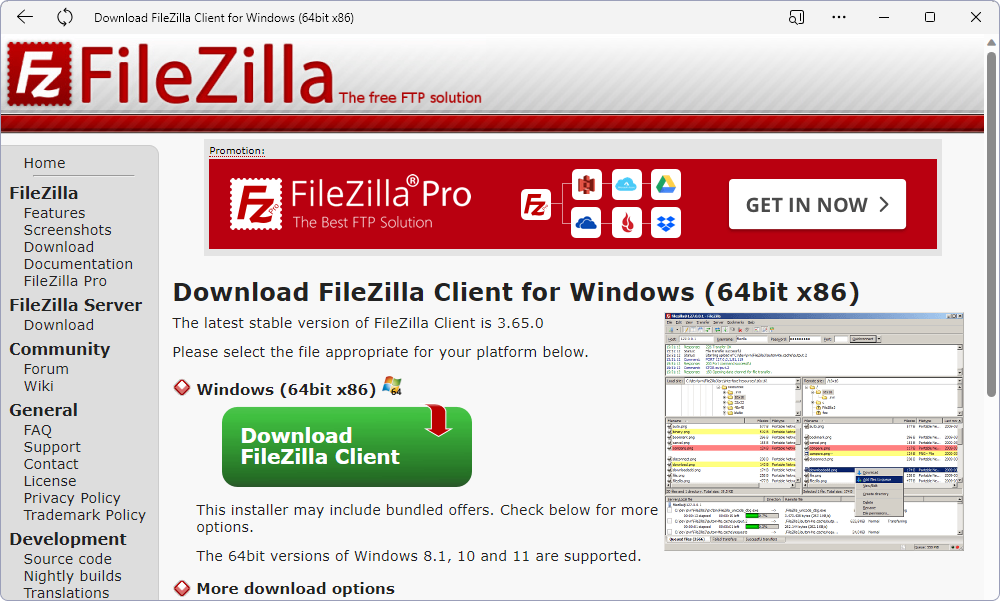
There are various FTP client applications available, both free and paid, each with its own set of features and user interfaces. There is a wide array of FTP clients available, many of which are free.FileZilla, an open-source FTP client compatible with Windows, Mac, and Linux, is the tool we will use to demonstrate how this works.
1. The first step is to download and install an FTP client.
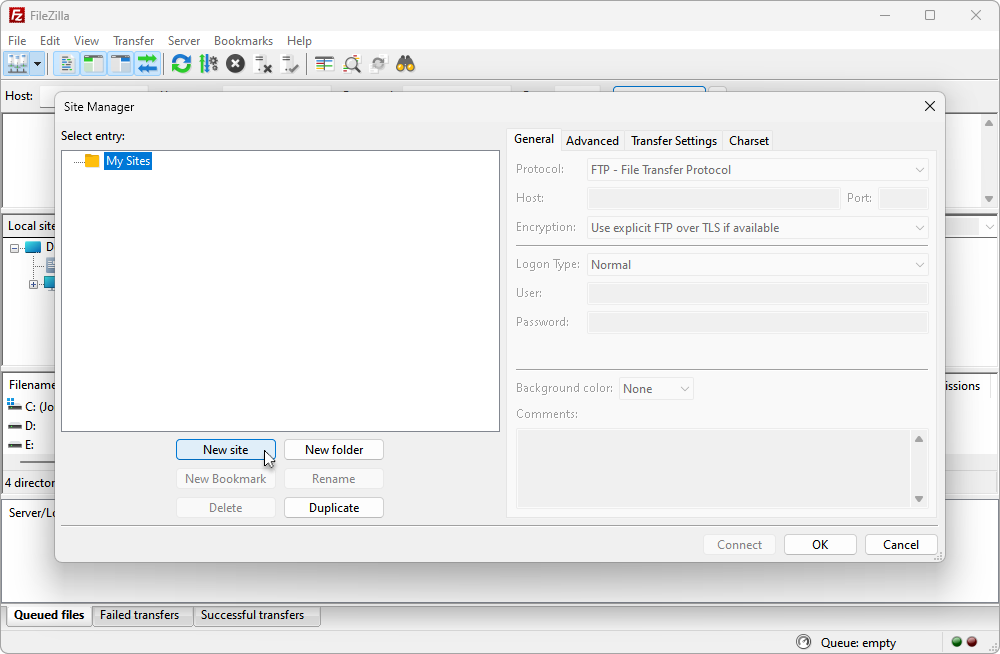
2. Set up a new connection. Upon launching your FTP client, you will need to create a new connection profile. This will store your connection details, making it convenient for you to reconnect in the future.
3. Enter your connection information. Type the FTP address (for example, ftp://ftp.server.com), your username, and your password.
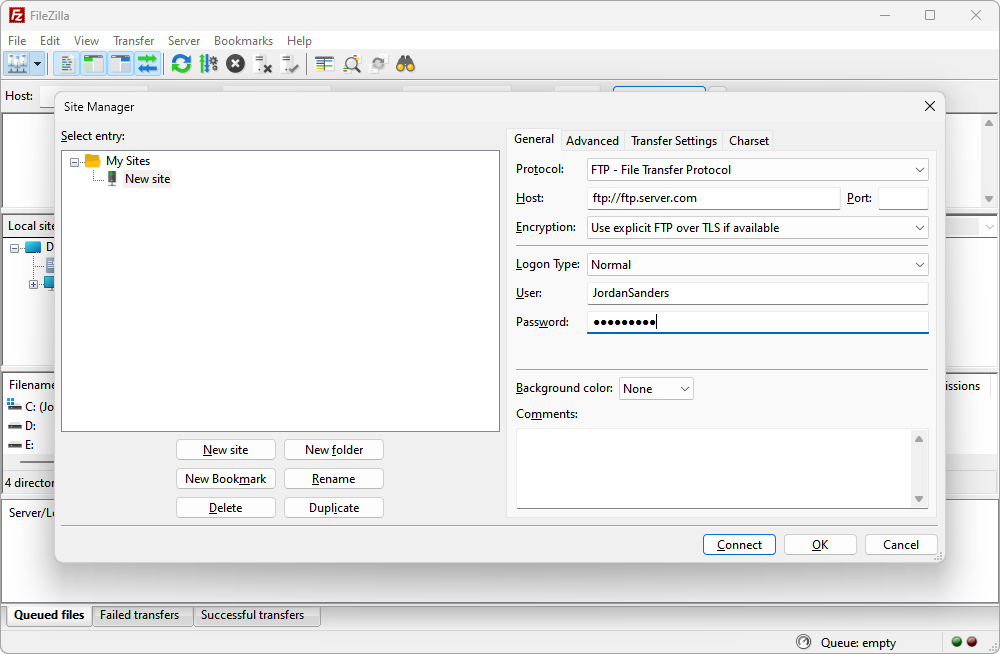
Most FTP servers operate on port 21, so you typically will not need to modify this value unless specified by the server. For instance, to connect to a test FTP server, input ftp://speedtest.tele2.net into the designated field.
Note: Some servers may not require the second FTP line in the address. In such cases, including the second FTP line could impede your access to the server.
Establish a connection to the FTP server. Once you have provided all the required information, you can connect to the FTP server by clicking the Connect or Save button.
4. In the window that opens, use the left panel to locate your files. Generally, the left panel in the FTP client displays the directories on your local computer. You can browse these folders to locate the files you wish to upload. On the left, you will find the backup files.
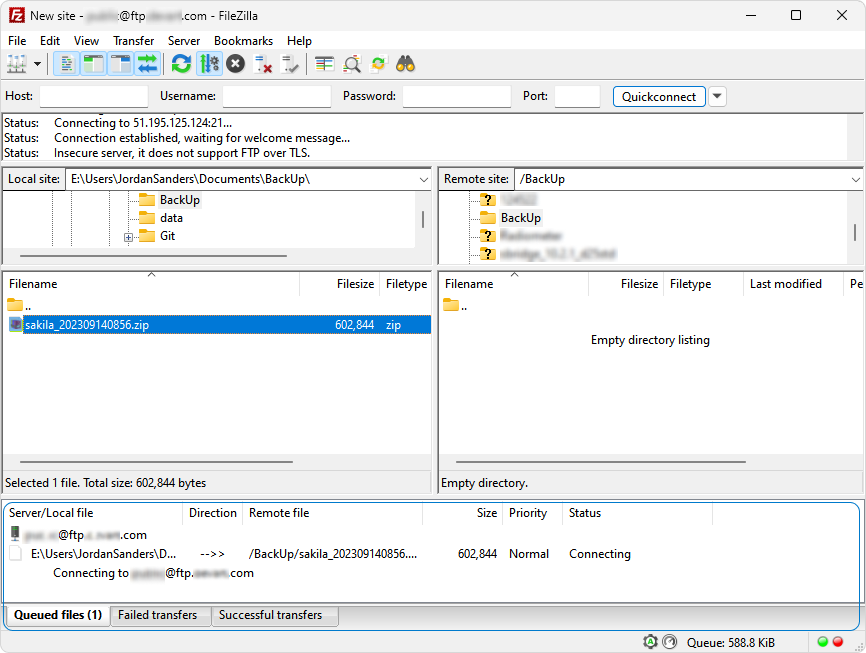
5. In order to initiate the file upload process, either double-click on a file to commence the upload or drag it from the left panel to the right one.
6. Monitor the progress of your uploads. The upload progress will be visible in the lower panel of the FTP window. Make sure to wait for the upload to complete before disconnecting from the FTP server. Depending on your chosen FTP client, you may have the option to queue your uploads (upload files automatically from a list, for example).
Using Windows-Included Client
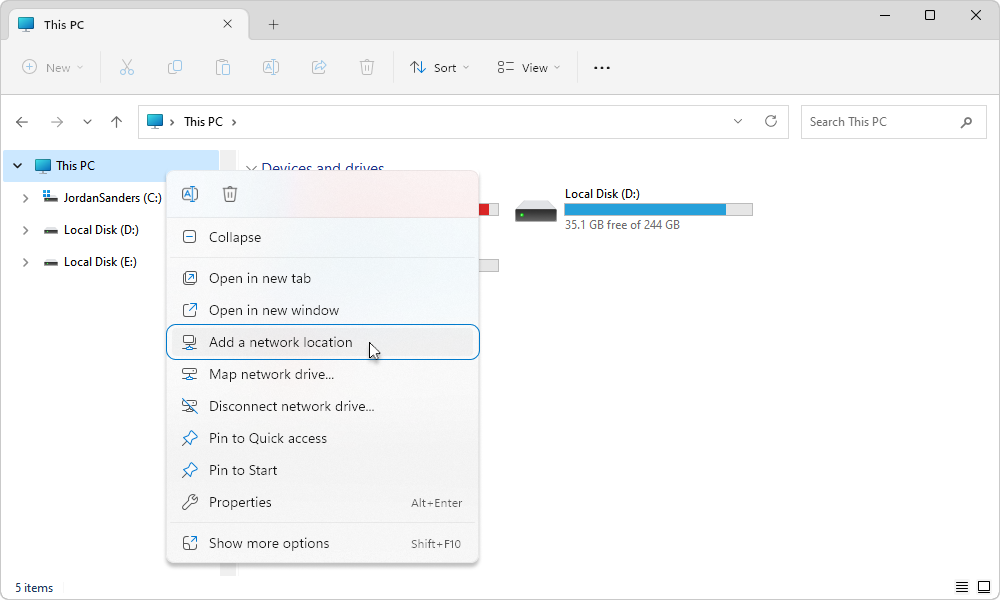
1. Open the File Explorer and click This PC on the left side of the window. Right-click This PC and select Add a network location from the context menu.
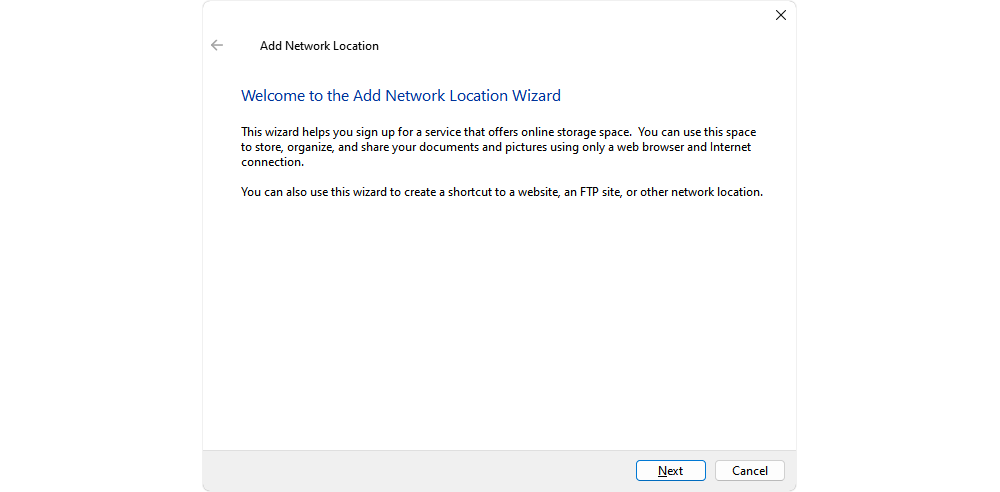
2. Click Next in the window that opens. This will initiate the FTP server setup.
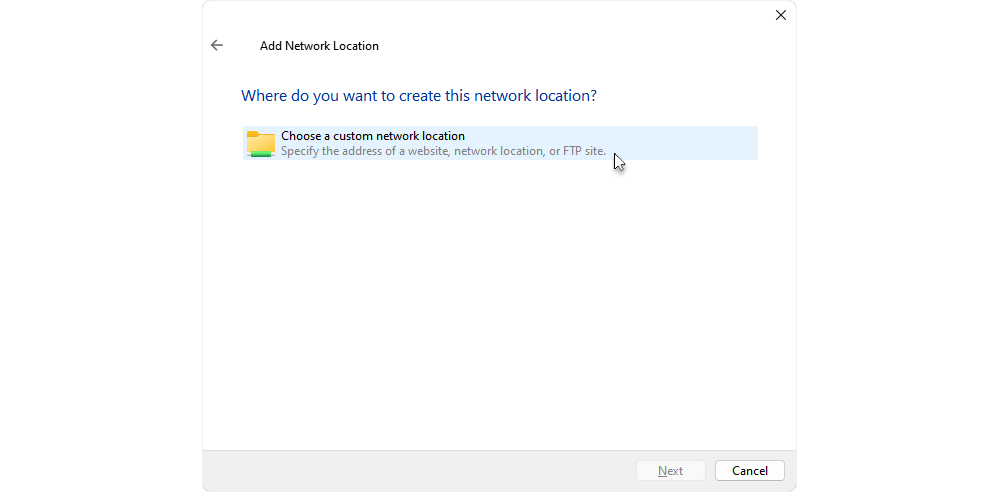
3. Select Choose a custom network location and click Next.
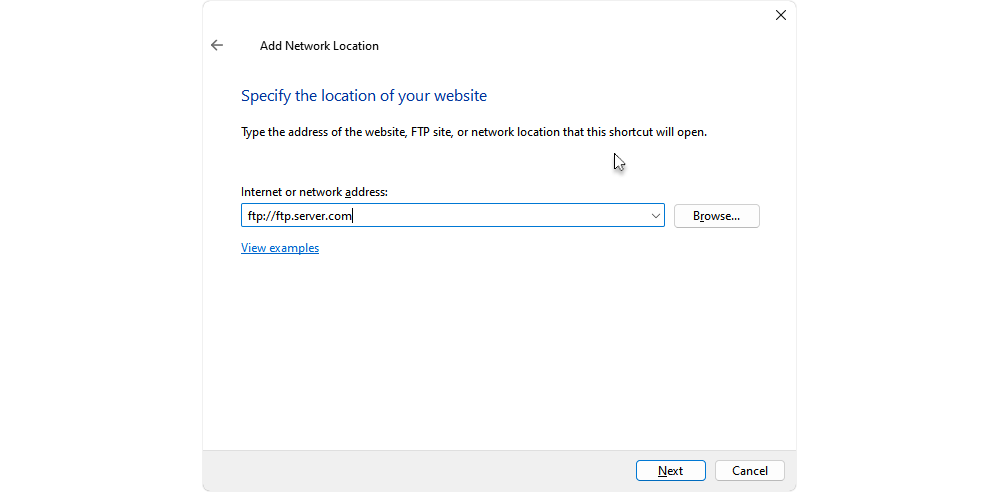
4. Enter the FTP server address you wish to connect to (usually in the format ftp://ftp.server.com). Then, click Next.
5. Set your username for the FTP server.
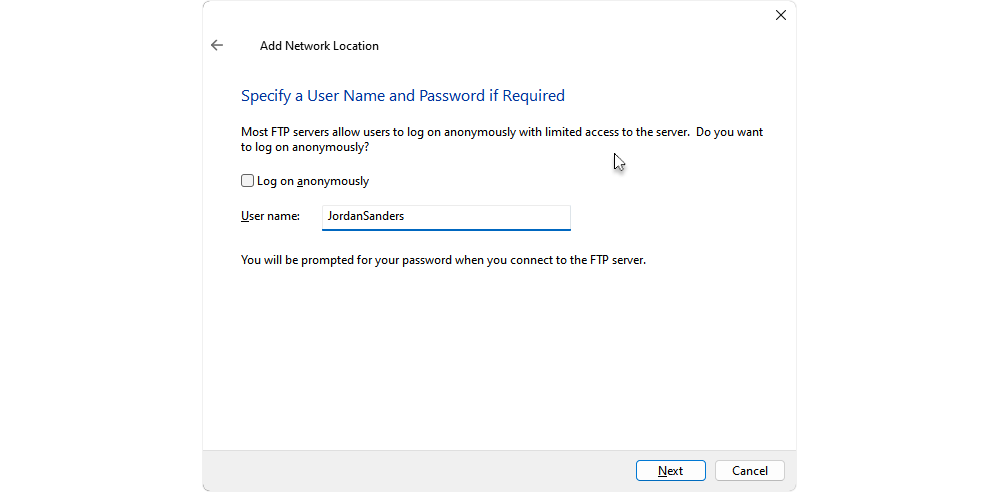
If the FTP server requires a username for connection, clear the Log on anonymously checkbox and enter your desired username in the text field. However, in case the server does not require a username, it is better to keep the Log on anonymously box selected.
6. Enter the preferred name for the server. This name is for your reference that can help locate it on your computer.
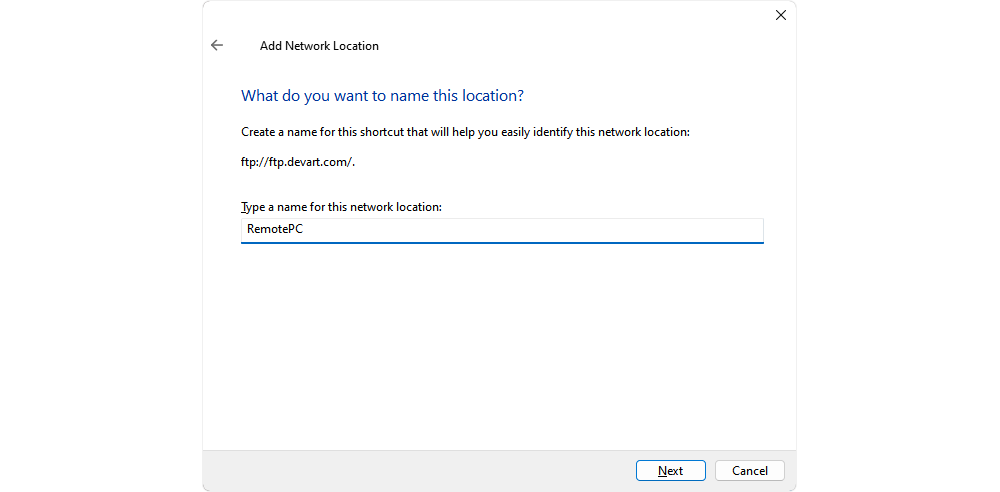
Once done, click Next and then Finish. This will complete the setup process and attempt to open your FTP server. Please allow a minute or so before the FTP server folder opens. Alternatively, you can double-click the server’s folder in This PC to open it.
7. If you are connecting to a secured FTP, you will be asked for your user password upon the first connection. Enter the password when prompted.
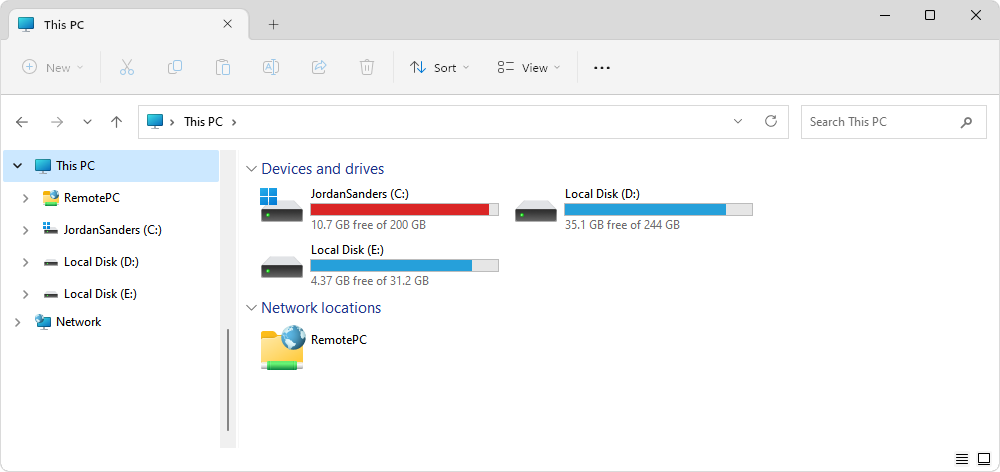
8. Finally, in order to upload files to the FTP server, follow these steps:
- Determine the file you want to upload.
- Copy the file.
- Open This PC, and then double-click your FTP server’s folder.
- Paste the file.
FTP Alternatives: The Best Online File Hosting Services for MySQL Backups
In case, for some reason, you are not able to use an FTP server, we got you. In this section, we will provide you with information about free alternatives to FTP and the limitations each service has.
Fastupload.io
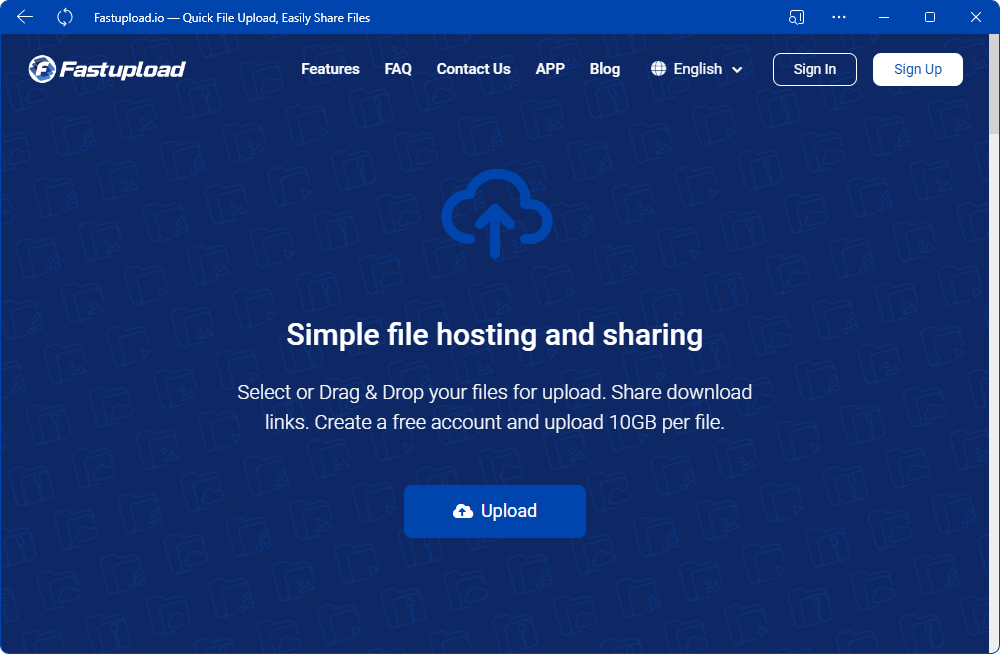
Fastupload.io is an excellent choice for users who require extensive storage space without worrying about limitations, as it offers an expansive, unlimited storage capacity for all your files and data for free.
Fex.net
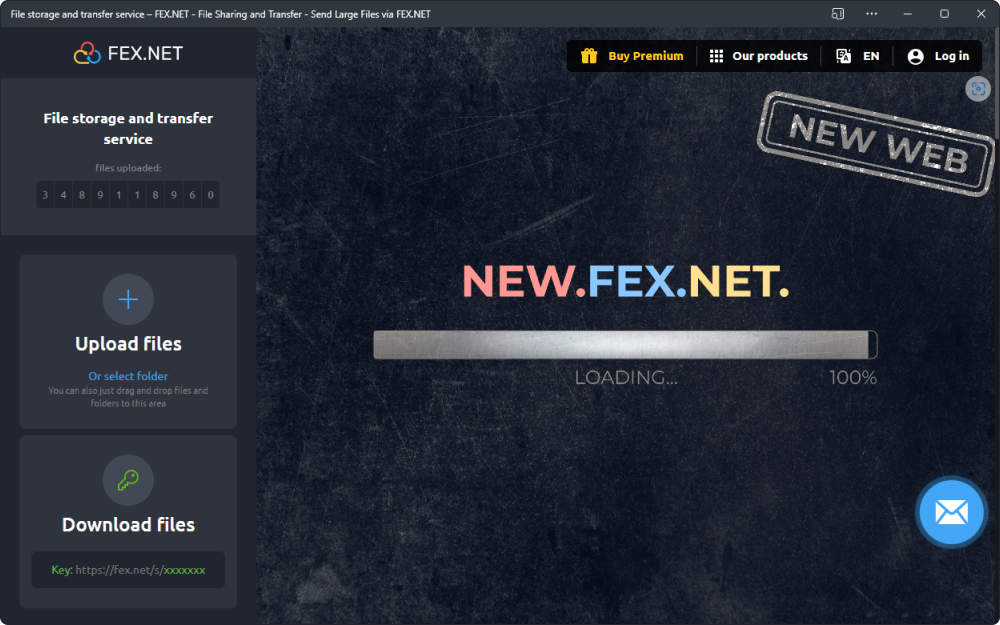
Fex.net provides a substantial storage allowance of up to 50 GB, making it a reliable option for users with moderate to large storage needs, ensuring you have ample space to securely store your important files and documents. It offers a wide range of pricing plans for you to choose from.
MEGA
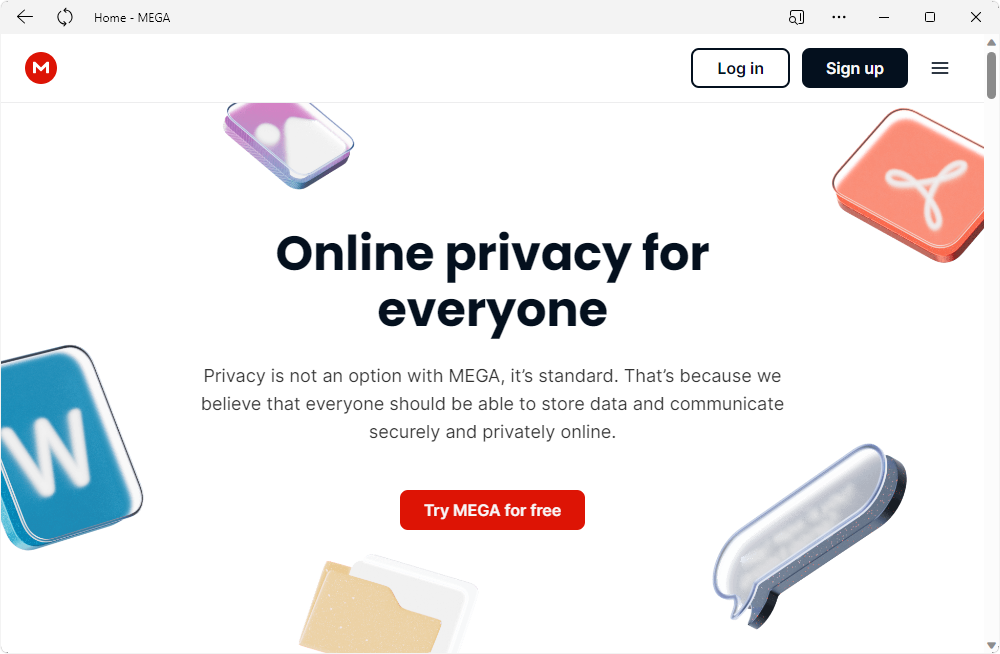
With a storage cap of 20 GB, MEGA strikes a balance between ample storage and user convenience, making it an appealing choice for those seeking a secure cloud storage solution for their important data and multimedia files. As to the pricing, it allows you to choose the right plan for you.
Google Drive
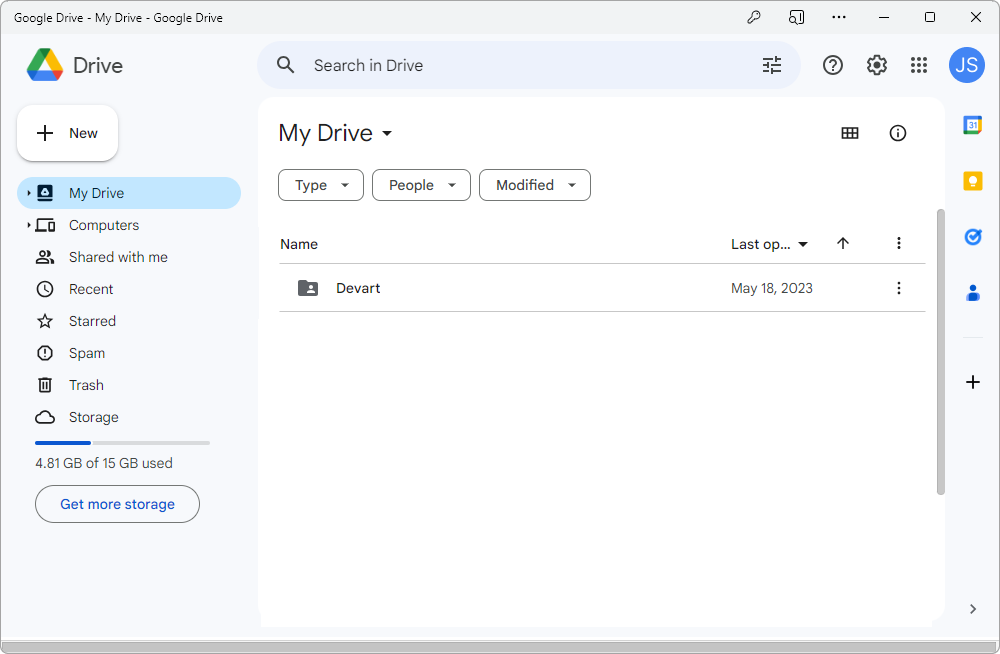
Google Drive, a widely popular cloud storage service, offers a competitive 15 GB of free storage space for free. This allocation provides users with a significant amount of room for documents, photos, and other digital content that can be seamlessly accessed and shared. If you need more space, you can always upgrade to a different plan.
Easyupload.io
Easyupload.io offers a respectable maximum storage capacity of 10 GB for free, catering to users with a range of file storage needs. This service provides an efficient and user-friendly platform for secure file storage and sharing within the specified limit.
Conclusion
To briefly sum up this article, we have provided a comprehensive guide on working with MySQL backups. We walked through the process of uploading MySQL backups to an FTP server using both FTP clients and the Windows-included client. For those seeking alternatives, we highlighted some of the best online file hosting services tailored for MySQL backups.
dbForge Studio for MySQL came in handy while creating a backup, but it is not the only way it can help. For robust database administration, the IDE offers an array of powerful features. This includes seamless data export and import, user management, efficient session management, as well as advanced table data analysis tools. With a fully functional 30-day free trial, you can check out the benefits of using dbForge Studio for a secure and efficient database experience.
Related article: